
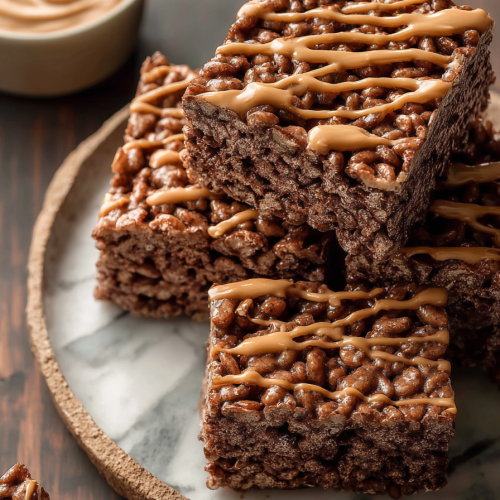
Delish Chocolate Peanut Butter Rice Krispies
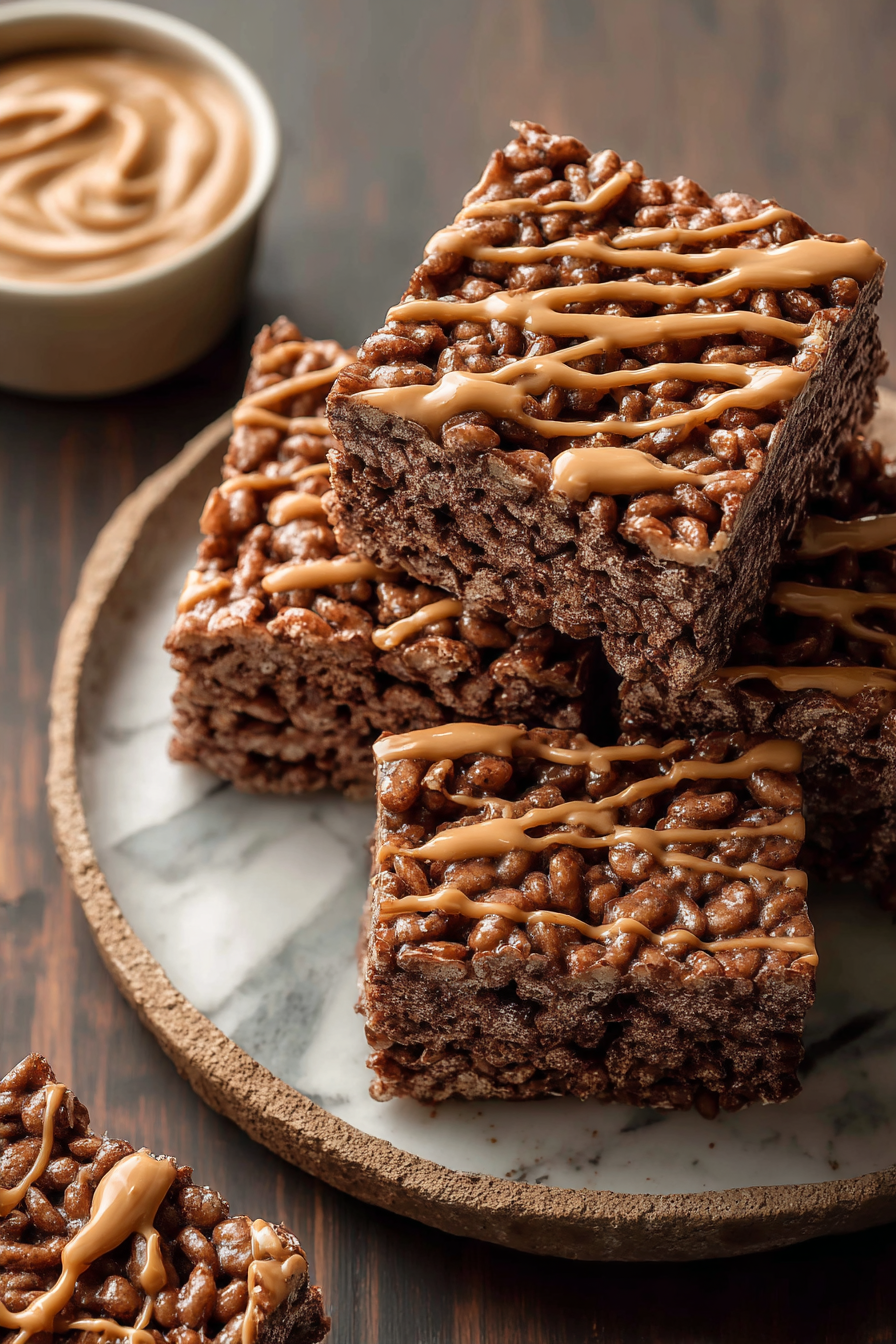
This chocolate-peanut-butter twist on classic Rice Krispies treats is the kind of thing that feels decadently simple: melty chocolate and creamy peanut butter binding crisped rice into chewy, nostalgic bars. It’s special because it balances the rich, slightly salty peanut butter with good-quality chocolate and the unmistakable snap of toasted cereal—familiar comfort with a grown-up flavor profile that still delights kids.
My husband is the designated taste-tester and will happily polish off a corner piece before I even get a photo, and our kiddo loves them warmed for an afternoon pick-me-up. These treats became a weekend staple after I made them for a school bake sale and watched them disappear first; now they show up in lunchboxes and as an emergency dessert when friends drop by. I love that they’re fast enough for an after-work sweet craving but also flexible enough to dress up for parties.
Why You’ll Love This Delish Chocolate Peanut Butter Rice Krispies
– Familiar, nostalgic texture with grown-up flavor: the same chewy, crispy base you remember but amplified with real chocolate and peanut butter.
– Fast and forgiving: no oven required, and it comes together in minutes—perfect for last-minute desserts or batch baking.
– Crowd-pleaser for all ages: kids adore the texture, and adults appreciate the salty-sweet balance.
– Easy to adapt: swap chocolate types, nut butters, or mix-ins for seasonal or dietary tweaks.
Behind the Recipe
I learned early on that the secret to a great chocolate-peanut-butter Rice Krispies is texture management: make sure the chocolate-peanut-butter mixture is smooth and warm enough to coat the cereal evenly but not so hot it melts everything into a greasy puddle. A light toast of the cereal (optional) deepens the flavor, and folding the cereal gently keeps the bars airy instead of dense. People often over-press the mixture into the pan; a gentle, even press gives bars that hold together without becoming rock-hard. Use a decent chocolate—it really shows up in the final flavor—and a peanut butter you enjoy eating by the spoon.
Shopping Tips
– Chocolate: Choose chips or a chopped bar you love to eat—semisweet or bittersweet gives balance, while milk chocolate makes the bars sweeter and softer.
– Nuts & Seeds: For authentic flavor, use creamy, stir-free peanut butter if you want consistent texture; natural peanut butter can be used but may thin the mixture.
– Crunch Extras: Pick a plain puffed rice cereal (Rice Krispies or similar); avoid varieties with added marshmallows or heavy flavors that will change the bar’s texture.
– Dairy: If your recipe uses butter, go for unsalted so you control the salt; salted butter can tip the balance too salty.
– Baking Basics: Have parchment or a nonstick spray on hand—it makes removal and cleanup much easier.
Prep Ahead Ideas
– Measure out cereal and chocolate the day before and store separately in airtight containers so assembly is quick.
– Melt the chocolate-peanut-butter mixture and store it in a heatproof jar in the fridge; gently rewarm it over a double boiler or in short microwave bursts before folding in the cereal.
– You can press the bars into the pan and let them set, then cut and store in a single layer between parchment in a sealable container for up to a week.
Time-Saving Tricks
– Microwave the chocolate and peanut butter in short bursts (15–20 seconds), stirring between, to melt quickly without seizing.
– Line your pan with parchment and use an offset spatula or the back of a buttered spoon to press the mixture evenly—faster and cleaner than plastic wrap.
– Measure and set out all ingredients (mise en place) before you melt anything; once the chocolate is ready you’ll want to work quickly.
Common Mistakes
– Overheating chocolate: I once nuked a bowl too long and ended up with grainy, seized chocolate—short bursts and stirring fixes this every time.
– Adding cereal to a sauce that’s too thin: if your peanut butter is very runny, the cereal won’t bind well—thicken slightly by adding more chocolate or chilling briefly before folding in.
– Pressing too firmly: packing the mixture down hard yields dense, hard bars; press gently for bars that still have some chew.
What to Serve It With
Tips & Mistakes
Serve these with cold milk, a scoop of vanilla ice cream for a dessert plate, or alongside coffee or hot chocolate for an afternoon treat. If you’re bringing them to a party, slice them just before serving; pre-cut bars can dry at the edges if left exposed too long.
Storage Tips
Store in airtight containers in the fridge. It reheats beautifully, but if you sneak a bite cold straight from the container, it still works. For longer storage, freeze individually wrapped bars for up to 2 months and thaw at room temperature.
Variations and Substitutions
– Swap peanut butter for almond or sunflower seed butter for a different nutty profile or a nut-free option.
– Use dark chocolate for a less sweet, richer bar, or milk chocolate for sweeter, kid-friendly bars.
– Add-ins: chopped peanuts, mini chocolate chips, or pretzel bits add crunch and flavor contrast—avoid wet mix-ins that will make the bars soggy.

Frequently Asked Questions
Delish Chocolate Peanut Butter Rice Krispies
Ingredients
Main Ingredients
- 0.5 cup butter Use unsalted for better control over saltiness.
- 1 cup creamy peanut butter Smooth texture blends best.
- 2 cups mini marshmallows Feel free to use regular marshmallows if needed.
- 3 cups Rice Krispies cereal Make sure to measure after crushing the cereal, if desired.
- 1 cup semi-sweet chocolate chips For a richer chocolate flavor.
Instructions
Preparation Steps
- Start by melting the butter and peanut butter together in a large saucepan over low heat. Stir occasionally until everything is smooth and well combined. Once melted, add in the mini marshmallows, stirring continuously until they completely melt and the mixture is creamy and fluffy. Then, remove the pan from heat and gently fold in the Rice Krispies cereal until everything is evenly coated. Finally, transfer the mixture into a greased pan and press it down firmly. Melt your chocolate chips in a separate bowl and drizzle them over the pressed mixture for a luscious finish. Let it cool, slice into squares, and enjoy your delightful treats!