
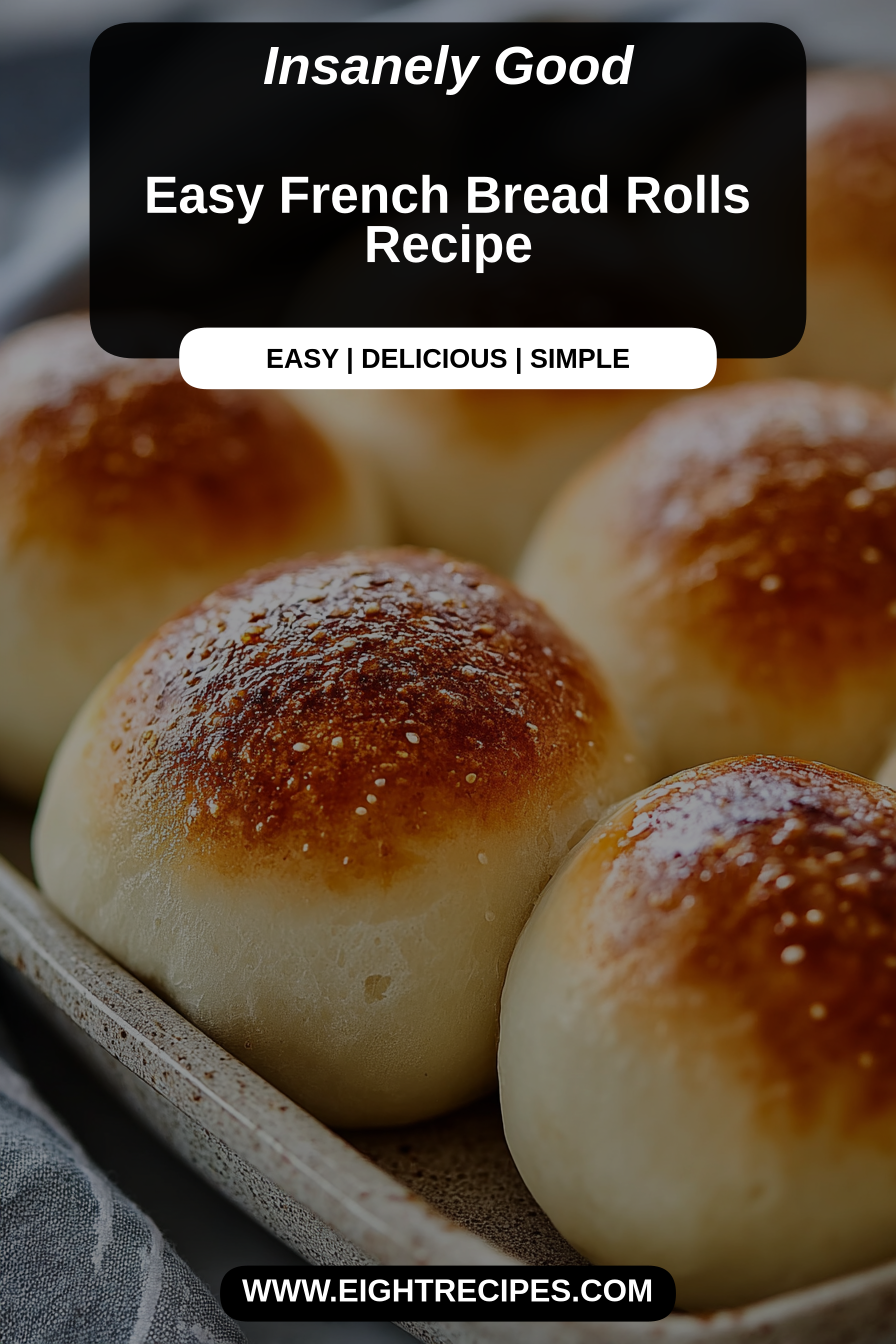
Easy French Bread Rolls Recipe
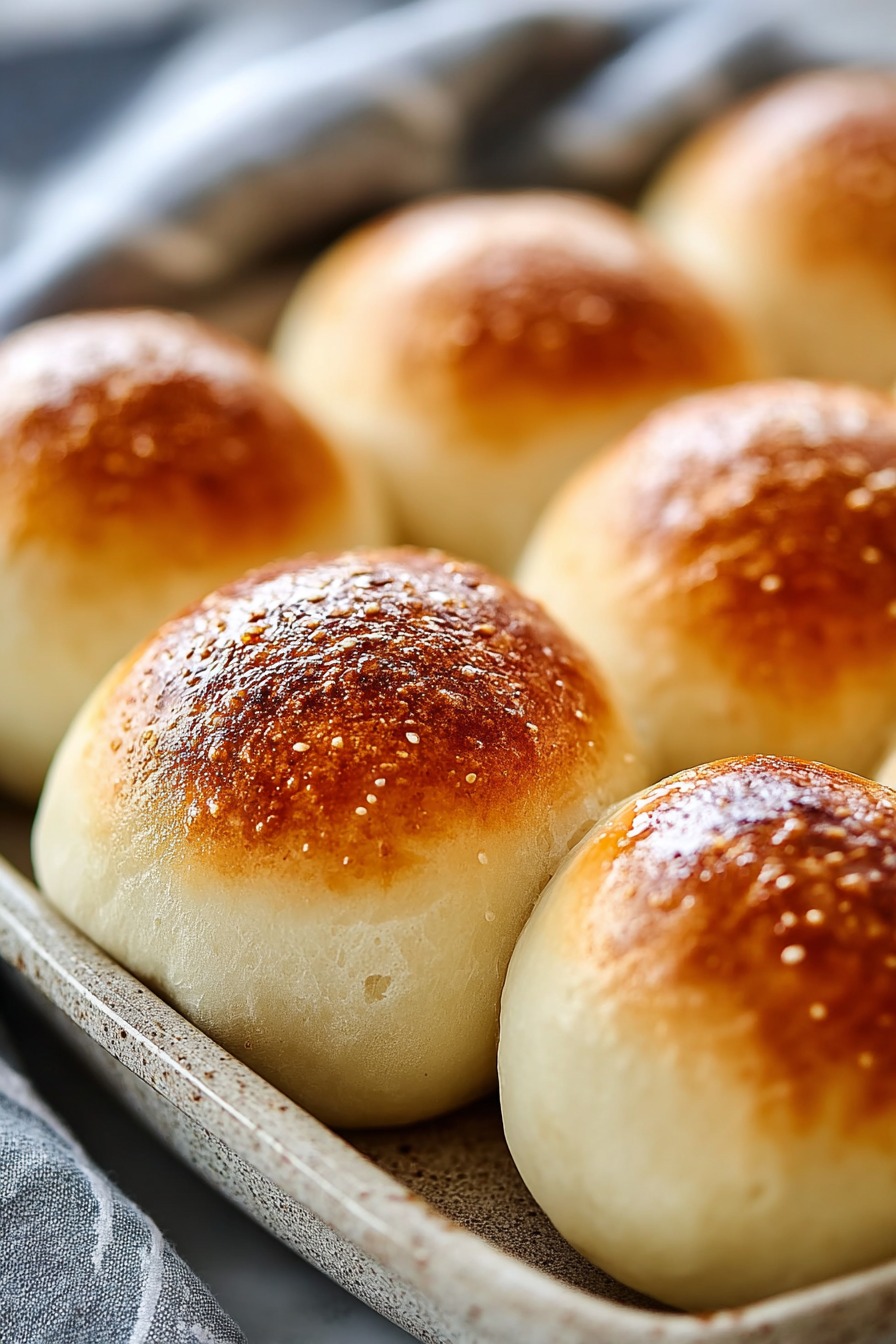
This is my go-to recipe for soft, golden French-style dinner rolls that have a crisp crust and tender, airy crumb — the kind you break apart while the butter melts into the steam. They’re deceptively simple: few ingredients, a forgiving technique, and a result that feels bakery-fresh without all the fuss. If you love a roll that’s sturdy enough for sandwiching yet delicate enough to accompany soup, this is worth making on rotation.
My husband insists these rolls are the reason our Sunday suppers exist. He’ll volunteer to set the timer and butter the tray, which is adorable until he takes the first roll and declares it “perfect” with crumbs on his shirt. Our toddler loves pulling them apart and smearing jam, and I love that the recipe is flexible enough to be a weekday shortcut or a centerpiece for company. It’s become one of those family rituals — dough in the evening, pop in the oven later, and suddenly the kitchen smells like celebration.
Why You’ll Love This Easy French Bread Rolls Recipe
– Light, airy crumb with a crisp exterior — feels like a bakery loaf in mini form.
– Minimal, pantry-friendly ingredients that yield impressive results.
– Flexible timing: you can speed things up or slow the rise for convenience without wrecking the texture.
– Versatile — great for weeknight sandwiches, holiday dinners, or toasting for breakfast.
Behind the Recipe
This recipe is all about balance: the right flour-to-water feel, gentle kneading, and a patient rise. Over the years I’ve learned that a tacky dough (not sticky or dry) and a warm, draft-free spot for the first rise make the biggest difference. Small shaping tweaks — gentle tension when forming each roll — help them hold a smooth, rounded shape and avoid tearing during the final oven spring. People often worry about timing; the dough will tell you when it’s ready more than the clock will, so look for a noticeable puff rather than strictly following minutes.
Shopping Tips
– Baking Basics (Flour/Sugar/Leaveners): Use a strong bread flour if you want extra chew and lift; all-purpose works fine for lighter rolls. Check yeast for freshness — if it’s past the date, the rise will be sluggish.
– Dairy: If the recipe includes milk or butter, choose whole milk for richer flavor and a softer crumb; butter can be salted or unsalted depending on your salt habit.
– Eggs: Some enriched roll versions call for an egg — it adds color and tenderness. Keep one extra on hand in case you want to egg-wash for a glossy finish.
– Fats & Oils: Unsalted butter gives the best flavor control, while a neutral oil can be used if you prefer a dairy-free option.
– Nuts & Seeds: If you like seeded tops, buy fresh sesame, poppy, or sunflower seeds and toast them lightly for extra aroma before sprinkling.
Prep Ahead Ideas
– Mix the dough and let it rise slowly in the fridge overnight; shaping and the final proof can happen the next day for fresher flavor and better scheduling.
– Measure dry ingredients and soften butter the night before, so everything’s ready for a quick mix.
– Shaped rolls can be placed on a baking sheet, covered, and refrigerated briefly (up to a day) — bring them to room temperature and finish the final proof before baking.
Time-Saving Tricks
– Use the dough hook on a stand mixer for quick, consistent kneading if your hands are short on patience.
– Warm a tray in the oven with a small pan of hot water to create a cozy proofing spot when your kitchen is cold.
– Make double the batch and freeze unbaked rolls on a sheet tray; transfer to a freezer bag and bake from frozen, adding a few extra minutes.
Common Mistakes
– Underproofing: rolls that haven’t puffed enough will be dense — gently press the dough; if the indentation springs back slowly, it’s ready.
– Overflouring the board: adding too much flour while shaping leads to dry, tight rolls; use just enough to prevent sticking and remember that a slightly tacky dough is fine.
– Not preheating the oven properly: a cold oven kills the oven spring — wait until it’s fully hot for the best rise and crust.
– Crust too hard: if the crust ends up rock-solid, you likely overbaked or baked without any steam; tent with foil right after the oven or add a splash-pan of water during the first few minutes of baking.
What to Serve It With
– Classic salted butter or compound butters (garlic-parsley or honey-thyme).
– Hearty soups and stews — they’re perfect for sopping up broth.
– Sandwich fillings: roast chicken, ham and cheese, or a simple BLT.
– As slider buns for mini burgers or meatballs.
Tips & Mistakes
Keep an eye on dough temperature: a warm, slightly sticky dough produces the best structure. I once added too much flour while shaping and ended up with bricks — rescue by lightly misting with water and covering to let the gluten relax before trying again.
Storage Tips
Store in airtight containers in the fridge. It reheats beautifully, but if you sneak a bite cold straight from the container, it still works.
Variations and Substitutions
– Whole wheat: Replace up to half the flour with whole wheat for nuttier flavor — expect a slightly denser crumb.
– Enriched rolls: Add an egg and milk for a brioche-like tenderness; this version is especially nice for breakfast sandwiches.
– Seeded or cheesy tops: Brush with an egg wash and sprinkle seeds or grated cheese before baking for extra flavor and crunch.
– Vegan option: Swap butter for a neutral oil and use plant milk; omit egg wash or use a plant-milk brush for a softer sheen.
– Yeast types: Instant yeast can be mixed directly into flour; active dry benefits from proofing in warm water first.
Write me the frequently asked questions and answers Easy French Bread Rolls Recipe in the same way as the example below.
Frequently Asked Questions
Easy French Bread Rolls Recipe
Ingredients
Main Ingredients
- 2 cups warm water Make sure the water is about 110°F for best results.
- 1 pack active dry yeast
- 2 tablespoons granulated sugar This helps to activate the yeast.
- 5 cups all-purpose flour For the best texture, use spoon and level method.
- 1 tablespoon salt
- 1 tablespoon olive oil This adds flavor to the dough.
- 2 tablespoons melted butter For brushing on top before baking.
Instructions
Preparation Steps
- In a large bowl, combine warm water, yeast, and sugar. Stir gently and wait for about 5 minutes until it becomes frothy. This means your yeast is active!
- Next, add in the flour, salt, and olive oil. Mix until the dough starts to come together.
- Knead the dough on a floured surface for about 8-10 minutes until it is smooth and elastic.
- Place the dough in a greased bowl, cover it with a clean cloth, and let it rise in a warm spot for about an hour, or until it doubles in size.
- Once risen, punch down the dough and divide it into 12 equal pieces. Shape each piece into a roll and place them on a lined baking sheet.
- Cover the rolls again and let them rise for about 30 minutes. Preheat your oven to 375°F during this time.
- Before baking, brush the tops with melted butter for a lovely golden finish. Bake in the preheated oven for about 20-25 minutes, or until they are golden brown.
- Let the rolls cool slightly before serving. Enjoy them fresh out of the oven or with your favorite meal!