
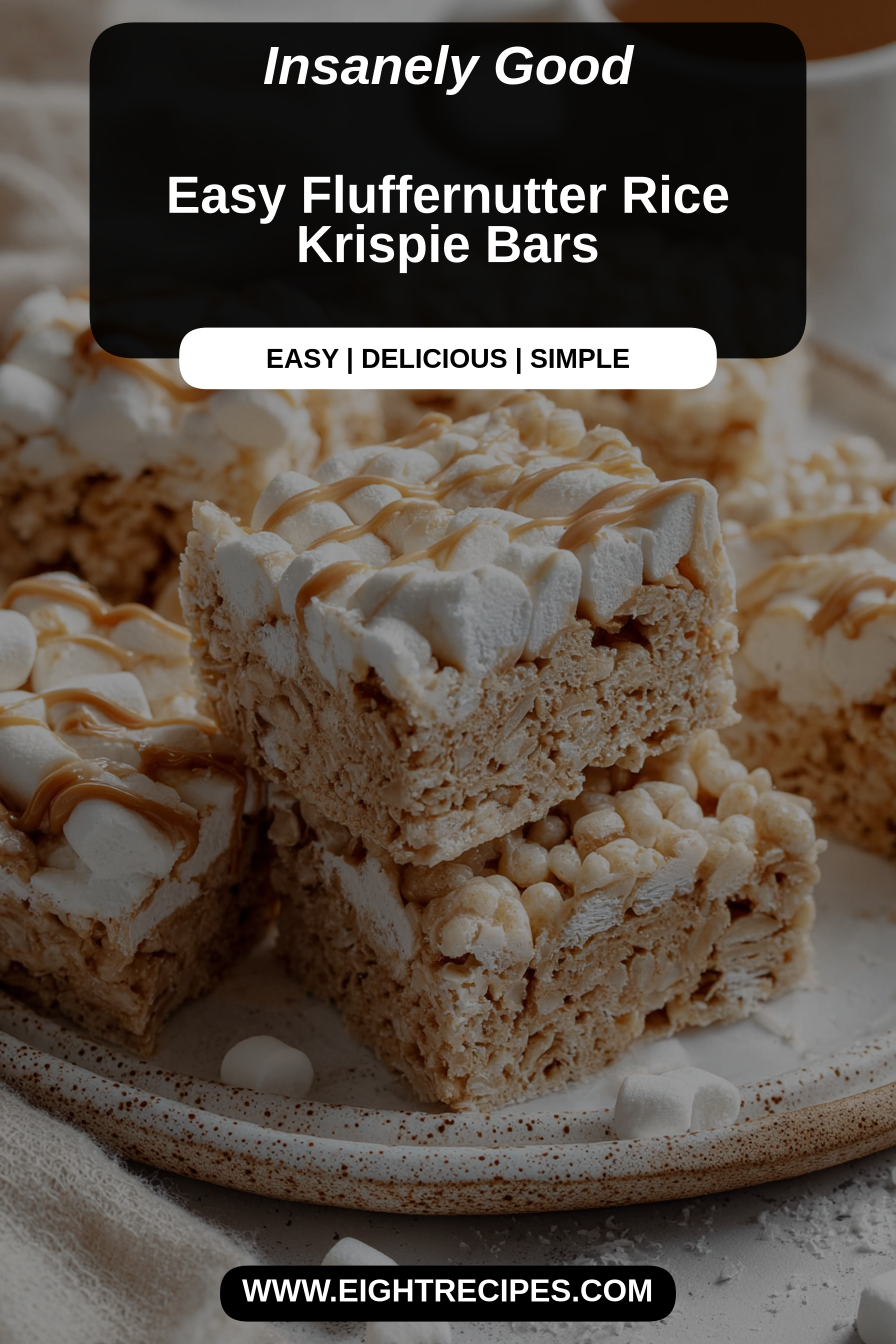
Easy Fluffernutter Rice Krispie Bars
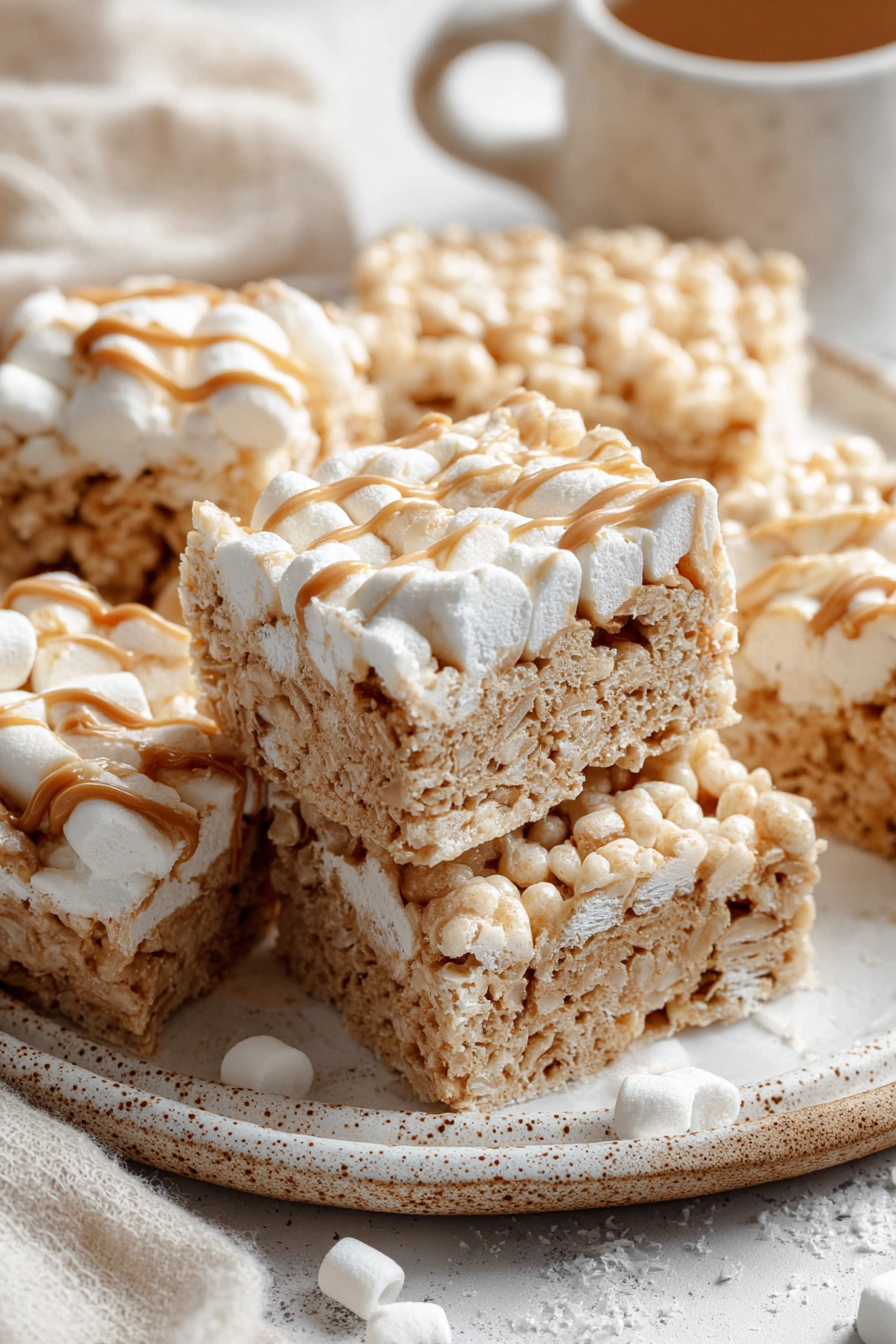
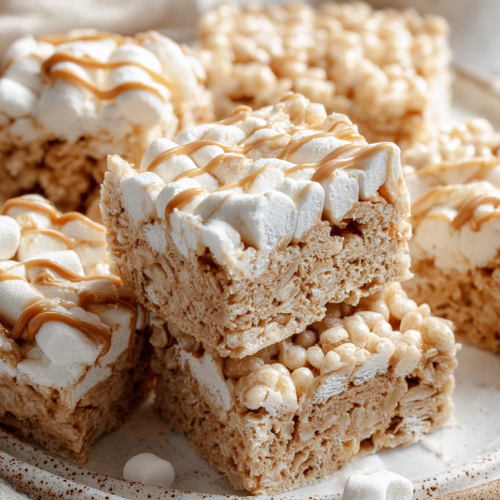
I make these Easy Fluffernutter Rice Krispie Bars when I want something that feels like a serious treat but comes together in the time it takes to fold marshmallow into cereal. Think gooey marshmallow fluff and creamy peanut butter wrapped around crisp Rice Krispies — simple, nostalgic, and impossibly snackable. They’re the kind of sweet that disappears from the baking dish faster than you expect.
My husband is the unofficial taste-tester and will walk through the door with his hands already reaching for the corner pieces. Our little one insists on helping stir (and sneak tastes), which is probably why these bars are now a weekend staple — perfect for school lunches, potlucks, or an easy movie-night dessert. I’ve brought them to more than one family gathering, and the comments are always the same: “These are exactly how I remember them, but better.”
Why You’ll Love This Easy Fluffernutter Rice Krispie Bars
– Classic childhood flavors (peanut butter + marshmallow) in an updated, perfectly chewy bar.
– Fast and forgiving — no baking, minimal equipment, and great for beginner bakers.
– Customizable texture: press firmly for dense bars or a gentler press for lighter, chewier squares.
– Crowd-pleaser across ages — my husband and kid agree, which is the ultimate approval test.
Behind the Recipe
This recipe is about balance: enough peanut butter for flavor, enough marshmallow to bind, and just the right amount of cereal to keep the bars crunchy without being dry. I’ve learned to melt marshmallows slowly and stir continuously so you don’t scorch them, and to fold the cereal in gently to preserve some snap. Pressing the mixture into the pan evenly is the small ritual that pays off with clean bars that hold together — I use a piece of parchment between my hands and the mixture to avoid sticky hands and an uneven top.
Shopping Tips
– Baking Basics (Flour/Sugar/Leaveners): You won’t need flour, but pick up a good jar of marshmallow fluff or a bag of mini marshmallows — fluff gives a silkier, more uniform texture.
– Fats & Oils: Use unsalted butter so you can control seasoning; it helps the bars set and rounds the sweetness.
– Nuts & Seeds: Choose a creamy, stirred peanut butter for smooth mixing; natural separates easily, so if using that, mix it first or expect a slightly looser bar.
– Crunch Extras: Buy a plain crisp rice cereal; if you need gluten-free, look for a certified gluten-free crisp rice brand.
– Chocolate: If you want a drizzle or chips, pick semi-sweet or milk chocolate depending on how sweet you like finished bars.
Prep Ahead Ideas
– Measure out the cereal and peanut butter the day before and store in airtight containers so assembly is truly quick.
– If using marshmallow fluff, transfer it to a microwave-safe bowl and cover; it heats and melts faster than whole bags of mini marshmallows.
– Press the mixture into the pan and chill overnight if you want perfectly square slices the next day; store in the fridge or freezer until serving.
Time-Saving Tricks
– Use a large, sturdy saucepan to melt marshmallow and peanut butter together — it heats evenly and reduces wiping up multiple pans.
– Line your pan with parchment and leave an overhang for fast removal and cleaner cuts.
– Do a quick mise en place: have cereal scooped, butter measured, and spatula ready so the marshmallow mix doesn’t set before you finish folding.
Common Mistakes
– Overheating the marshmallow: I did this once and ended up with a scorched flavor; melt gently over low heat and stir constantly.
– Pressing too hard: press firmly but not excessively, or the bars become rock-hard. If that happens, let them sit at room temperature to soften slightly before cutting.
– Under-pressing: the bars fall apart. Use parchment and press evenly, smoothing the top with a piece of wax paper and your palms.
What to Serve It With
These bars are perfect on their own, but they pair nicely with a cold glass of milk, a scoop of vanilla ice cream for an indulgent dessert, or cut smaller for a sweet addition to a brunch spread.
Tips & Mistakes
– If you want clean slices, chill the pan briefly before cutting and use a sharp knife wiped between cuts.
– For added texture, fold in a small handful of mini chocolate chips or chopped pretzels at the end.
– Remember that these bars will firm up as they cool; don’t judge their final texture while still warm.
Storage Tips
Store in airtight containers in the fridge. It reheats beautifully, but if you sneak a bite cold straight from the container, it still works. For longer storage, freeze individual bars between sheets of parchment in a sealed container for up to 2 months.
Variations and Substitutions
– Peanut-free: Use sunflower seed butter for a nut-free option, though the flavor will be slightly different and greener in color.
– Marshmallow options: Mini marshmallows work well if you don’t have fluff — just melt them slowly until smooth. Fluff gives a glossier, stickier finish.
– Add-ins: Chocolate chips, chopped nuts, or toasted coconut folded in at the end add variety — but keep additions light so the bars still hold together.
– Cereal swaps: If you want a different crunch, try crispy quinoa cereal or a gluten-free crisp rice to accommodate dietary needs.
Frequently Asked Questions
Easy Fluffernutter Rice Krispie Bars
Ingredients
Main Ingredients
- 4 cups Rice Krispies cereal Make sure to use fresh cereal for the best texture.
- 0.5 cups unsalted butter Melted for mixing.
- 16 oz marshmallows Mini marshmallows work best for even distribution.
- 1 cup creamy peanut butter Natural peanut butter will work too.
- 0.5 cups powdered sugar Optional, for extra sweetness.
- 1 cup extra marshmallow fluff For drizzling on top.
Instructions
Preparation Steps
- Start by melting the butter in a large saucepan over low heat. Once melted, add in the marshmallows and stir constantly until completely melted and smooth. Remove from heat and mix in the peanut butter until everything is well combined.
- In a big bowl, add the Rice Krispies cereal. Pour the melted mixture over the cereal and gently fold it in until all the cereal is coated. Be careful not to crush the cereal!
- Transfer the mixture to a greased 9x13-inch baking pan. Press it down firmly using a spatula or your hands. If you'd like, sprinkle powdered sugar on top for extra sweetness.
- Finally, drizzle the marshmallow fluff over the top and let it cool completely before slicing into bars. Enjoy your delicious creation!