Easter Crack Candy Bars

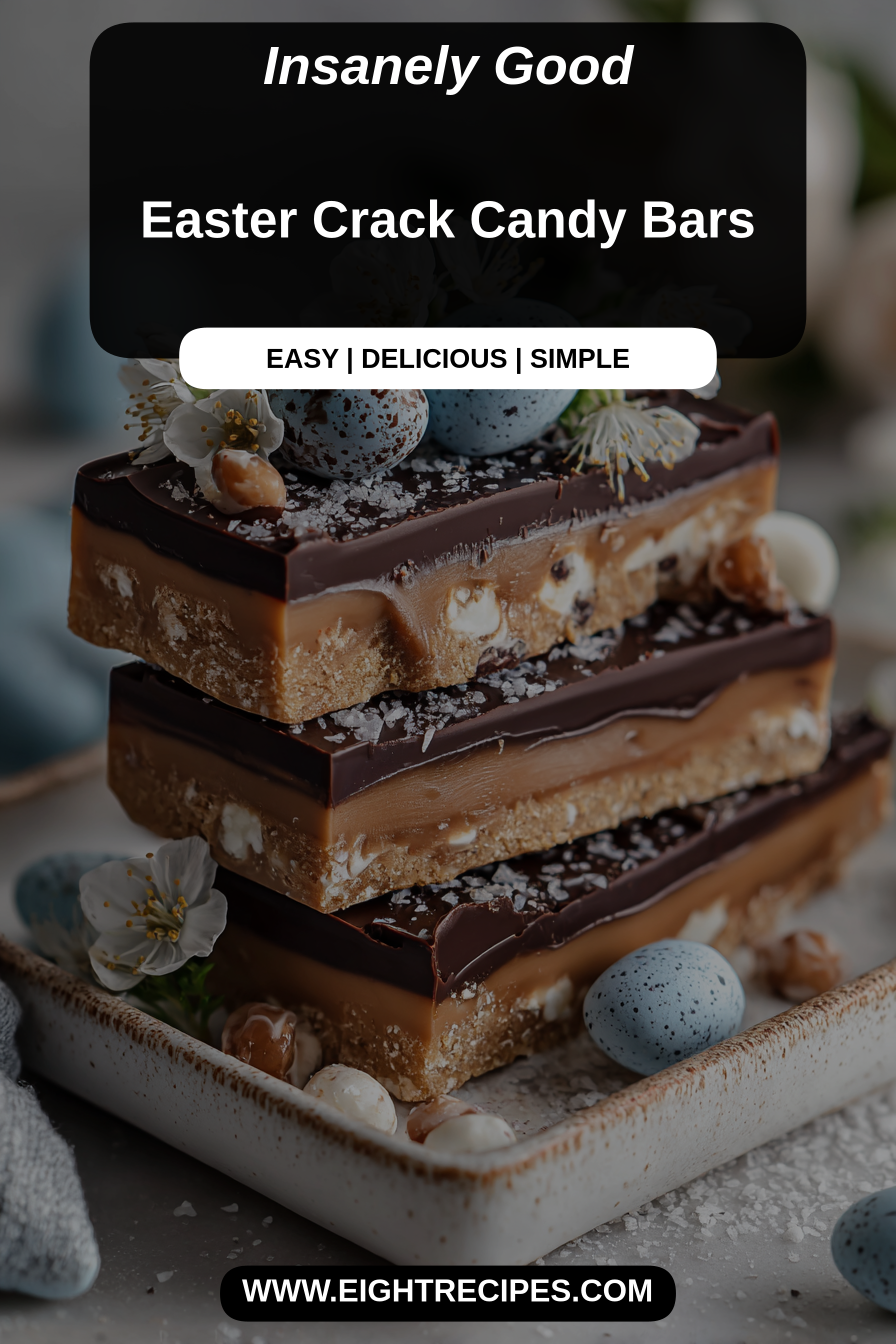
These Easter Crack Candy Bars are a ridiculously chewy‑crunchy, buttery-toffee bar topped with melty chocolate and pastel candies—the kind of treat that disappears faster than I can say “who took the last piece.” They’re essentially a riff on the beloved saltine-toffee “crack” bars, dressed up for spring with Easter M&Ms, pastel sprinkles, or chopped chocolate eggs. What makes them special is the contrast of textures: an ultra-salty, crisp base, sticky buttery toffee that snaps when cold, and a smooth chocolate finish studded with candy. They’re fast to make, crowd-pleasing, and perfect for gifting or hiding in an Easter basket.
My husband is the official “quality control” for all things sweet, and these bars have become his personal holiday obsession. One year I made a tray for a church bake sale and came home with only empty foil—he’d left a trail of pastel wrappers as proof of his stealth snacking. Now when Easter rolls around, the kids and he hover in the kitchen like it’s a sport. I love that they’re easy to scale up for a party, but also humble enough to make on a weeknight when you need something celebratory without fuss.
Why You’ll Love This Easter Crack Candy Bars
– Quick payoff: a short bake time plus a rapid cool-down means you’ll be slicing into bars in under an hour.
– Crowd-pleasing flavor contrast: sweet, salty, buttery toffee against crunchy crackers and smooth chocolate—everyone reaches for seconds.
– Customizable for the season: swap candy and chocolate types to match a color scheme or dietary needs.
– Simple technique: mostly melting and spreading, so even baking-averse friends can have success.
– Perfect for gifting: they transport well when wrapped and make a cheerful homemade present.
Behind the Recipe
This recipe is built around a few principles I’ve learned from making toffee a lot: even heat, an even layer of base, and patience for cooling. People usually trip up when the sugar-butter mixture either burns (too hot) or doesn’t caramelize properly (too cool); keeping a steady medium heat and stirring constantly fixes that. Another common snag is a soggy base—too much syrup or an uneven cracker layout will make the bottom lose its crunch; a tight, single layer of crackers and quick transfer to the oven helps maintain texture. Little touches that elevate the bars: use good-quality chocolate you enjoy eating, scatter candies while the chocolate is still warm so they adhere, and pop the pan in the fridge long enough for clean slicing.
Shopping Tips
– Baking Basics: Pick plain, sturdy crackers (or graham crackers if you prefer) so the toffee adheres without falling apart; avoid overly flaky varieties.
– Fats & Oils: Use real unsalted butter for the best flavor and predictable melting; if you must use salted, skip extra salt in the topping.
– Chocolate: Choose a chocolate you like eating—bittersweet holds up well and balances the sweetness, while milk chocolate gives a more classic candy-bar vibe.
– Crunch Extras: Easter M&Ms, pastel chocolate eggs, or nonpareils add color and texture—buy a little extra since some will inevitably end up in your mouth.
– Nuts & Seeds: Optional add-ins like chopped pecans or toasted almonds are excellent for texture; buy them pre-roasted for convenience and deeper flavor.
Prep Ahead Ideas
– Lay out and count your cracker layer the day before in the baking pan (cover tightly) to save assembly time.
– Measure the sugar and have the butter cut into chunks in a small bowl so everything goes into the pan without pausing.
– Chop any mix-ins and store them in airtight containers at room temperature for up to two days.
– Fully cool the finished bars, then wrap individual pieces in parchment for gifting up to a week ahead.
Time-Saving Tricks
– Use a wide, heavy skillet to melt the butter-sugar mixture faster and more evenly than thinner pans.
– Microwave the chocolate briefly in 20-second bursts, stirring in between, instead of creating a double boiler.
– Keep a small offset spatula or bench scraper nearby to quickly smooth chocolate and get uniform bars.
– Prep mise en place—candies, crackers, and baking sheet—before you start melting so you never have to step away from the stove.
Common Mistakes
– Overcooking the toffee: once it reaches a deep amber and smells nutty, pull it off heat—burned toffee tastes bitter and will ruin the batch.
– Uneven cracker coverage: gaps lead to puddles of toffee and inconsistent texture; fit crackers snugly in a single layer.
– Not chilling enough before cutting: warm bars smear—chill thoroughly for clean slices and neater presentation.
– Rescue strategy: if your chocolate blooms or looks dull, give the tray a quick reheat in a low oven (just a minute) and smooth it out, then re-chill.
What to Serve It With
These bars are lovely with a tall glass of cold milk, a robust cup of coffee, or a scoop of vanilla ice cream if you want to turn them into a dessert plate. They also make a fun addition to dessert tables, cookie exchanges, or as a colorful finish to a spring potluck.
Tips & Mistakes
When cutting, use a sharp knife warmed briefly under hot water and wiped dry between slices for cleaner edges. If you skip refrigeration, expect softer bars that are harder to slice neatly but just as tasty.
Storage Tips
Store in airtight containers in the fridge. It reheats beautifully, but if you sneak a bite cold straight from the container, it still works. For longer storage, freeze layers between parchment for up to a month and thaw in the fridge before serving.
Variations and Substitutions
– Gluten-free: swap in a sturdy gluten-free cracker or use gluten-free graham crackers; texture will be slightly different but still delicious.
– Dairy-free: use a plant-based butter substitute and choose dairy-free chocolate; the toffee won’t be identical but it’s a great option for dairy-free guests.
– Nutty version: fold toasted pecans or almonds into the toffee before it cools for an extra crunch.
– Candy swaps: use mini peanut butter cups, chopped chocolate eggs, or seasonal sprinkles to match your celebration—avoid overly wet candies that can bleed color.
– Classic holdouts: if you love the original balance, stick with unsalted butter and bittersweet chocolate—the contrast is worth preserving.