
Easy Air Fryer Smashed Potatoes
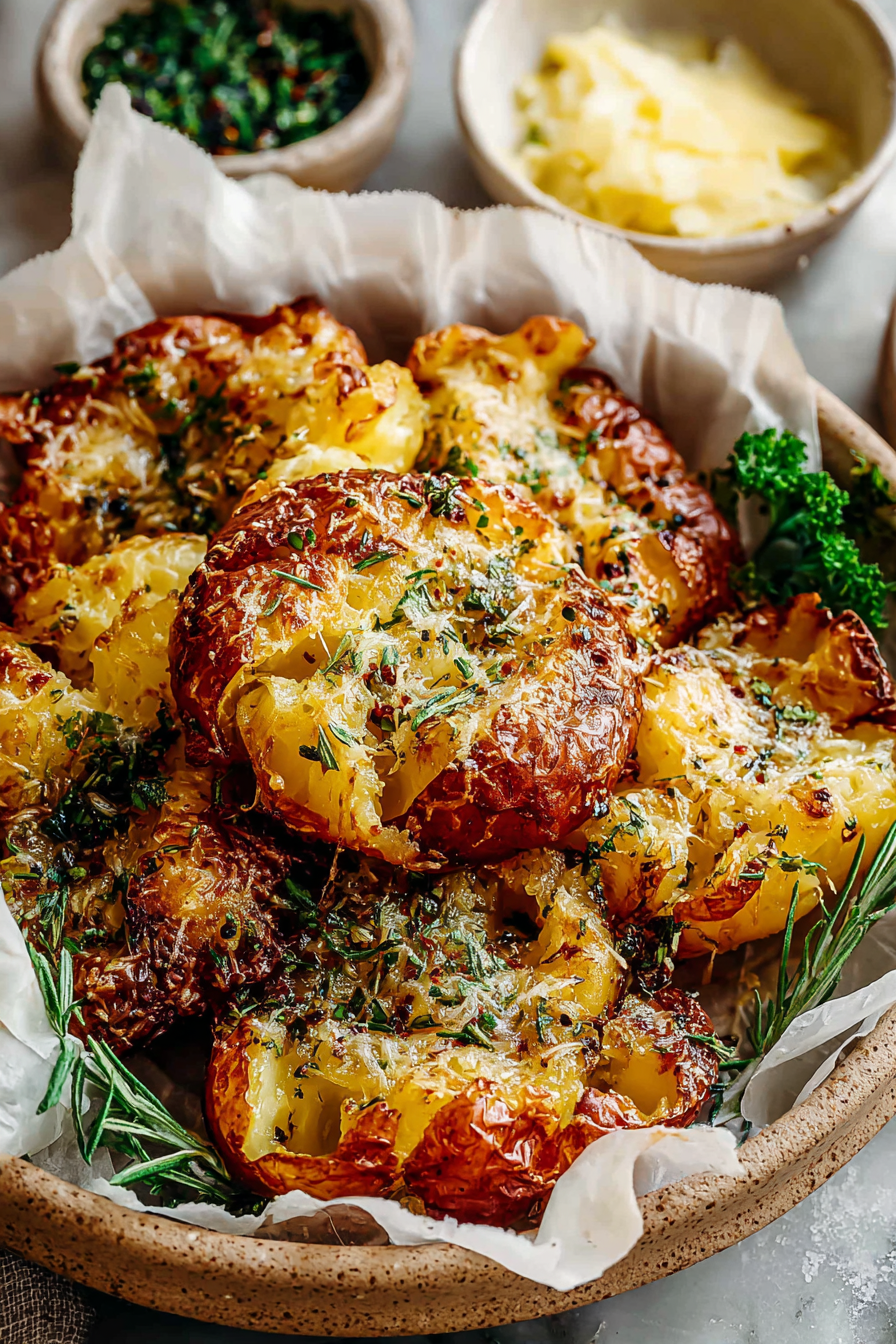
There’s something undeniably comforting about smashed potatoes, especially when they come straight from the air fryer. This recipe for Easy Air Fryer Smashed Potatoes transforms humble ingredients into a crispy-on-the-outside, fluffy-on-the-inside delight. What makes it even more special is how quick and simple the recipe is, fitting perfectly into our busy family life. My kids practically cheer when they see these on the dinner table, and it has quickly become a staple that we never get tired of.
I remember the first time I made these smashed potatoes for my family. It was a typical chaotic weeknight, and I was looking for something that would please everyone while also being easy to whip up. As I set the potatoes to boil, my husband walked in, and the enticing aroma soon filled the kitchen. When they finally came out of the air fryer, crisp and golden, my kids were literally diving in before the plates were fully set. The laughter and joy that filled the room that night showed me just how much these potatoes can bring us together, making them a regular fixture in our weekly meals.
Why You’ll Love This Easy Air Fryer Smashed Potatoes
One of the best things about this recipe is its sheer versatility; you can enjoy these potatoes as a side dish, snack, or even a main course by loading them up with your favorite toppings. They’re a breeze to prepare, and the air fryer gets them perfectly crisp without the fuss of deep frying. Plus, they’re a fun way to engage the kids in the kitchen—who doesn’t love smashing potatoes? Finally, they pair wonderfully with any protein or veggie, making them a fantastic addition to any meal.
Behind the Recipe
Making these smashed potatoes has been a delightful journey for my family and me. Initially, I was worried about getting that perfect smash, but I’ve learned that a gentle hand is key. It’s all about finding the right balance; you want enough force to break them apart but not so much that they turn into a mushy mess. I’ve found that sprinkling them with a bit of garlic powder and fresh herbs before air frying elevates their flavor immensely. Once you master the timing in your air fryer, you’ll be amazed at how crispy they can get without any extra oil.
Shopping Tips
When you’re at the store, look for small to medium-sized potatoes like Yukon Gold or red potatoes; they have the perfect texture for smashing. Opt for potatoes that are firm to the touch without any green spots or blemishes. If you’re on a budget, feel free to choose generic brands for basics like olive oil or seasonings, but I recommend investing in good quality sea salt for the best flavor. Remember, fresh herbs like parsley or chives can often elevate a simple dish, so grab some if you can.
Prep Ahead Ideas
If you’re looking to save time during the week, you can pre-boil the potatoes a day in advance. Store them in an airtight container in the fridge, and when you’re ready to fry, just let them sit at room temperature for about 30 minutes before smashing. This method ensures they cook evenly and gives you more flexibility on busy weeknights.
Time-Saving Tricks
One of my go-to time-savers is cooking the potatoes in a quick boil before air frying. This way, you’re cutting down on cooking time while still achieving that golden crispiness. I also like to prepare a batch of garlic and herb seasoning to keep on hand; just a sprinkle can elevate these potatoes with minimal effort. However, if time is really tight, feel free to use pre-minced garlic or frozen herbs—these little shortcuts can be a lifesaver.
Common Mistakes
One common pitfall is overcooking the potatoes during boiling, which can lead to a soggy texture when smashed. Keep an eye on them; they should be tender but not falling apart. I’ve also over-seasoned in the past, thinking we needed more flavor, only to find that the potatoes’ natural sweetness shines through with just a pinch of salt. If you do find yourself with overly salty potatoes, quickly reheating them in the air fryer can help absorb some of that excess flavor.
What to Serve It With
These smashed potatoes are incredibly versatile! They complement a wide range of dishes, from grilled chicken and steak to roasted vegetables or a fresh salad. Pair them with a tangy dipping sauce or some homemade garlic aioli for a fun twist that will keep everyone coming back for more.
Tips & Mistakes
Crispiness is key, so make sure to give the potatoes enough space in the air fryer. Overcrowding can lead to steamed potatoes instead of crispy ones. Also, remember to let them rest for a few minutes before serving to allow the steam to escape.
Storage Tips
Store in airtight containers in the fridge. It reheats beautifully, but if you sneak a bite cold straight from the container, it still works.
Variations and Substitutions
Feel free to experiment! If you don’t have garlic powder, try onion powder or paprika for a different flavor profile. For added richness, you can drizzle some melted butter or olive oil over the top after air frying. Just remember, while variations can be delightful, sometimes the classic version is worth keeping for its simplicity and comfort.
Frequently Asked Questions
Homemade Hamburger Buns
Ingredients
Main Ingredients
- 4.5 cup all-purpose flour Make sure to spoon it into the measuring cup for accuracy.
- 2 tbsp granulated sugar This adds a hint of sweetness to the buns.
- 1 tbsp active dry yeast Ensure the yeast is fresh for better rise.
- 1.5 cup warm water Water should be around 110°F for optimal yeast activation.
- 0.5 cup milk Use at room temperature for better blending.
- 0.5 cup unsalted butter Melted and cooled slightly before using.
- 2 large eggs Beaten before adding to the mixture.
- 1 tbsp salt Balances the flavors in the dough.
Instructions
Preparation Steps
- In a large bowl, mix the warm water, sugar, and yeast. Let it sit for about 5 minutes until frothy. Then, add the melted butter, milk, beaten eggs, and salt. Mix to combine.
- Gradually add the flour, mixing until a soft dough forms. Knead the dough on a floured surface for about 8-10 minutes until it’s smooth and elastic.
- Place the dough in a greased bowl, cover it with a cloth, and allow it to rise in a warm place for about 1 hour or until doubled in size.
- Once risen, punch down the dough and divide it into 12 equal pieces. Shape each piece into a ball and place them on a lined baking sheet.
- Cover the buns with a cloth and let them rise again for about 30 minutes.
- Preheat the oven to 375°F. Bake the buns for 15-20 minutes until golden brown. Allow to cool before slicing and serving.