
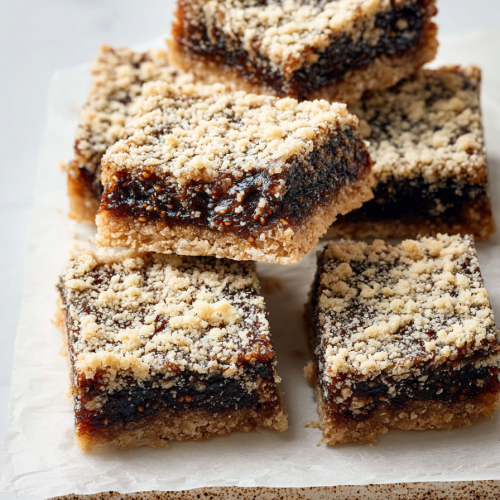
Easy Fig Bars for Anytime Snacking
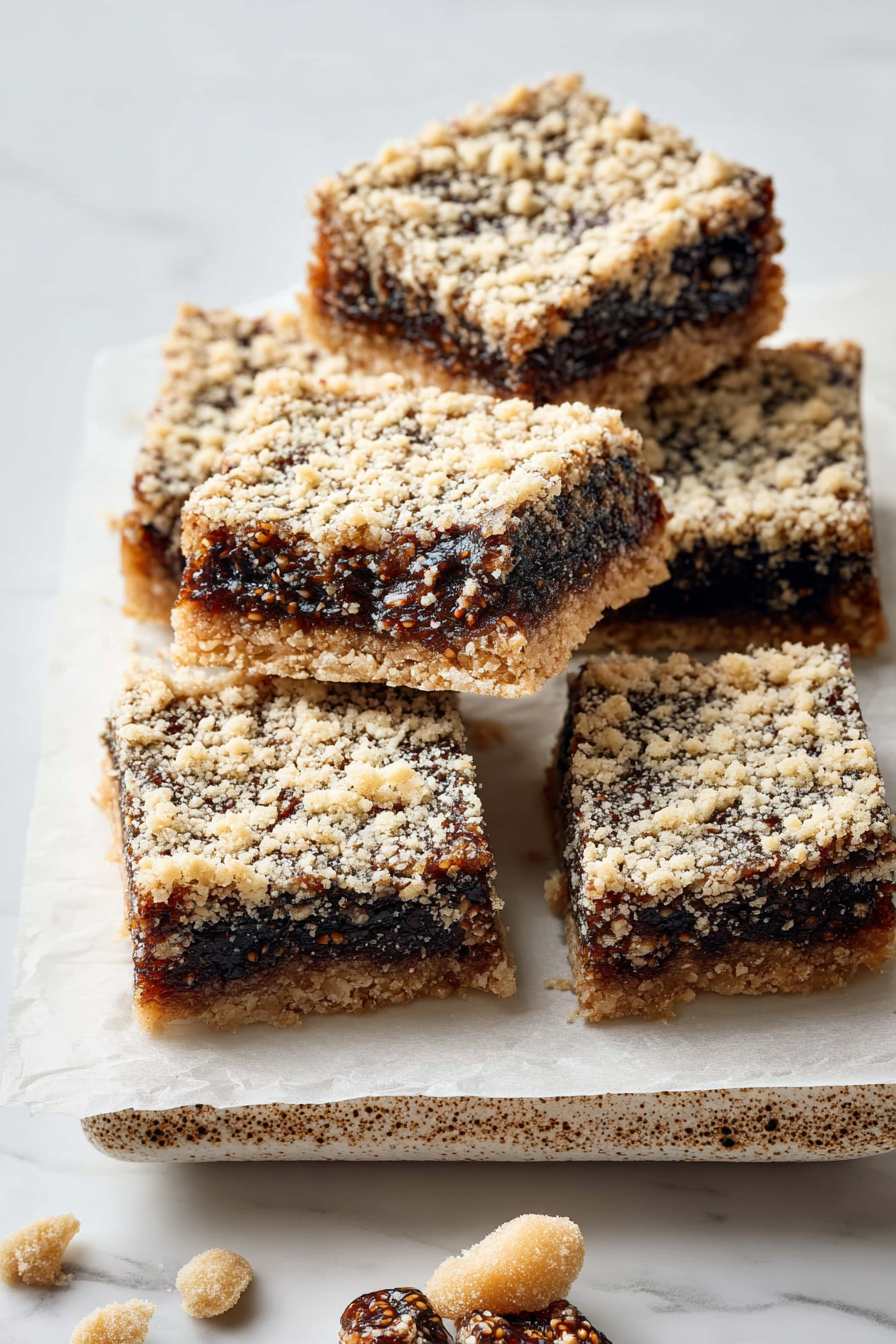
There’s something wonderfully nostalgic about Fig Bars, reminiscent of the delightful treats from my childhood. These chewy morsels filled with sweet fig paste have a way of bringing comfort while offering a surprisingly sophisticated flavor profile. They make for an excellent snack anytime, whether you’re packing lunches, enjoying a casual afternoon treat, or looking to impress guests with a simple homemade dessert. My family has fully embraced these bars, making them a staple in our kitchen, and they’re always a hit with everyone who tries them.
I remember the first time I made these Fig Bars; my husband and our little ones were buzzing with excitement as the aroma filled our home. As they came out of the oven, warm and golden, my kids flocked to the kitchen with hungry smiles. We gathered around the table, each of us trying to claim the biggest piece while playfully bickering over who got the first bite. It became one of those delightful family traditions where we not only enjoyed the sweet snack but also shared stories filled with laughter and love. Now, making these bars has become a cherished weekend ritual, ensuring that there is always something delicious and wholesome to grab during busy school days.
Why You’ll Love This Easy Fig Bars for Anytime Snacking
The beauty of this recipe lies in its simplicity and versatility. First, it’s incredibly easy to prepare, meaning you can whip up a batch without a fuss. Second, these bars are made with wholesome ingredients, so you can feel good about serving them to your family. Lastly, the combination of chewy figs and a slightly crispy crust is simply irresistible, making it the perfect companion for a cozy afternoon with a cup of tea.
Behind the Recipe
Making Fig Bars at home has opened my eyes to just how versatile this treat can be. The first time I experimented with the recipe, I followed it to the letter and found it satisfying. However, over time, I discovered ways to play with the flavors—adding a touch of cinnamon for warmth or even a splash of orange zest for brightness. One common pitfall I’ve encountered is overworking the dough; it should be just combined to maintain that perfect, soft texture. Letting the bars cool completely before slicing is another small trick that ensures clean cuts and perfect presentation.
Shopping Tips
When selecting ingredients, always look for fresh, plump figs—they should be soft to the touch but not mushy, and their natural sweetness should be evident. Dried figs can also work, but ensure they’re moist and not too hard. For the crust, use quality unsalted butter for the best flavor, and consider organic flour for an unprocessed option. When it comes to sweeteners like honey or brown sugar, sometimes splurging on a good brand makes a noticeable difference in flavor. Always check the ingredient labels for any added preservatives, particularly in pre-packaged ingredients.
Prep Ahead Ideas
You can prepare the fig filling a day ahead to save time; it stores well in the fridge. The crust ingredients can also be mixed and kept in an airtight container until you’re ready to bake. Having everything prepped not only cuts down on work when you’re ready to bake, but it also helps streamline any busy weeknight.
Time-Saving Tricks
One handy shortcut I’ve learned is to use a food processor to blend the ingredients quickly. It saves time on mixing, but be careful not to over-process. Keeping your workspace organized through mise en place can further streamline the cooking process. While I often rush during busy times, I’ve learned that letting the dough rest for a few minutes before rolling it out actually improves the texture of the crust.
Common Mistakes
A frequent mistake people make is baking the bars too long, which can lead to a dry texture. Trust your instincts and check for that golden brown color rather than strictly adhering to the timer. I once over-salted my version because I misunderstood the measurement—it turned out to be way too intense! The simple rescue is to add a touch of sweetener to balance out the flavor.
What to Serve It With
These Fig Bars shine on their own, but pair them with a scoop of vanilla ice cream or a dollop of yogurt for an added indulgence. They also go beautifully with a cup of Earl Grey tea, as the flavor notes complement the figs perfectly.
Tips & Mistakes
When slicing the bars, dip your knife in hot water and wipe it between cuts for clean edges. This simple trick avoids the messy, crumbly appearance that often accompanies freshly baked goods.
Storage Tips
Store in airtight containers in the fridge. It reheats beautifully, but if you sneak a bite cold straight from the container, it still works.
Variations and Substitutions
Feel free to swap out the figs for other dried fruits like apricots or raisins, though the classic fig filling is truly worth keeping. You could also experiment with the types of nuts added to the crust—for instance, almonds or walnuts can bring a different depth of flavor.
Frequently Asked Questions
Easy Fig Bars for Anytime Snacking
Ingredients
Main Ingredients
- 2 cups dried figs Chopped for easier blending
- 1 cup oat flour
- 0.5 cup brown sugar Packed
- 0.5 tsp baking soda
- 0.5 tsp salt
- 0.5 cup coconut oil Melted
- 1 tsp vanilla extract
Instructions
Preparation Steps
- Start by preheating your oven to 350°F (175°C). Then, prepare an 8x8 inch baking dish by greasing it or lining it with parchment paper.
- In a mixing bowl, combine the oat flour, brown sugar, baking soda, and salt. Mix well to ensure everything is evenly distributed.
- In a separate bowl, mash the chopped figs with a fork until they form a chunky paste. Incorporate the melted coconut oil and vanilla extract into the figs for added moisture and flavor.
- Combine the dry ingredients with the fig mixture and stir until everything is well blended. The batter should be sticky but manageable.
- Spread the mixture evenly into the prepared baking dish. Use a spatula to smooth the top and ensure it is evenly distributed.
- Bake in the oven for 25 minutes or until the edges start to turn golden brown. Let it cool in the pan before cutting it into bars.