
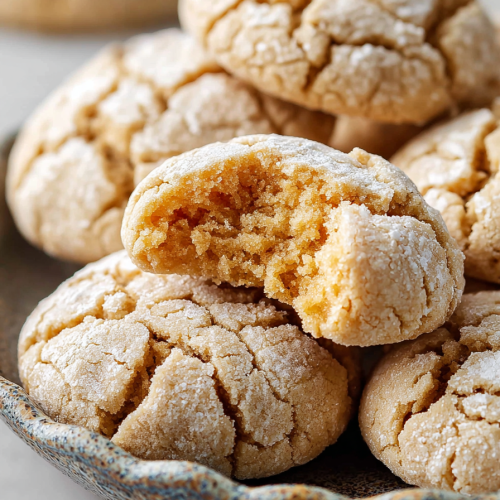
Easy Ooey Gooey Browned Butter Cookies
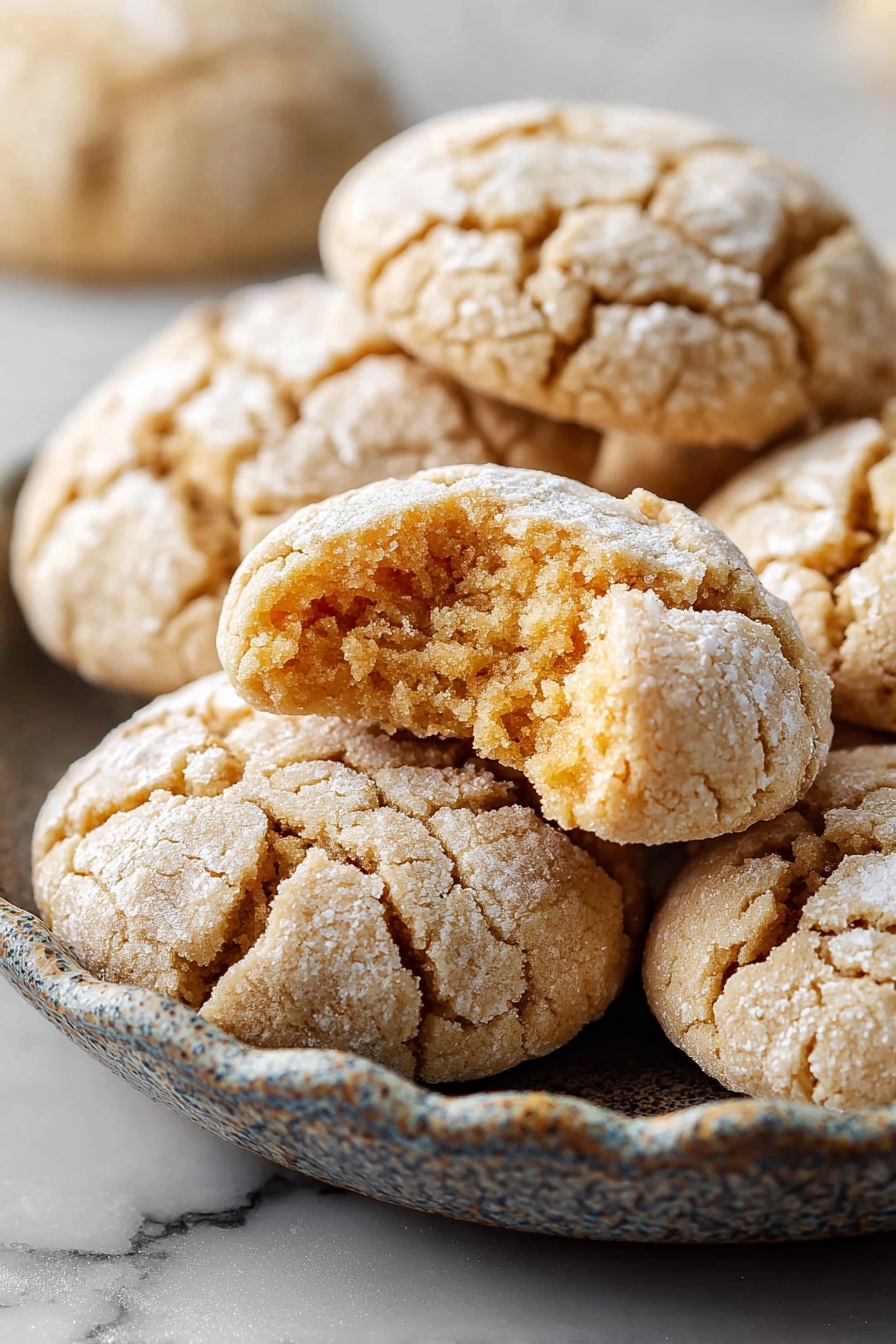
These cookies are the kind that make people pause mid-sentence and ask, “Did you bake those?”—golden edges, squishy centers, and that irresistible nutty caramel perfume from browned butter. They’re simple enough for a weekday bake but special enough for a small celebration, and the trick is all in the butter: gently toasting the milk solids transforms ordinary cookie dough into something deeply flavored and almost caramel-like without any extra work.
My husband is the resident cookie critic in our house; he claims he can tell when I’ve skipped a step. These browned butter cookies won him over the first time I tried them—he walked into the kitchen, took one bite, blinked slowly, and said, “You win.” Now it’s become our weekend ritual: a fresh batch for Sunday coffee, a few tucked into lunchboxes, and the occasional emergency cookie bribery when homework gets tense. I’ve learned which tweaks keep everyone happy (a few extra chocolate chunks for him, a sprinkle of flaky salt for me), and it’s become our small but reliable comfort-food tradition.
Why You’ll Love This Easy Ooey Gooey Browned Butter Cookies
– Deep, caramelized flavor from simple technique: browning butter adds a rich, toffee-like note that tastes far fancier than the effort required.
– Soft, slightly underbaked centers with crisp edges: that contrast is addictive and keeps the cookies pleasantly ooey-gooey.
– Easy to customize: stud them with chocolate chunks, chopped nuts, or a dusting of flaky sea salt depending on your mood.
– Reliable weekend project: forgiving dough that benefits from a short chill or a gentle hand when mixing, perfect for bakers of all levels.
Behind the Recipe
This cookie grew out of an experiment to amplify flavor without adding extra sugar or complicated steps. Browning the butter concentrates those milk solids and gives the dough a toasty backbone that plays beautifully with brown sugar and chocolate. The two biggest lessons I’ve learned: watch the butter closely—it can go from browned to burnt in moments—and let the butter cool just enough so it doesn’t scramble the eggs when you mix the dough. Chilling the dough firm up the fat and prevents spreading, but if you want that ooey center, bake just until the edges are set and the middles still look a touch underdone.
Shopping Tips
– Baking Basics (Flour/Sugar/Leaveners): Use good-quality all-purpose flour and measure it by spooning into your cup or, even better, weighing it; too much flour makes dry cookies.
– Fats & Oils: Choose unsalted butter so you control the salt level—browning unsalted butter gives the cleanest, most toffee-like flavor.
– Eggs: Room-temperature eggs incorporate more evenly into the dough; if you forget to bring them out, a quick 10-minute warm water bath works.
– Chocolate: Pick chocolate chunks or a bar you enjoy; larger pieces melt into pockets that make the center more indulgent than tiny chips.
– Nuts & Seeds: If you add walnuts or pecans, toast them lightly for extra crunch and a deeper flavor that complements the browned butter.
Prep Ahead Ideas
– Brown the butter a day ahead and store it in a jar in the fridge; warm it slightly before using so it blends easily.
– Mix the dry ingredients and store them together in a sealed container; this saves time and reduces measuring mistakes.
– Scoop dough into uniform balls and freeze them on a tray; when solid, transfer to a bag—bake straight from frozen with an extra minute or two.
– Pre-portion dough into parchment-lined containers for quick baking sessions; dough keeps well in the fridge for 48 hours or in the freezer for up to 3 months.
Time-Saving Tricks
– Brown the butter while measuring and sifting dry ingredients to make the most of your time at the stove.
– Use a cookie scoop to portion dough quickly and evenly—batches bake uniformly and you skip the guesswork.
– Bake multiple trays at once, rotating racks halfway through if your oven has hot spots.
– A short chill (15–30 minutes) firms the dough enough to prevent excessive spreading but won’t add long lead times to your bake.
Common Mistakes
– Overbrowning the butter: it’s aromatic and nutty when golden-brown; once it smells bitter, it’s past the point of no return. If you catch bitter smoke, start over.
– Adding hot butter to eggs: this can cook the eggs and leave you with a lumpy dough—let browned butter cool slightly before mixing.
– Overmixing after adding flour: that develops gluten and makes cookies cakey; mix until just combined.
– Overbaking: let the centers look slightly underdone when you take them out; cookies continue to set as they cool.
– Too much flour: I once added an extra half-cup by accident—result: heavy, dry cookies. Rescue by flattening, brushing with a little melted butter, and giving them a minute in the oven, but best to measure carefully.
What to Serve It With
These cookies are perfect with a tall glass of cold milk, a creamy latte, or a scoop of vanilla ice cream for an easy dessert. For something a little more grown-up, serve warm with espresso or a drizzle of salted caramel.
Tips & Mistakes
Aim for a gentle sizzle when the butter starts to brown; the smell will change from buttery to toasty and slightly nutty. If your dough is too warm, chill it—warmer dough spreads too much and loses that desirable chew. When in doubt, underbake slightly and let carryover residual heat finish the center.
Storage Tips
Store in airtight containers in the fridge. It reheats beautifully, but if you sneak a bite cold straight from the container, it still works.
Variations and Substitutions
– Chocolate swaps: use dark chocolate chunks for a more bittersweet contrast or milk chocolate for a sweeter, more classic cookie.
– Nutty add-ins: stir in toasted pecans or walnuts for crunch; macadamias are lovely with browned butter if you want something richer.
– Gluten-free: a 1:1 gluten-free flour blend can work—expect a slightly different texture, so handle the dough gently.
– Dairy-free: use a vegan butter that browns well (some do, some don’t); results vary, so test a small batch first.
– Flavor twists: a teaspoon of flaky sea salt on each warm cookie brightens the sweetness; orange zest adds a fresh citrus note that pairs nicely with browned butter.

Frequently Asked Questions
Easy Ooey Gooey Browned Butter Cookies
Ingredients
Main Ingredients
- 1.5 cup all-purpose flour Make sure to spoon and level it for accurate measurement.
- 0.5 cup brown sugar Packed for maximum sweetness.
- 0.5 cup granulated sugar Use fine sugar for the best texture.
- 0.5 cup unsalted butter Brown the butter for that nutty flavor.
- 1 large egg Room temperature for easier mixing.
- 1 tsp vanilla extract Pure extract will give the best results.
- 0.5 tsp baking soda Make sure it’s fresh for proper rising.
- 0.5 tsp salt Enhances the cookie flavor.
- 1 cup chocolate chips Semi-sweet is a fantastic choice.
Instructions
Preparation Steps
- Start by preheating your oven to 350°F (175°C). In a saucepan, melt the butter over medium heat, swirling it occasionally until it turns a beautiful golden brown and smells nutty. Remove from heat and let it cool slightly.
- In a large mixing bowl, combine the cooled brown butter, both sugars, and mix until well combined. Then, add the egg and vanilla, mixing until smooth.
- In another bowl, whisk together the flour, baking soda, and salt. Gradually add this dry mixture to the wet ingredients, stirring just until combined. Finally, fold in the chocolate chips.
- Drop rounded tablespoons of dough onto a lined baking sheet, spacing them a few inches apart. Bake for 8 to 10 minutes or until the edges are lightly golden. The centers will look soft but will firm up while cooling.
- Allow the cookies to cool on the baking sheet for a few minutes before transferring them to a wire rack to cool completely. Enjoy your delicious cookies!