
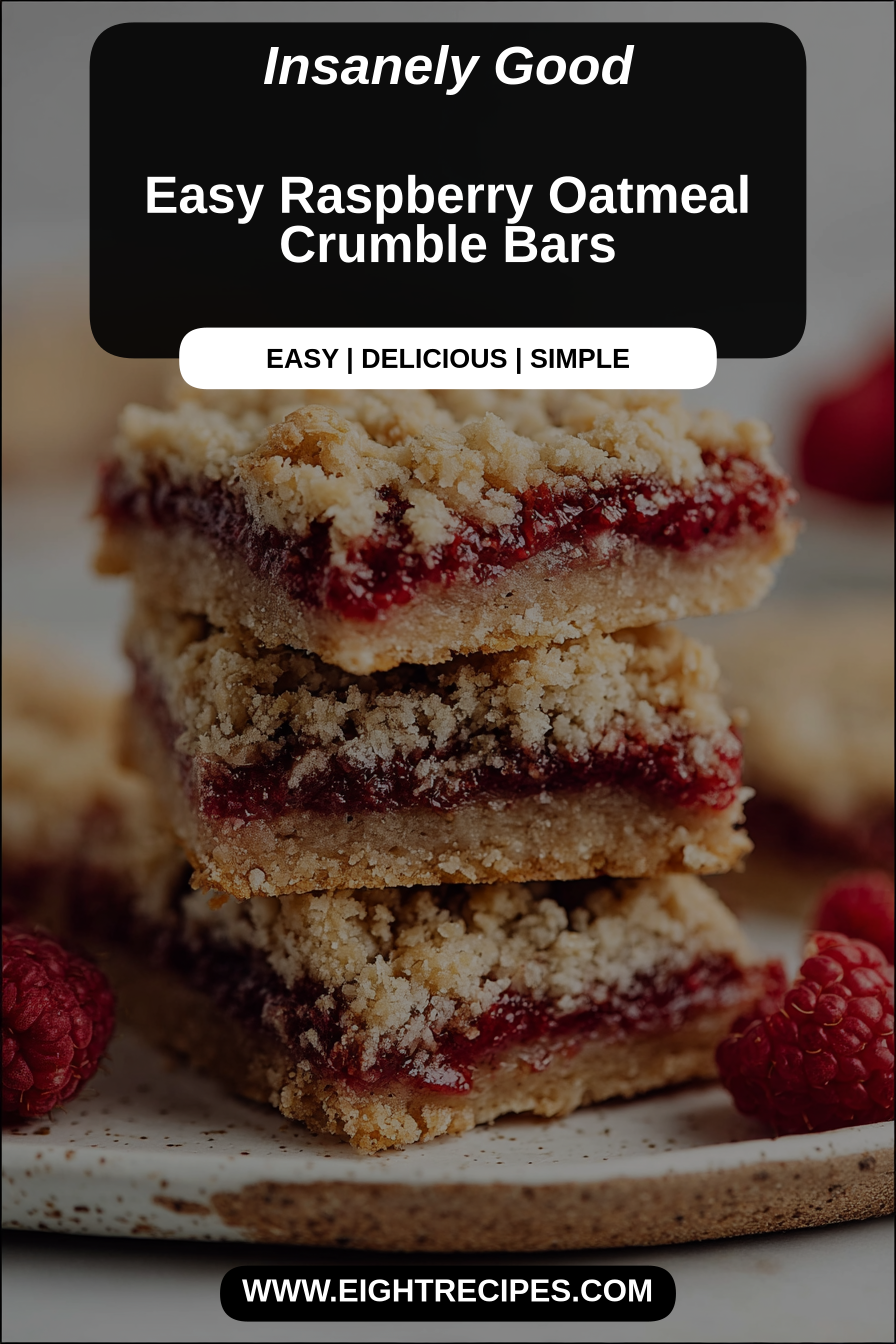
Easy Raspberry Oatmeal Crumble Bars
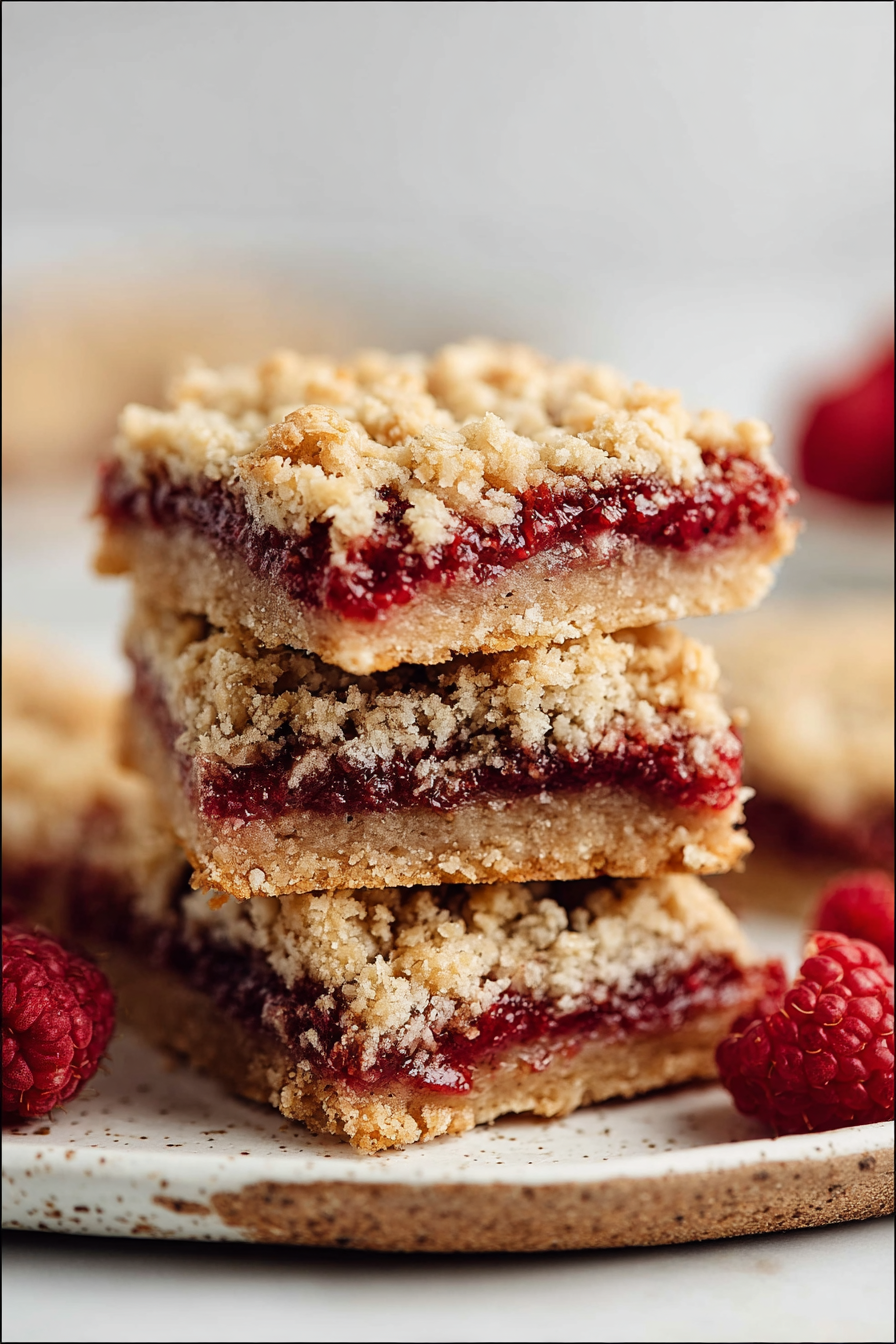
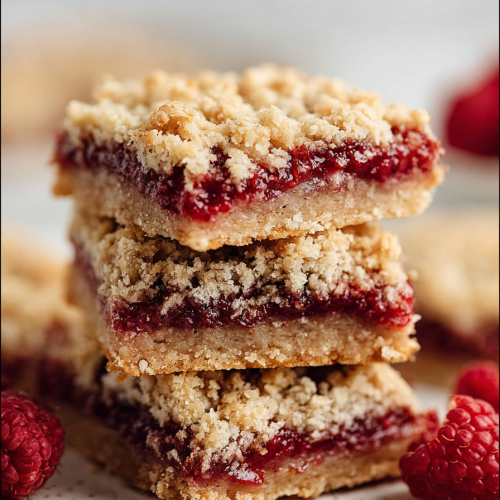
These raspberry oatmeal crumble bars are the kind of dessert I make when I want something that feels homemade and comforting without a lot of fuss — buttery oat crumble, bright-tart raspberry filling, and just enough chew to make every bite interesting. They live somewhere between a cookie, a fruit bar, and a breakfast treat, which means they’re perfect for brunch, an after-school snack, or a portable dessert for potlucks.
My little family is obsessed. My husband will happily take the last one if I don’t hide a corner away, and my kid requests them for lunchboxes on days when I forget to pack a banana. I once made a pan for a rainy Saturday and left it cooling on the counter; by the time I turned around, a trail of crumbs led from the kitchen to the living room where my husband and kid were quietly finishing off the tray. Now it’s become our go-to “easy weekend bake,” the recipe I pull when we want something homey and slightly nostalgic but not fussy.
Why You’ll Love This Easy Raspberry Oatmeal Crumble Bars
– They balance bright fruit with a rustic, crunchy oat topping that isn’t too sweet — perfect if you like desserts that lean more homemade than bakery-sweet.
– Oats and a simple flour-butter base make these sturdy and portable, so they’re great for lunchboxes, picnics, or a coffee break.
– The raspberry filling can be made with fresh or frozen berries, so you can enjoy them year-round.
– They’re forgiving: the crumble holds up well if you overbake a little, and the filling thickens nicely as the bars cool.
Behind the Recipe
I learned early on that the texture is everything here: too little butter and the bars turn dry, too much and the crumble slides apart. The trick is a sandy, pressable base that browns around the edges, and a loose, slightly jammy filling that sets as the bars cool. People often try to skip the chilling step — don’t. Letting the pan cool completely before slicing keeps the edges clean and the filling from oozing. Little touches I love: a light dusting of powdered sugar for presentation, or a spoonful of seeds (chia or flax) stirred into the filling for extra body without changing the flavor.
Shopping Tips
– Produce/Fruit: Fresh raspberries are beautiful and bright, but frozen work excellently — just thaw and drain excess liquid before using to avoid a runny filling.
– Baking Basics (Flour/Sugar/Leaveners): Use all-purpose flour for the classic texture; the sugar amount can be adjusted depending on how tart your berries are.
– Grains/Pasta: Rolled oats (old-fashioned) give the best chewy-crisp texture; quick oats will make a finer, denser crumble.
– Fats & Oils: Unsalted butter is ideal so you can control the salt level; browned butter adds a lovely nutty note if you want to elevate the flavor.
– Frozen Aisle: Frozen raspberries are a budget-friendly, year-round option — pick unsweetened and check for clumping (indicates freezer burn).
Prep Ahead Ideas
– Make the crumble mixture and press the base into the pan the day before; keep it wrapped in the fridge and add the filling and top crumble before baking.
– Cook and cool the raspberry filling ahead in a jar; stored in the fridge it lasts 3–4 days and you can bake bars quickly when you’re ready.
– Measure dry ingredients into airtight containers in advance; labeled mason jars or zip bags work great and speed up the process on bake day.
Time-Saving Tricks
– Use thawed, drained frozen raspberries instead of fresh to skip the washing and sorting step without sacrificing flavor.
– Mix the crumble by hand with a pastry cutter or two forks to avoid washing a stand mixer — it’s faster and gives better control over texture.
– Do your mise en place: line the pan, pre-measure flours and oats, and set out the butter to soften while you prep the fruit; it shaves minutes off total time.
Common Mistakes
– Overworking the dough: if you mash the butter in too much, the texture becomes greasy; aim for coarse crumbs that hold together when pressed.
– Skipping the cook-down for the filling: uncooked berries can release excess juice; a quick simmer with a little sugar and cornstarch thickens the filling so the bars slice cleanly.
– Cutting too soon: hot bars will crumble and smear — I made this mistake once and ended up with ragged slices; let them cool completely (or chill) before slicing.
What to Serve It With
These bars are lovely with a cup of strong coffee or a milky tea. For dessert service, try them with a scoop of vanilla ice cream or a dollop of plain Greek yogurt to balance the sweetness. They’re also terrific alongside a cheese board — the tart raspberry flavor pairs nicely with a mild, creamy cheese like ricotta or mascarpone.
Tips & Mistakes
Serve at room temperature for the best texture; cold bars are firmer but not as flavorful. If the filling tastes flat, a squeeze of lemon brightens it instantly.
Storage Tips
Store in airtight containers in the fridge. It reheats beautifully, but if you sneak a bite cold straight from the container, it still works.
To freeze, wrap individual bars in parchment and foil and store in a freezer-safe bag for up to 3 months; thaw in the fridge overnight.
Variations and Substitutions
– Swap raspberries for blueberries, blackberries, or a mixed berry blend — adjust sugar slightly for sweeter berries.
– Use whole-wheat pastry flour for a nuttier flavor, or a 1:1 gluten-free flour and certified gluten-free oats to make them gluten-free.
– Replace some or all of the butter with coconut oil for a dairy-free option, though the flavor and texture will be a bit different.
– If you prefer less sugar, reduce the sugar in both the filling and crumble; I often lower it by 15–25% and still find the bars satisfying.
Frequently Asked Questions
Easy Raspberry Oatmeal Crumble Bars
Ingredients
Main Ingredients
- 1.5 cups old-fashioned oats
- 1 cup all-purpose flour
- 0.5 cup brown sugar packed
- 0.5 cup granulated sugar
- 0.5 cup unsalted butter melted
- 1 tsp vanilla extract
- 2 cups fresh raspberries you can use frozen, just thaw them first
- 1 tbsp cornstarch
- 0.5 tsp lemon juice optional, for extra zing
Instructions
Preparation Steps
- Preheat your oven to 350°F (175°C). Line an 8x8 inch baking dish with parchment paper, allowing some overhang for easy removal later.
- In a bowl, combine the oats, flour, brown sugar, and granulated sugar. Pour in the melted butter and vanilla extract, mixing until crumbly.
- Reserve about 1 cup of the oat mixture for topping. Press the remaining mixture evenly into the bottom of the prepared dish to form a crust.
- In another bowl, gently toss the raspberries with cornstarch and lemon juice. Spread this berry mixture over the oats in the dish.
- Sprinkle the reserved oat crumb mixture over the berry layer, aiming to cover it evenly.
- Bake for about 30 minutes, or until the topping is golden brown and the raspberries are bubbly.
- Allow to cool completely before lifting out of the dish and cutting into squares.