
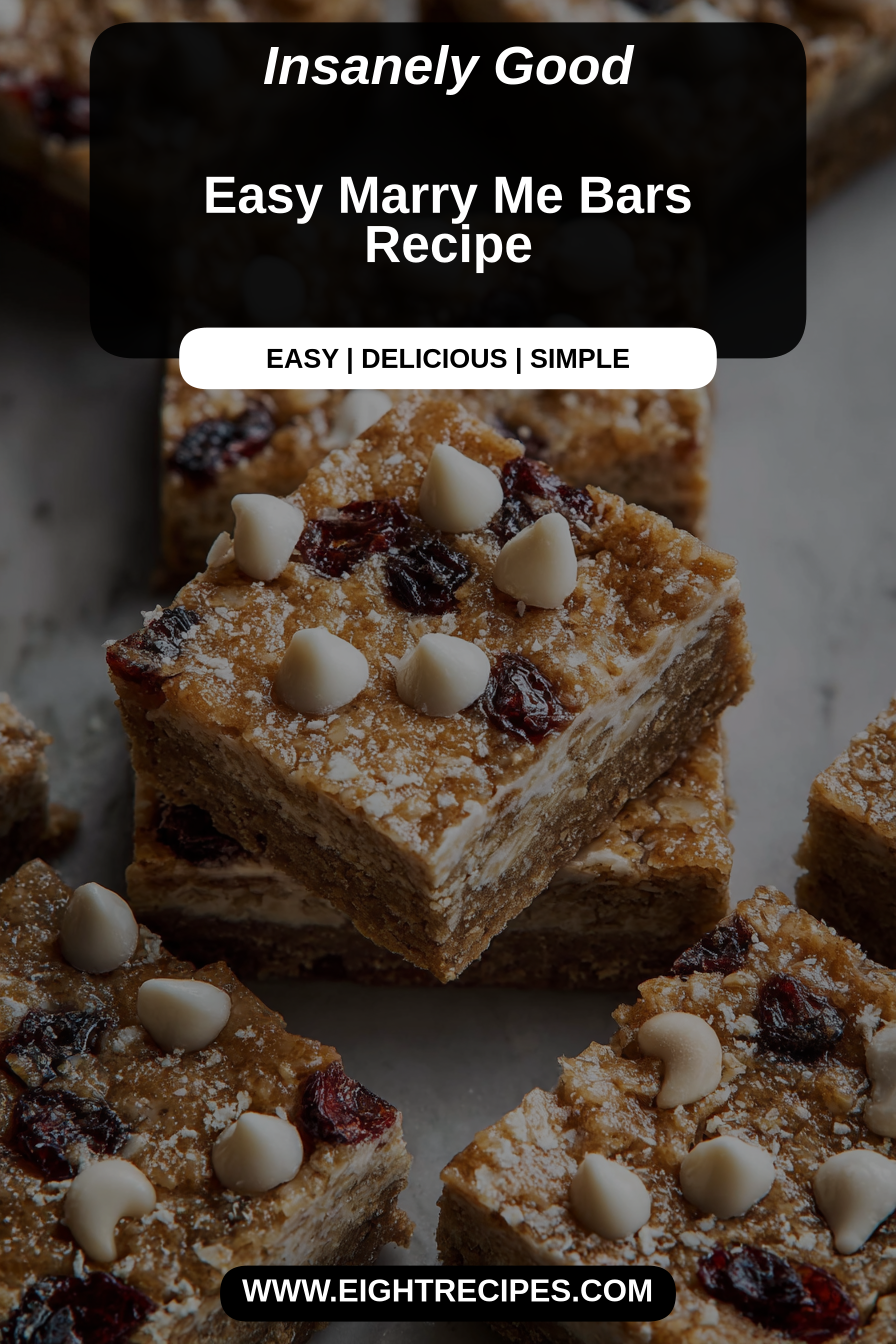
Easy Marry Me Bars Recipe
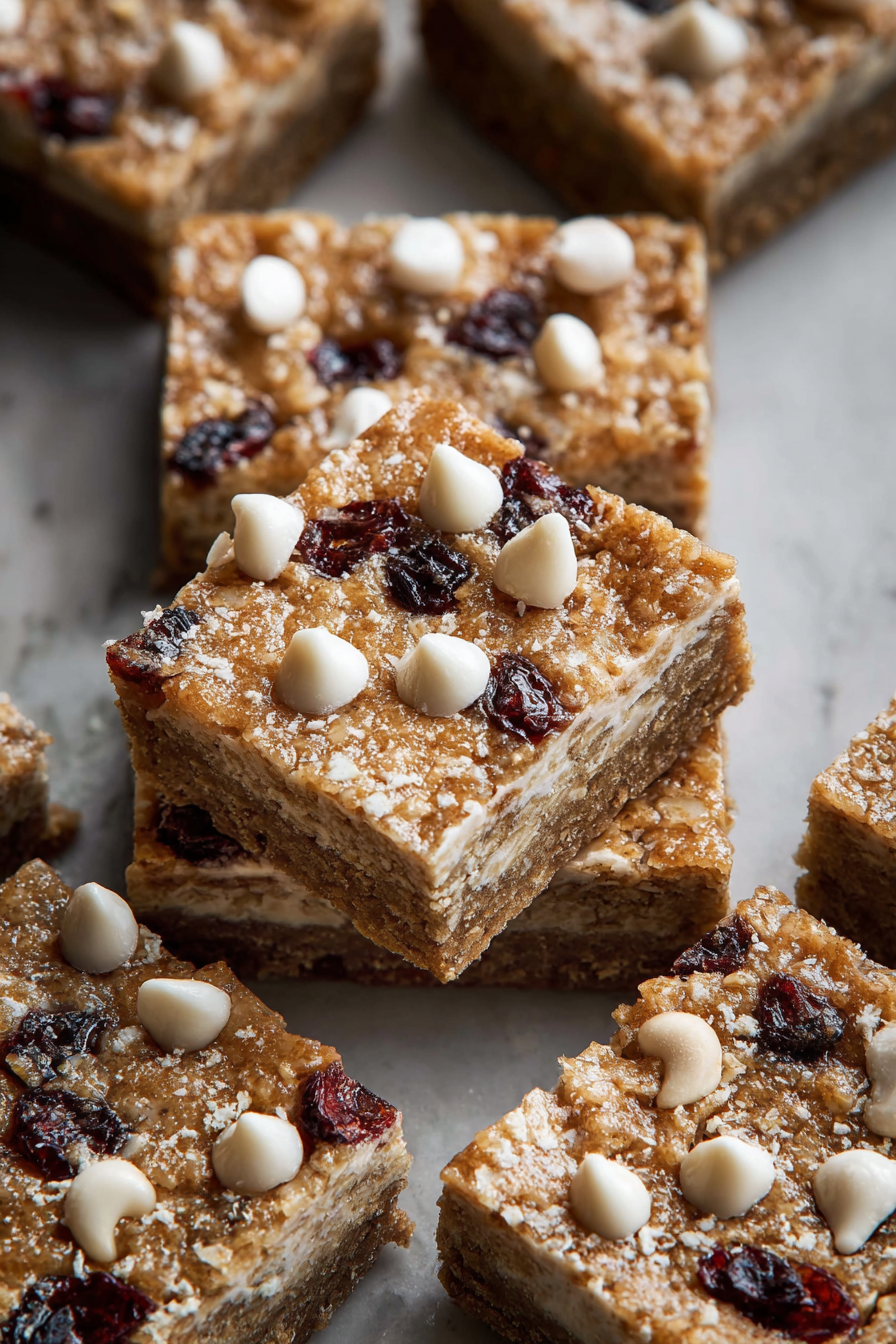
These bars are my kind of trouble: buttery, slightly chewy, and flirtatious enough to earn their name—Easy Marry Me Bars are the sort of dessert that gets quoted in our house long after the last crumb is gone. They’re layered, crowd-pleasing, and have that irresistible mix of sweet, salty, and textural contrast that makes people reach for one more piece. If you like bars that travel well, make great leftovers, and pair with a strong cup of coffee, these will quickly become a go-to.
My husband calls them “little boxes of persuasion” — he begged me to bring them to every family gathering last winter and now asks for them whenever he needs a celebratory treat (or an apology). Our kiddo likes to help press the base into the pan and has a strict policy that sprinkles are mandatory, which somehow makes them taste better. They’re now my quick-win dessert for potlucks and a staple in our cookie jar during the holiday season.
Why You’ll Love This Easy Marry Me Bars Recipe
– Crowd-pleasing layers: the combination of a tender base and a gooey middle makes these universally loved.
– Easy to scale: make a 9×13 for a crowd or a smaller pan for a family night — the flavor holds up.
– Make-ahead friendly: components can be made a day or two in advance, which is a lifesaver for busy schedules.
– Familiar flavors with personality: butter, a touch of salt, and chocolate bring comfort with an elevated twist.
Behind the Recipe
I’ve made these bars dozens of times and learned a few things the slow way. The crust wants to be just slightly underbaked before you add any gooey layer — that helps avoid a soggy bottom. Temperatures matter: if your caramel or chocolate is too hot when you assemble, it can sink into the crust; too cool, and it won’t set smoothly. A light sprinkle of flaky salt right after the top layer sets makes the flavors pop and keeps the sweetness from feeling one-note. Finally, let the bars cool long enough before slicing; patience yields cleaner squares.
Shopping Tips
– Baking Basics (Flour/Sugar/Leaveners): Use all-purpose flour for the base unless you’re intentionally using a gluten-free blend; measure flour with a spoon-and-level method for consistent texture.
– Fats & Oils: Real butter matters here — it gives the crust and layers their rich flavor; don’t substitute margarine unless you must.
– Chocolate: Pick a good-quality chocolate for the top layer; a 60–70% bar works wonderfully for balance between sweet and bitter.
– Nuts & Seeds: If the recipe calls for chopped nuts, buy them fresh (not rancid) and toast lightly for deeper flavor.
– Sweeteners: If you want to tone down sweetness, you can swap part of the sugar for a less-sweet sugar like coconut sugar, but expect a change in color and texture.
Prep Ahead Ideas
– The crust can be pressed into the pan and refrigerated a day ahead; cover tightly to keep it from picking up fridge smells.
– Any caramel or middle layer can be made and cooled, then kept in an airtight container in the fridge for up to 3 days; warm slightly before assembling if it firms up.
– Chop toppings (nuts, chocolate chunks) and store in small containers so assembly is quick; this turns a long bake day into a 20-minute finish.
Time-Saving Tricks
– Use a food processor to quickly cut butter into the dry ingredients for a uniform crust without overworking it.
– Keep a microwave-safe bowl of chocolate handy for quick melting; short bursts and stirring prevents burning.
– Do your mise en place: measure all dry and wet ingredients before starting so you can move through steps confidently without scrambling.
Common Mistakes
– Underbaking the base: if it’s gummy after cooling, it needed a few more minutes; give it color but not darkness.
– Overheating chocolate: burnt chocolate tastes bitter — melt slowly and stop while there are still streaks, then stir to finish.
– Adding wet layers to a hot crust: this can make them sink; let the base cool slightly so the layers sit nicely.
– I did this once and pressed the crust too thin — the bars fell apart when cut; aim for an even thickness for structure.
What to Serve It With
Serve slices with black coffee, a strong espresso, or a casually frothed latte to balance the sweetness. For an extra treat, a scoop of vanilla ice cream or a dollop of lightly whipped cream makes them feel indulgent without being fussy.
Tips & Mistakes
Pair with something slightly bitter (coffee or unsweetened cocoa) to offset richness. Don’t try to cut them while they’re still warm unless you’re okay with rustic, uneven bars — cooling first gives neat slices.
Storage Tips
Store in airtight containers in the fridge. It reheats beautifully, but if you sneak a bite cold straight from the container, it still works. For longer storage, freeze the bars whole or cut into squares, wrapped tightly, for up to 2 months; thaw in the fridge before serving.
Variations and Substitutions
Swap toasted pecans or walnuts for any called-for nuts, or omit them entirely for a nut-free version. Use dark chocolate if you prefer less sweetness, or white chocolate for a sweeter, creamier variant. For dairy-free: use a plant-based butter and a dairy-free chocolate; texture will be slightly different but still tasty. Gluten-free flours can work, but choose a blend labeled for baking to maintain structure.
Write me the frequently asked questions and answers Easy Marry Me Bars Recipe in the same way as the example below.
Frequently Asked Questions

Easy Marry Me Bars Recipe
Ingredients
Main Ingredients
- 1.5 cup all-purpose flour
- 0.5 cup brown sugar packed
- 0.5 cup granulated sugar
- 1 cup butter softened
- 2 large eggs
- 2 tsp vanilla extract
- 1 cup chocolate chips
- 1 cup nuts chopped, optional
Instructions
Preparation Steps
- Start by preheating your oven to 350°F (175°C). Prepare a baking dish by greasing it or lining it with parchment paper for easy removal later.
- In a large mixing bowl, combine the softened butter, brown sugar, and granulated sugar. Cream them together until the mixture is light and fluffy.
- Add in the eggs one at a time, mixing well after each addition, then blend in the vanilla extract.
- Gradually mix in the all-purpose flour until well incorporated. Finally, gently fold in the chocolate chips and nuts if you're using them.
- Spread the batter evenly in the prepared baking dish and smooth out the top with a spatula.
- Bake in the preheated oven for about 25 minutes or until the edges are golden and a toothpick inserted in the center comes out clean.
- Once out of the oven, let the bars cool in the pan for at least 10 minutes before transferring to a wire rack to cool completely. Cut into squares and enjoy!