Amish Sweet Homemade Breakfast & Brunch Recipe
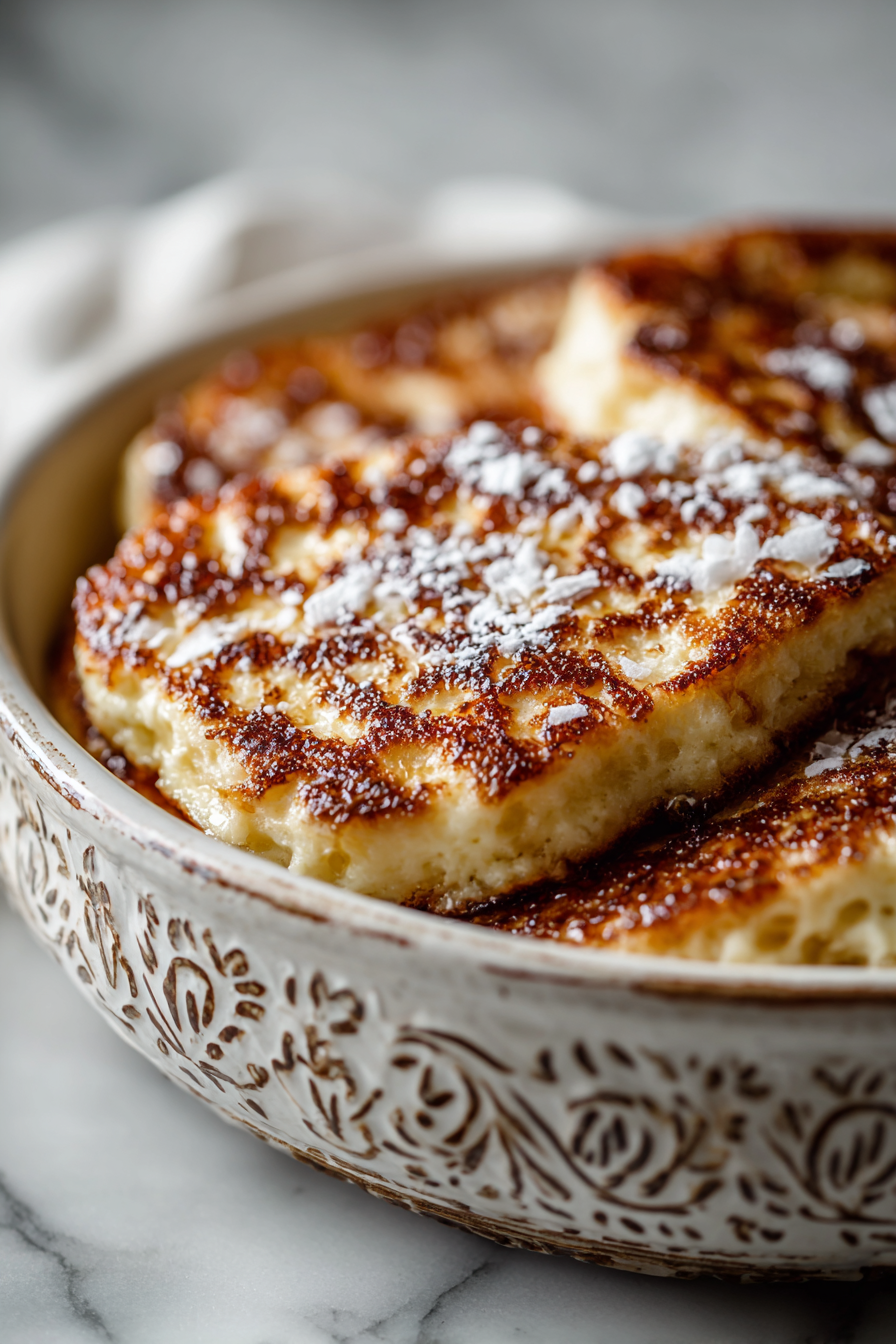
This loaf is everything I want from a weekend breakfast: tender, lightly sweet crumb, a golden crust that shatters when you slice into it, and a smell that makes the whole house slow down. Amish Sweet Homemade Breakfast & Brunch Recipe is a gently sweet, enriched bread—think brioche-adjacent but simpler—that works equally well toasted with butter, sliced into sandwiches, or served alongside a bowl of fruit and coffee.
My family is borderline religious about this loaf. My husband calls it “the Sunday bread” and volunteers to be the official slicer (a role he takes very seriously). The kids will wake up early the day I make it, drawn by the smell, and hover in the kitchen until we all gather round the counter to sample a still-warm slice. It started as a way to use up extra eggs from our backyard hens and turned into my go-to for holidays, sleepy Saturday breakfasts, and whenever we want something a little extra but not fussy.
Why You’ll Love This Amish Sweet Homemade Breakfast & Brunch Recipe
– Soft, forgiving dough that rewards a range of skill levels—beginners get a beautiful loaf and pros can tweak enrichments to their liking.
– Mild, nostalgic sweetness that plays well with jam, butter, or savory toppings—flexible for breakfast, brunch, or a light dessert.
– Keeps and reheats beautifully, so a single loaf stretches into several breakfasts without losing charm.
– No special equipment required; you can make it by hand or with a mixer and still end up with a bakery-worthy result.
Behind the Recipe
This recipe celebrates simplicity: enriched but not heavy, sweet but not cloying. Over the years I’ve learned to watch the dough rather than the clock—temperature and humidity affect rise times, and a slightly tacky dough often yields the most tender crumb. A few things that helped me most: let the dough rest if it feels resistant, don’t rush the final rise (it pays off in texture), and don’t be afraid to bake a little longer if your loaf is pale—an extra 5–7 minutes can deepen flavor and structure without drying it out. People often worry about the sugar level; the original is intentionally gentle, so tweak it only if you want a dramatically different profile.
Shopping Tips
– Baking Basics (Flour/Sugar/Leaveners): Use a good-quality all-purpose or a blend with bread flour for extra chew; make sure your baking powder/soda and yeast are fresh for reliable rise.
– Dairy: Full-fat milk or half-and-half gives the best richness, but whole milk will still make a tender loaf—avoid skim for a drier result.
– Eggs: Room-temperature eggs incorporate more easily and help create a smoother, richer dough; large eggs are standard in most home recipes.
– Sweeteners: Granulated sugar is traditional, but light brown sugar adds a warm caramel note if you want depth without extra sweetness.
– Nuts & Seeds: If you plan to add mix-ins like chopped nuts or seeds, buy them fresh and consider toasting briefly to boost flavor.
Prep Ahead Ideas
– Mix the dough the night before and do the first rise in the fridge—this develops flavor and shortens morning work to shaping and a final proof.
– Measure dry ingredients and soften butter or bring milk and eggs to room temperature ahead of time; store components in labeled containers so assembly is quick.
– Pre-slice jam or set out spreads in small jars in the fridge for an effortless morning service—keeps things calm when everyone’s ready to eat.
Time-Saving Tricks
– Use a stand mixer for kneading to save hands-on time; a quick 6–8 minute mix usually replaces 10–12 of hand-kneading.
– Make smaller loaves or rolls for faster rise and bake times if you need a quicker turnaround.
– Do your mise en place: have flour measured, dairy warmed, and pans ready before you start—baking runs smoother when you’re organized.
– If you’re short on time, let the dough rise in a warm oven (turn the oven to its lowest for a few minutes, then turn it off and place dough inside) to expedite proofing without overheating.
Common Mistakes
– Letting the dough get too dry: I once added extra flour because the dough felt sticky—result was a dense loaf. Trust a slightly tacky dough and flour your hands lightly instead.
– Rushing the final proof: under-proofed loaves collapse or have dense centers; if your dough springs back slowly when poked, it’s ready.
– Overbrowning: tent with foil if the top is getting too dark before the center’s done; this saves flavor and keeps the crust pleasant.
– Skipping temperature checks: cold ingredients can double your rise time; warm (but not hot) milk and room-temp eggs make for predictable results.
What to Serve It With
– Fresh butter and a selection of jams or honey for a classic spread.
– Soft-scrambled eggs or an herb omelet for a savory-bright contrast.
– Thick Greek yogurt with fruit and a drizzle of maple for a balanced brunch plate.
– Sliced and layered with baked ham and Swiss for a simple, delightful sandwich.
Tips & Mistakes
– Slice with a serrated knife for clean edges; letting the loaf cool slightly before slicing helps maintain structure.
– If your family prefers a sweeter profile, add a light glaze after baking, but don’t overdo it—part of the charm is the restrained sweetness.
Storage Tips
Store in airtight containers in the fridge. It reheats beautifully, but if you sneak a bite cold straight from the container, it still works.
Variations and Substitutions
– Dairy-free: swap the milk for unsweetened almond or oat milk and use a plant-based butter; texture will be slightly different but still very good.
– Add-ins: fold in raisins, currants, or toasted nuts during shaping for a more textured loaf—avoid large chunks that interfere with the crumb.
– Sweetness swaps: replace some or all sugar with maple syrup or honey, but reduce other liquids slightly to keep dough consistency steady.
– Keep the classic for a reason: the original balance of egg, milk, and sugar creates the signature tender crumb—if you’re tempted to experiment, try small test loaves first.