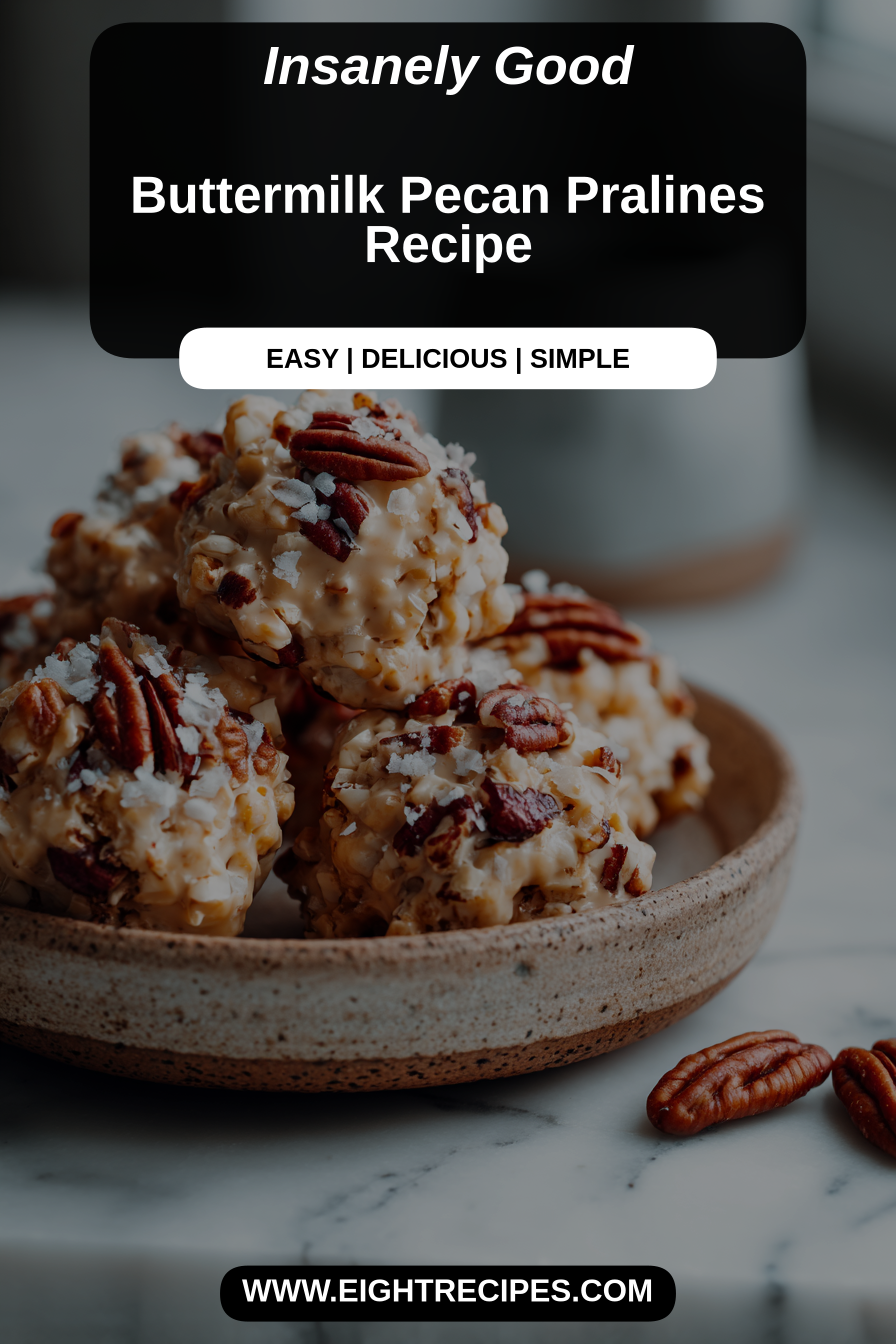
Buttermilk Pecan Pralines Recipe
There’s a certain magic in a good praline—that delightful southern confection that manages to be both rich and delicate, offering a sweet, buttery crunch that melts in your mouth. This version, made with buttermilk, brings a subtle tang and an incredible creaminess that elevates it beyond the ordinary. It’s a surprisingly simple treat to master, yielding impressive results perfect for sharing, gifting, or simply savoring with a cup of coffee. You’ll find yourself reaching for these whenever a craving for something truly special strikes.
My husband, Mark, has a sweet tooth that’s legendary in our household, and these buttermilk pecan pralines have become his ultimate indulgence. I first made them for a holiday party a few years back, and I remember him sneaking bites from the cooling parchment paper, completely mesmerized. Now, whenever I mention making a batch, his eyes light up, and he’ll hover in the kitchen, offering to ‘supervise’ (which mostly involves taste-testing stray pecan pieces). They’ve become a beloved staple, the kind of comforting treat that brings a little extra joy to our weekend mornings or quiet evenings at home.
Why You’ll Love This Buttermilk Pecan Pralines Recipe
You’ll fall head over heels for this Buttermilk Pecan Pralines Recipe because it delivers that authentic, melt-in-your-mouth praline experience with an added layer of nuanced flavor. The buttermilk works wonders, not only adding a delightful tang that balances the sweetness but also contributing to a smoother, creamier texture that’s truly irresistible. They’re surprisingly quick to whip up once you get the hang of the technique, making them a fantastic last-minute dessert or a thoughtful homemade gift. Plus, the combination of toasted pecans and that rich, buttery caramel note is simply divine—a true taste of Southern charm right in your own kitchen.
Behind the Recipe
Making pralines at home is a rewarding process, and while it might seem a bit intimidating at first, it’s truly about patience and paying attention to a few key details. I’ve learned that the temperature is absolutely paramount; a good candy thermometer is your best friend here. Don’t rush the heating process, and avoid the urge to stir constantly once it’s boiling, as that can encourage crystallization. The little touch of baking soda right at the end helps create that distinctive soft, slightly crumbly texture while preventing the sugar from becoming too hard. It’s also tempting to use cold nuts, but briefly toasting your pecans beforehand makes a world of difference, bringing out their natural oils and enhancing their flavor, which truly shines in the finished praline.
Shopping Tips
– Sweeteners: You’ll need both granulated sugar and brown sugar. Opt for a good quality brand for consistent results, as the sugar is the backbone of this confection.
– Dairy: Buttermilk is non-negotiable for that signature tang and creamy texture. Choose full-fat buttermilk if available, as the richness will contribute to the praline’s luxurious mouthfeel.
– Nuts & Seeds: Fresh pecan halves are essential. Look for plump, unbroken halves with a vibrant color, and avoid any that appear shriveled or have an off smell.
– Fats & Oils: Unsalted butter is preferred, as it gives you control over the overall saltiness of the praline. A good quality butter will enhance the buttery flavor.
– Baking Basics: A small amount of baking soda is key for the praline’s texture. Just a tiny pinch will make all the difference, so ensure yours is fresh.
Prep Ahead Ideas
The beauty of these pralines is that much of the prep can be done just before cooking. However, you can certainly measure out all your dry ingredients—the sugars and baking soda—into a bowl the day before. You can also toast your pecans ahead of time and store them in an airtight container at room temperature. Having everything measured and ready to go will make the cooking process much smoother, especially since the candy-making stage moves fairly quickly.
Time-Saving Tricks
While making candy sometimes feels like a race against time, for pralines, the best time-saving trick is actually a good dose of mise en place. Have your parchment paper laid out, your pecans ready, and all your ingredients measured before you even turn on the stove. A reliable candy thermometer is also a huge time-saver, eliminating guesswork and ensuring you hit the precise temperature for perfect results every time. Resist the urge to walk away from the pot once it starts boiling; staying present will prevent burning and ensure proper consistency.
Common Mistakes
One of the most frequent pitfalls when making pralines is improper temperature control. If you don’t cook the mixture to the right stage (soft ball, around 238-245°F or 114-118°C), your pralines will either be too soft and never set, or too hard and brittle. Another common mistake is over-stirring once the sugar syrup is boiling, which can lead to crystallization and a gritty texture. I once made a batch on a particularly humid day and found they struggled to set; humidity can be a factor, so consider making them on a dry day if possible. If your pralines turn out too sugary, try gently reheating the mixture with a tablespoon of water and bringing it back to temperature, being careful not to over-stir this time.
What to Serve It With
Tips & Mistakes
Storage Tips
Store in airtight containers in the fridge. It reheats beautifully, but if you sneak a bite cold straight from the container, it still works.
Variations and Substitutions
While the classic Buttermilk Pecan Praline is hard to beat, there are a few practical tweaks you can make. If you can’t find pecans, walnuts would offer a similar crunch, though the flavor profile will be noticeably different. For a slightly less rich praline, you could reduce the butter by a tablespoon or two, but I find the full amount yields the best creaminess. You could also experiment with a tiny pinch of sea salt added at the end to really bring out the sweet and buttery notes, or a dash of vanilla extract for added warmth. Just remember that the buttermilk is pretty central to the unique tang and texture, so I wouldn’t recommend substituting it.