
Delish No Bake Cookies for Every Sweet Tooth
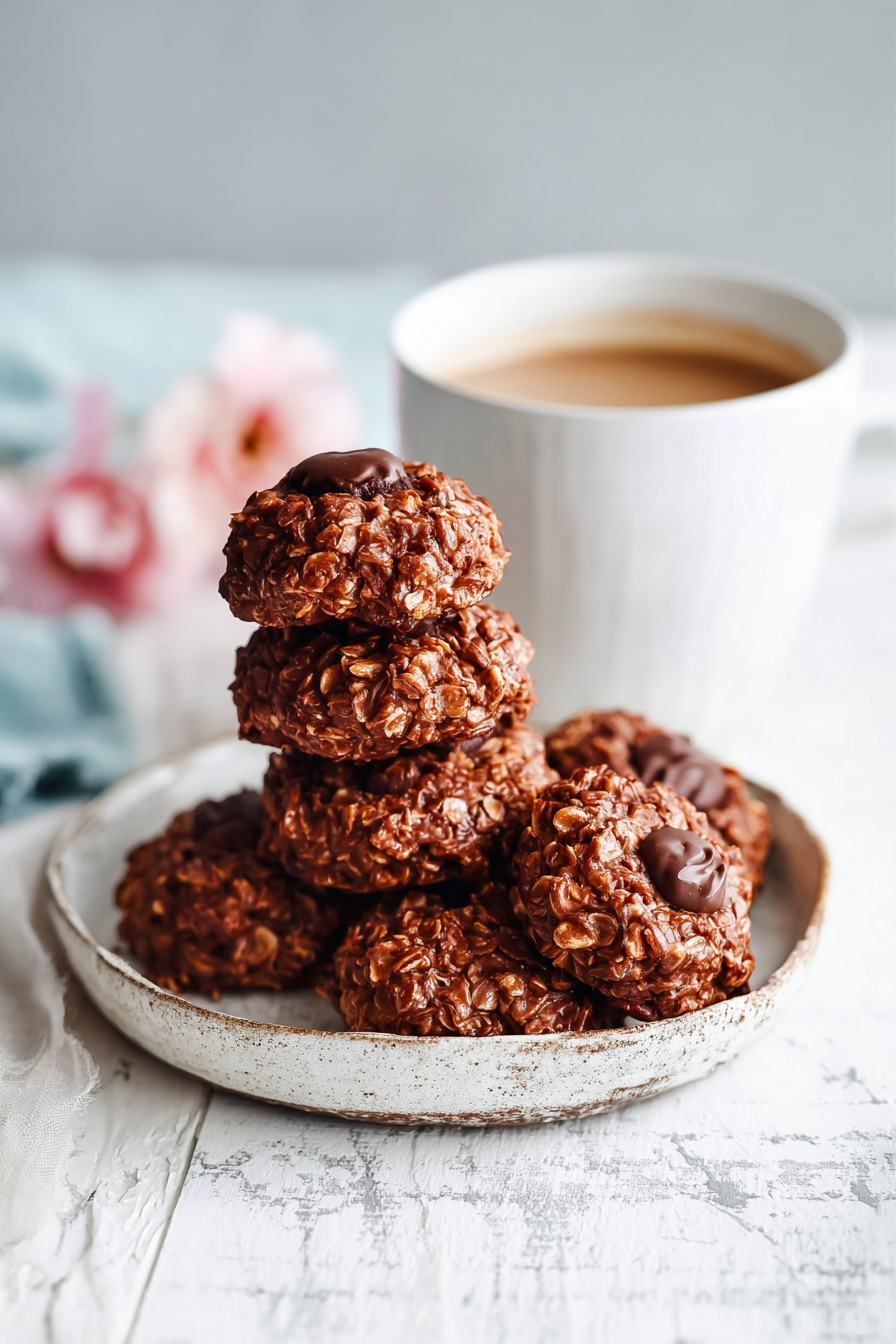
There’s something truly magical about no-bake cookies, especially when they’re as rich and indulgent as these. They require minimal effort but yield an incredibly satisfying treat that everyone seems to love. I first discovered this recipe during a warm summer when the thought of turning on the oven felt unbearable, yet my sweet tooth was undeniable. The combination of chocolate, oats, and peanut butter creates a perfect harmony of flavors and textures that’s impossible to resist. Plus, they come together in just a matter of minutes, making them an easy go-to for dessert or an afternoon snack.
One of my fondest memories associated with this recipe involves a family gathering where I had whipped up a batch of these no-bake cookies. My husband, who is not usually one to indulge too much in sweets, ended up devouring three in a row! It became a bit of a competition among the kids to see who could snag the most before they disappeared. Since then, these cookies have become a staple in our household, often requested for birthdays and special occasions. It’s heartwarming to know that a simple treat can bring so much joy to my loved ones.
Why You’ll Love This Delish No Bake Cookies for Every Sweet Tooth
These no-bake cookies are the ultimate solution for satisfying a sweet craving with minimal fuss. They’re incredibly versatile, allowing you to mix in your favorite nuts or dried fruits for a personalized touch. Plus, they can be ready to enjoy in just under 30 minutes—even while you tackle the other demands of your day. With their delightful chewiness and rich taste, it’s tough to have just one, making them the perfect treat to share with family and friends.
Behind the Recipe
Making these no-bake cookies at home has shown me that simplicity often leads to the most satisfying results. You really can play around with the texture; if you prefer yours a bit chunkier, don’t hesitate to leave some oats or nuts slightly larger. A common mistake is not letting the mixture cool slightly before scooping it onto the baking sheet. If it’s too warm, the cookies can lose their shape. A little patience goes a long way in ensuring they hold together beautifully—trust me, it’s worth the wait!
Shopping Tips
When selecting your ingredients, choose old-fashioned oats for the best texture—quick oats can turn mushy. For the peanut butter, look for brands that have minimal added sugar or hydrogenated oils for a cleaner taste. If you’re opting for chocolate, high-quality chocolate chips or bars will greatly enhance the cookies’ flavor. Don’t be afraid to experiment with brands to find what suits your palate; sometimes, the right choice makes all the difference in the end product.
Prep Ahead Ideas
You can measure out your oats and any mix-ins the day before to save time when you’re ready to make the cookies. Mixing the wet ingredients might also be done ahead, just make sure you let it cool before combining with the dry ingredients. Storing prepped components in airtight containers keeps them fresh, and having everything ready to go makes throwing this treat together a breeze!
Time-Saving Tricks
One of my favorite shortcuts is to use a microwave for melting butter and chocolate together—it’s quick and cuts down on dirty dishes. If you’re tight on time, try adding in pre-chopped nuts or dried fruits to streamline the process. Also, don’t overlook the magic of mise en place; having all your ingredients measured and ready to go not only speeds things up, it also helps you to stay organized as you cook.
Common Mistakes
A frequent pitfall is rushing the cooling process—the cookies won’t set properly if the mixture is too warm. Another mistake is not mixing thoroughly, which can lead to uneven distribution of flavors and textures. I once made this mistake and ended up with some bizarre bites—it was an easy fix, thankfully! Just remember to stir everything well before scooping.
What to Serve It With
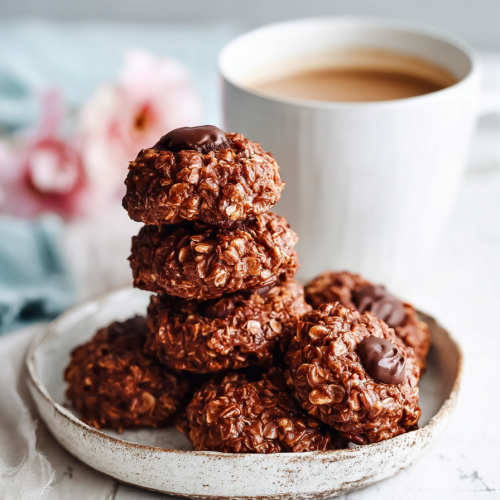
These cookies pair wonderfully with a glass of cold milk or a cup of coffee. They’re also great crumbled atop ice cream, adding a delightful crunch and flavor contrast to the creaminess. For a more decadent treat, consider serving them alongside a rich chocolate sauce for dipping.
Tips & Mistakes
When making these cookies, ensure your ingredients are at room temperature for the best blending. If you find the mixture is too sticky, a tad more oats can help. Conversely, if it seems too dry, a splash more milk or a touch of melted butter can bring it back to life.
Storage Tips
Store in airtight containers in the fridge. It reheats beautifully, but if you sneak a bite cold straight from the container, it still works. These cookies can stay fresh for up to a week, though I must admit they rarely last that long in my house!
Variations and Substitutions
Feel free to mix and match flavors—add shredded coconut for a tropical twist or throw in some chocolate-covered raisins for a fun surprise. If you’re looking to reduce sugar, you can cut back or swap some of the sweet ingredients for natural options like agave syrup or mashed bananas, but I recommend keeping the classic version in the mix for that quintessential no-bake cookie experience.
Frequently Asked Questions
Delish No Bake Cookies for Every Sweet Tooth
Ingredients
Main Ingredients
- 2 cup granulated sugar
- 0.5 cup unsweetened cocoa powder
- 0.5 cup milk
- 0.5 cup butter unsalted
- 1 cup peanut butter
- 3 cup old-fashioned oats
- 1 tsp vanilla extract
Instructions
Preparation Steps
- In a medium saucepan over medium heat, combine the granulated sugar, cocoa powder, milk, and butter. Stir continuously until the mixture comes to a gentle boil, then let it boil for about 1-2 minutes without stirring. Remove from heat.
- Once the mixture has boiled, stir in the peanut butter and vanilla until smooth. Then, add in the oats and mix until everything is well combined.
- Drop spoonfuls of the cookie mixture onto wax paper or a silicone baking mat, and allow them to cool and set for about 30 minutes.