
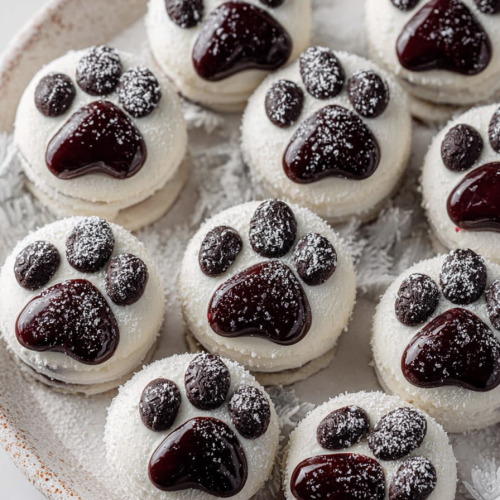
Delish Oreo Polar Bear Paws Recipe
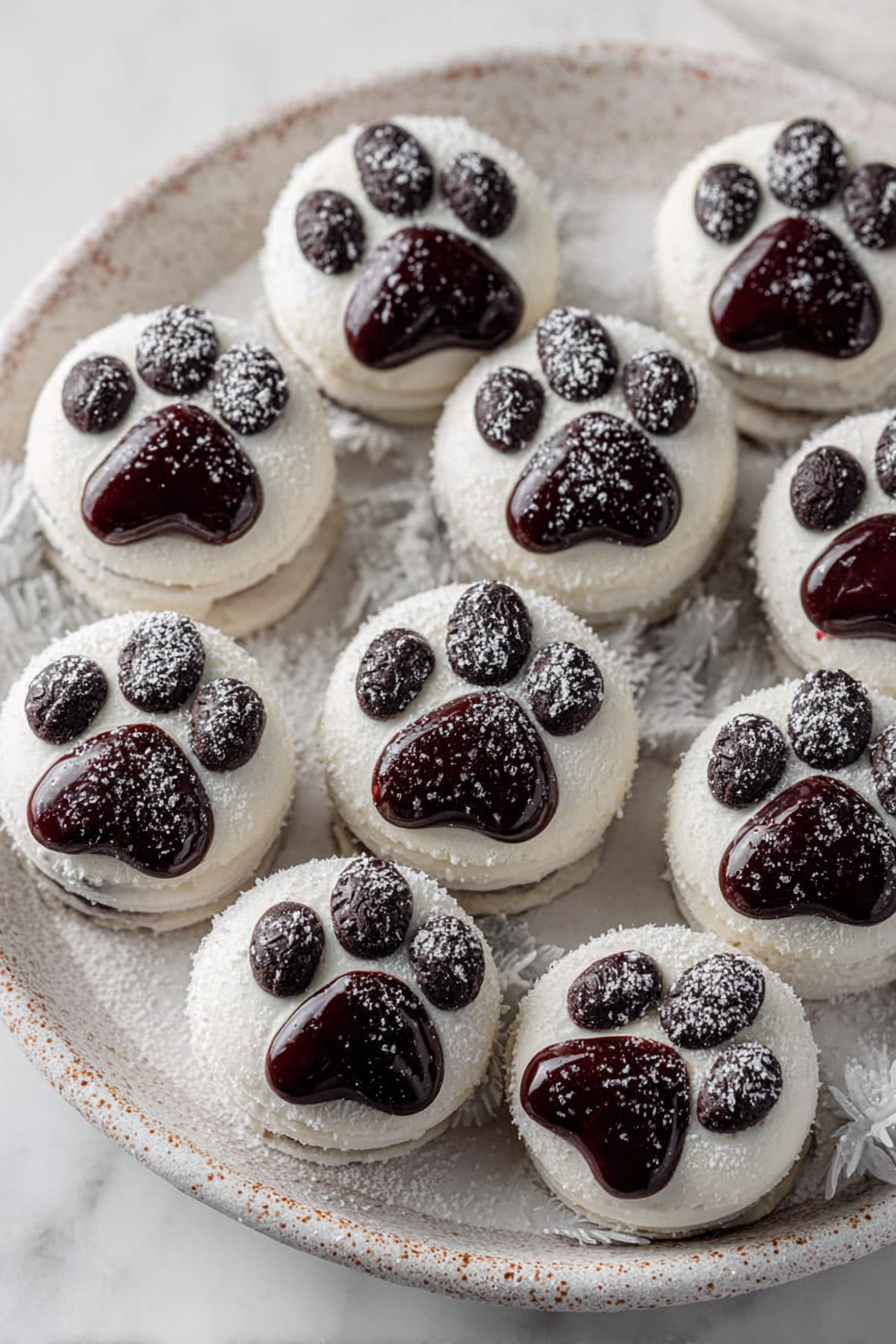
There’s something irresistibly charming about a recipe that not only tastes good but also brings a smile to your face. The Delish Oreo Polar Bear Paws are one of those treats that my family looks forward to as soon as the holiday season rolls around. These delightful morsels, a sweet combination of crunchy Oreos and creamy white chocolate, are a fun spin on classic holiday confections. What makes them special is their playful appearance and simple preparation, drawing us all into the kitchen to join in the fun.
In our household, these Polar Bear Paws have become a tradition, often made together as a family activity. I remember one snowy afternoon, with the kids bustling about, laughter filling the air as we dipped Oreos in melted white chocolate. There’s something magical about creating these little bear paws, especially when the kids take charge of adding the eyes and ears with chocolate chips. My husband always sneaks a few before they even set, declaring them “taste tests.” This recipe has truly become a staple, filled with joy and family bonding.
Why You’ll Love This Delish Oreo Polar Bear Paws Recipe
One of the main reasons you’ll fall in love with this recipe is its simplicity; it requires minimal ingredients but delivers maximum satisfaction. The delightful crunch of the Oreos, combined with smooth white chocolate, creates a texture that is simply addictive. Plus, they’re visually appealing, making them perfect for holiday gatherings or cozy family movie nights. Finally, it offers a chance for family bonding—getting hands messy in the kitchen is a blast that kids and adults alike cherish.
Behind the Recipe
Making these Oreo Polar Bear Paws at home is as easy as it gets, but a few tips can really elevate your experience. First off, using a good quality white chocolate makes a noticeable difference in taste and texture. I’ve found that melting chocolate slowly over low heat or using the microwave in short bursts prevents it from seizing. When dipping the Oreos, take your time—ensuring each one is fully coated leads to a much more indulgent treat. It can be easy to rush through, but let me tell you, the result is so worth it. Lastly, don’t stress about making them perfect; the slightly off-shape ones tend to charm everyone even more.
Shopping Tips
When shopping for this recipe, look for fresh Oreo cookies—check the expiration date to ensure you’re getting a crisp cookie rather than a stale one. For the white chocolate, rather than the generic brand, I often opt for Merckens or Ghirardelli for their smooth melting capabilities. If you plan to add eyes with chocolate chips, take a moment to check that the chips aren’t too old, as stale chocolate can alter the flavor.
Prep Ahead Ideas
You can streamline your prep by measuring out the ingredients, especially the Oreo halves, a day in advance. The white chocolate can also be prepped early; just melt it and store it in an airtight container, keeping it warm and ready to go. Having these components ready makes the actual dipping process quicker and smoother, especially on busy days where time is of the essence.
Time-Saving Tricks
Using a microwave to melt the white chocolate saves time over the stovetop method and is less mess. Additionally, laying out all your ingredients and tools beforehand allows you to move efficiently through the dipping and decorating stages. One secret I’ve found is that letting the dipped cookies set in the fridge shortens the wait time, making them ready to devour sooner!
Common Mistakes
One frequent pitfall I see is people not letting the chocolate melt fully, leading to clumpy dips. Remember to stir frequently and keep the heat low. I once rushed through and ended up with a lumpy mess, which was quite unappetizing at first glance. If that happens, add a little bit of vegetable oil to the chocolate to smooth it out. Additionally, don’t skimp on allowing the cookies to cool properly before serving; they hold up better and taste much better!
What to Serve It With
These Oreo Polar Bear Paws are delightful served alongside a glass of cold milk or hot cocoa, making them ideal for cozy evenings. They can also be a charming addition to dessert trays at parties, pairing beautifully with festive cookies and treats.
Tips & Mistakes
Storage Tips
Store in airtight containers in the fridge. It reheats beautifully, but if you sneak a bite cold straight from the container, it still works.
Variations and Substitutions
You could try swapping out the Oreos for gluten-free versions if needed, although I stick with classic Oreos for the crunch and flavor. Dipping the paws in dark chocolate instead of white offers a lovely twist, too, balancing the sweetness nicely.
Frequently Asked Questions
Delish Oreo Polar Bear Paws Recipe
Ingredients
Main Ingredients
- 1.5 cups crushed Oreo cookies Use regular Oreo cookies for the best flavor.
- 0.5 cups cream cheese, softened Make sure it's at room temperature for easier mixing.
- 12 oz white chocolate chips Chop finely for smooth melting.
- 0.5 cups dark chocolate chips These add a nice contrast in flavor.
- 0.5 cups mini marshmallows For the 'paws' decoration.
Instructions
Preparation Steps
- In a large mixing bowl, combine the crushed Oreos and softened cream cheese. Mix until it forms a dough-like consistency. You can use your hands to make this easier!
- Once well mixed, shape the Oreo mixture into small paw shapes and place them on a baking sheet lined with parchment paper.
- In a microwave-safe bowl, melt the white chocolate chips in short intervals, stirring frequently until smooth. Dip each paw shape into the melted white chocolate, ensuring it's fully coated.
- While the chocolate is still warm, press mini marshmallows into the center of each paw to create 'toes'.
- Melt the dark chocolate chips and drizzle over the paws for added decoration. Allow everything to set in the fridge before serving.