
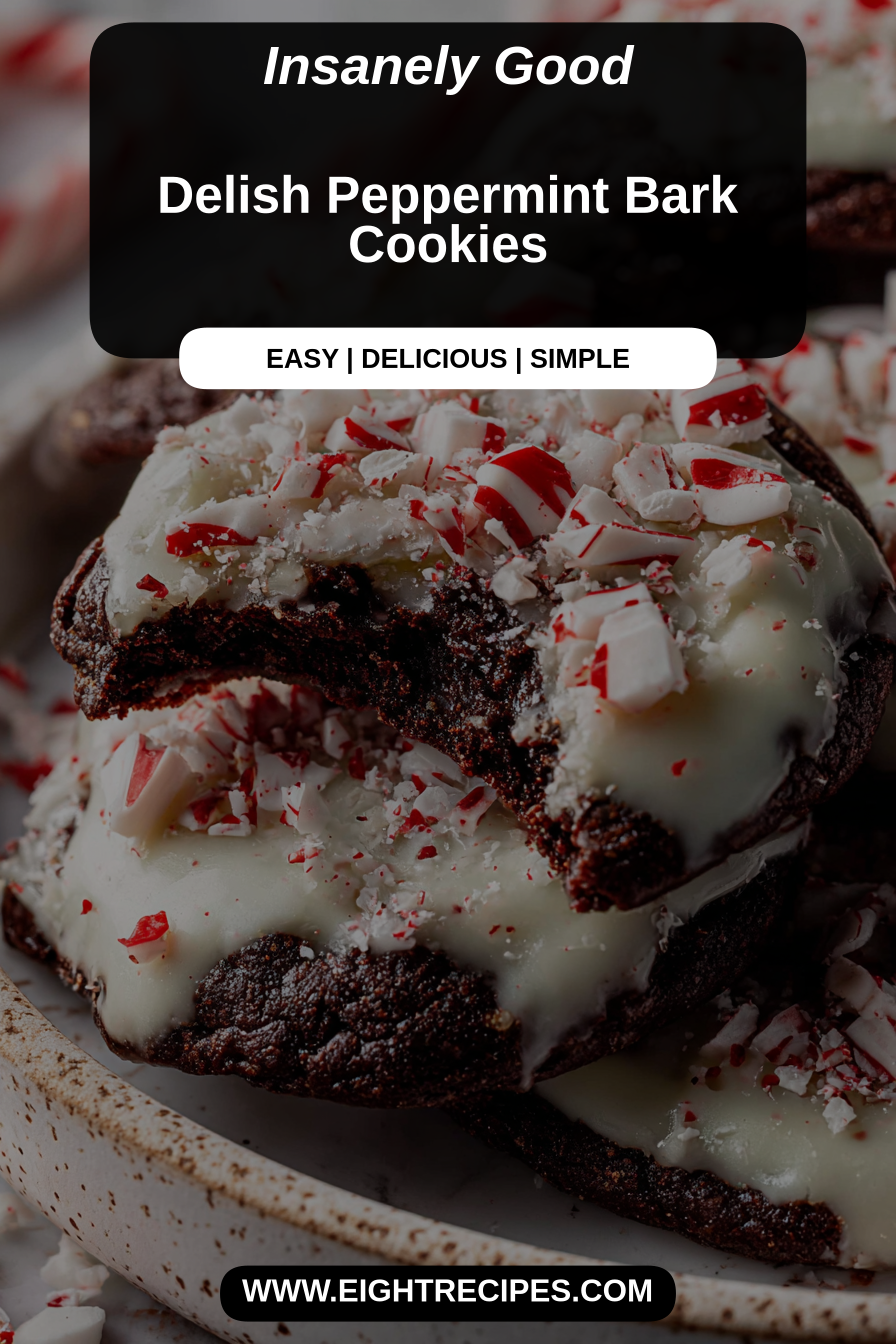
Delish Peppermint Bark Cookies
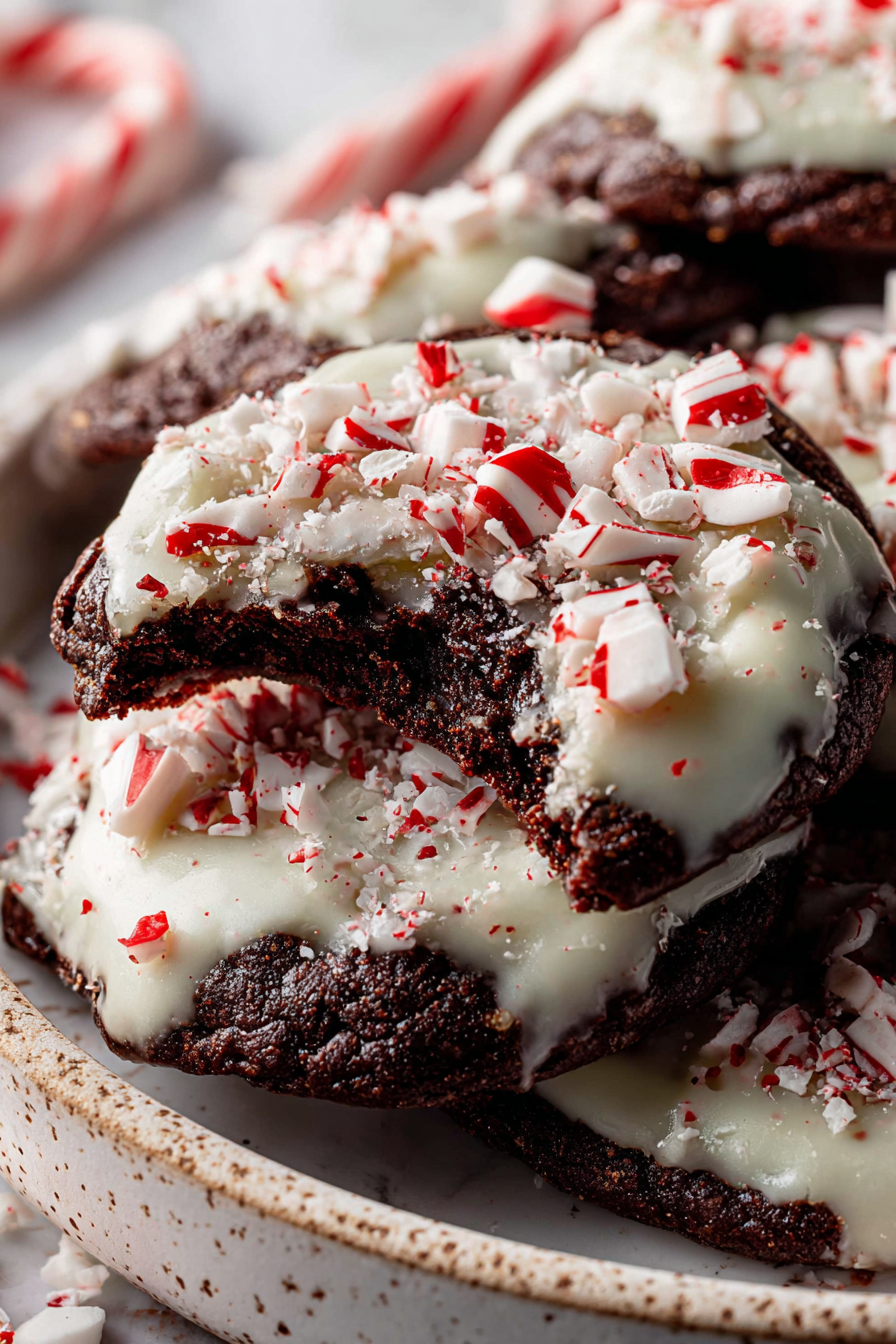
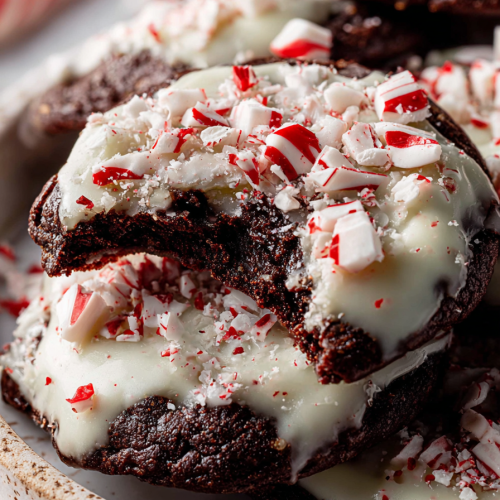
These festive cookies start with a tender, buttery shortbread base studded with chunks of dark chocolate and finished with a glossy layer of white chocolate and crushed peppermint—think of them as a portable, cookie-shaped version of classic peppermint bark. They’re beautifully balanced: chocolatey but not cloying, with that bright wintery snap from the crushed candy cane on top.
My husband is the real critic in the house when it comes to holiday sweets, and these have become his go-to bribe for surviving my long recipe-testing weekends. The first year I made them, he declared them “dangerously good” and hid the second batch in the freezer (which, frankly, is a compliment). Our little one loves to help press the candy cane on top—perfect job for sticky fingers and a tiny helper—so these cookies have become a holiday ritual for us: baking, nibbling, and listening to slightly off-key carols.
Why You’ll Love This Delish Peppermint Bark Cookies
– They capture everything you want in a holiday bite: a melt-in-your-mouth base, real chocolate pieces, and a crunchy peppermint finish.
– The topping gives an impressive, bakery-style look with almost no extra effort—perfect for gifts or party platters.
– Easy to adapt: swap chocolate types, leave out the peppermint for a more subtle cookie, or double the topping for serious candy-bar vibes.
Behind the Recipe
This recipe evolved from a few key experiments: chilling the dough makes for taller, chewier cookies; stirring in roughly chopped chocolate instead of chips gives better chocolate pockets; and applying the white chocolate topping while slightly warm helps it adhere and creates those pretty cracks when the peppermint is scattered on top. People often rush the cooling step and end up with melted-looking toppings or flattened cookies—patience here is rewarded. Also, use real peppermint (crushed candy cane or peppermint baking discs) rather than extract in the topping for that authentic crunch and cool finish.
Shopping Tips
– Baking Basics: Use all-purpose flour that’s freshly measured—scooping straight from a compact bag can pack the flour and make cookies dense.
– Fats & Oils: Choose unsalted butter so you can control the seasoning; if you only have salted, reduce added salt slightly.
– Chocolate: Buy good-quality dark and white chocolate bars rather than chips—the bars melt smoother and give better flavor and shine.
– Eggs: Use room-temperature eggs for easier emulsification and a slightly better rise; they blend into the butter more smoothly.
– Nuts & Seeds: If you like a little texture, lightly toasted chopped almonds or pecans make a nice optional add-in; avoid oily nuts that can weigh the dough down.
Prep Ahead Ideas
– Make the dough a day or two ahead: shape into a log or scoop rounds and chill. Chilled dough often bakes more evenly and resists spreading.
– Crush candy canes and store them in an airtight container up to a week before baking so they’re ready to sprinkle.
– Bake the cookies and freeze fully cooled in a single layer on a sheet, then transfer to a sealed bag—they’ll keep for weeks and thaw in minutes for unexpected guests.
Time-Saving Tricks
– Use a cookie scoop for uniform cookies and quicker portioning; it also reduces handling so the dough stays cool.
– Melt chocolate gently in a double boiler or short bursts in the microwave, stirring between bursts to avoid seizing.
– Keep your mise en place: pre-measure dry ingredients and crush the peppermint beforehand—small prep steps shave off time when you’re ready to bake.
– If you’re short on time, brush melted chocolate on half of each cookie and press peppermint into the warm chocolate instead of coating the entire top.
Common Mistakes
– Overmixing after adding flour: this activates gluten and creates tougher cookies. Mix until just combined. I once whipped the dough like cake batter—resulted in cakier cookies and a sad family. Rescue by chilling the dough and baking at a slightly lower temperature for a gentler finish.
– Topping when the chocolate is too hot: piping or spreading white chocolate while boiling will cause it to separate or run off the cookie. Let the melted white chocolate cool briefly until viscous but still spreadable.
– Using pre-crushed peppermint that’s too fine: it can turn powdery and look muddy; aim for a mix of coarse and fine pieces for crunch and visual interest.
What to Serve It With
Serve these with hot cocoa, espresso, or a creamy latte to balance the peppermint’s brightness. They’re lovely alongside a scoop of vanilla ice cream or as part of a holiday cookie box paired with shortbread and ginger snaps.
Tips & Mistakes
If your cookies spread too much, next time chill the dough longer and check your baking soda/powder—old leaveners can cause erratic spread. When applying the white chocolate, work quickly but patiently: a thin, even layer creates the prettiest crackle when the peppermint is pushed in.
Storage Tips
Store in airtight containers in the fridge. It reheats beautifully, but if you sneak a bite cold straight from the container, it still works.
Variations and Substitutions
– Swap dark chocolate for milk if you prefer a sweeter, creamier bite.
– Use vegan butter and dairy-free chocolate to make these vegan—just watch the melting points during topping.
– For a more subtle mint flavor, stir a small amount of peppermint extract into the dough rather than using crushed candy on top; for a stronger crunch, double the crushed candy cane topping.
Frequently Asked Questions
Delish Peppermint Bark Cookies
Ingredients
Main Ingredients
- 1.5 cup all-purpose flour
- 1 cup unsweetened cocoa powder
- 0.5 cup granulated sugar
- 1 cup brown sugar packed
- 1 cup unsalted butter softened
- 2 large eggs
- 1 tsp vanilla extract
- 1 tsp peppermint extract
- 1 cup chocolate chips optional
- 0.5 cup crushed candy canes for topping
Instructions
Preparation Steps
- Preheat your oven to 350°F (175°C). In a large bowl, cream together the softened butter, granulated sugar, and brown sugar until it's fluffy and light. Then, add in the eggs and mix until well combined, followed by the vanilla and peppermint extracts.
- In a separate bowl, whisk together the flour and cocoa powder. Gradually mix this dry mixture into the wet ingredients until just combined. If you’d like, fold in the chocolate chips for an extra chocolatey goodness.
- Scoop tablespoon-sized portions of the dough onto a parchment-lined baking sheet, leaving some space between each cookie. Bake for about 10 to 12 minutes or until the edges look set but the centers are still soft.
- Once baked, let the cookies cool on the baking sheet for a few minutes before transferring them to a wire rack to cool completely. Finish them off by sprinkling the crushed candy canes on top for a festive touch.