
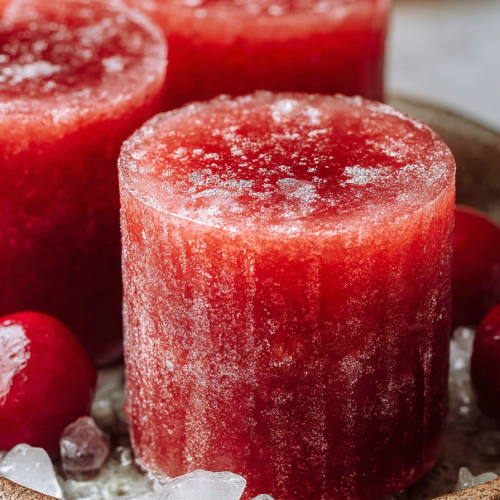
Easy Frozen Old Fashioned Treats
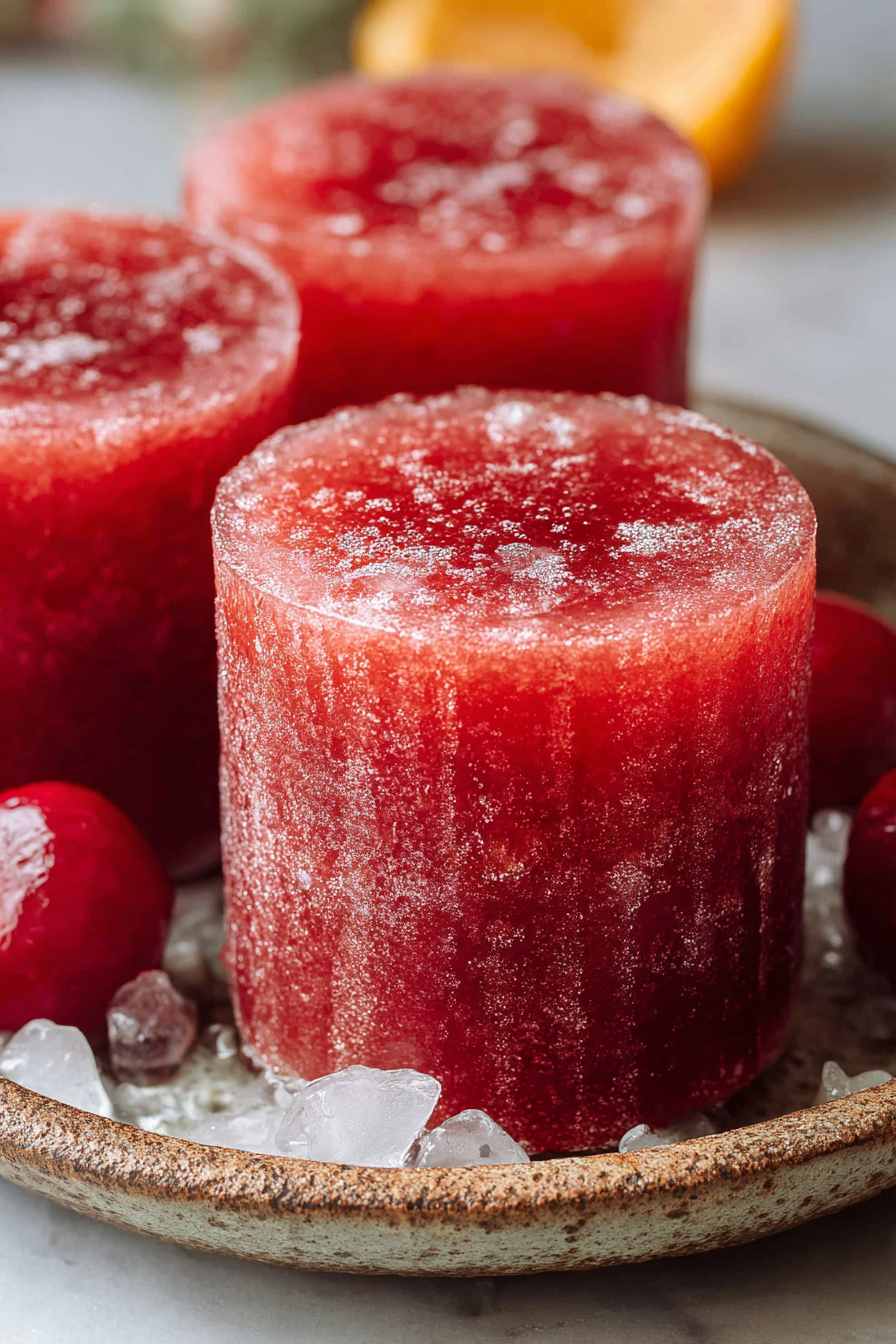
Simplicity can be a beautiful thing, especially when it comes to desserts. These Easy Frozen Old Fashioned Treats embody just that—easy to assemble and delightful to enjoy. What makes them special is their blend of nostalgic flavors combined with a modern twist that keeps everyone coming back for more. The sweet and tangy essence of fruit alongside a refreshing, creamy base creates a treat that’s perfect for any occasion, whether you’re hosting a summer barbecue or looking for a delightful snack for your family.
One of our favorite family moments revolves around making these treats. It has become somewhat of a tradition in our home, especially during the warmer months. My husband and I whip them up together with our kids, each one eager to choose their favorite fruits and mix-ins. I remember one sunny afternoon when the kids were giggling as they debated whether to add blueberries or sneak in some chocolate chips. Their enthusiasm was contagious, and by the end, we had a colorful assortment of treats that not only delighted our taste buds but also colored our hearts with joy. Every time we pull these old-fashioned goodies from the freezer, I’m reminded of those moments spent in the kitchen, creating memories just as delicious as the treats themselves.
Why You’ll Love This Easy Frozen Old Fashioned Treats
These treats are perfect for a hot day, offering a refreshing and satisfying way to cool down. Their customizable nature means there’s something for everyone; you can mix flavors and textures to suit your family’s preferences. Plus, they’re a fantastic way to sneak in some fruit, making them a bit healthier without sacrificing flavor. Lastly, their simplicity is a game changer—no complicated techniques or lengthy processes, just straight-forward fun!
Behind the Recipe
Crafting these Easy Frozen Old Fashioned Treats has taught me quite a bit about flexibility in recipes. The beauty lies in how easily you can adapt this treat to whatever you have on hand. One of the challenges I’ve noticed is ensuring the right balance of sweetness and creaminess. Too much liquid can lead to icy blocks instead of smooth treats, while getting the fruit ratio just right makes all the difference. I’ve learned that a bit of trial and error is not only permitted but encouraged, as those imperfect batches often lead to even better versions. Adding a touch of vanilla or exploring different varieties of fruit can elevate the basic recipe into something extraordinary.
Shopping Tips
When shopping for ingredients, freshness is key. Look for ripe, juicy fruits with vibrant colors—these are often the sweetest and most flavorful. If you’re purchasing yogurt or cream, opt for organic brands when possible, as they generally offer higher quality and taste. Don’t shy away from the frozen aisle; frozen fruits can be just as delicious when fresh options are out of season. Reading labels is crucial too—plain, low-sugar yogurt is ideal, avoiding added sugars lets the fruit’s natural sweetness shine.
Prep Ahead Ideas
One of the greatest parts about these treats is their make-ahead appeal. You can chop or portion the fruits the night before, keeping them fresh in the fridge. I often blend the base the day before to streamline the process further. When stored in airtight containers, prepped components last beautifully, which can make those busy weeknights so much easier. Having everything ready to blend or mix saves precious time when you’re juggling a million tasks.
Time-Saving Tricks
To maximize efficiency, I recommend using a high-speed blender which can quickly puree fruits into a smooth mixture. Pre-chopping fruits and storing them in larger bags can also speed up the preparation process. Utilizing frozen fruits can cut down on prep work while still yielding delicious results. And don’t underestimate the power of mise en place; having everything laid out and ready to go not only saves time but also minimizes stress in the kitchen.
Common Mistakes
One common pitfall I’ve encountered is overfilling the molds, which can lead to messier treats as the mixture expands while freezing. Another mistake is assuming all fruits freeze equally well; some watery fruits can dilute flavors when they thaw. I once added too much fruit juice, leading to overly icy treats, but adjusting the balance of yogurt and fruit can save the day. Remember, if your treats end up too icy, a quick blend can revive them into a creamy delight.
What to Serve It With
These treats shine on their own, but they can be paired beautifully with a light, citrusy fruit salad for added freshness. For adults, serving them alongside a scoop of granola or a drizzle of honey elevates the dessert.
Tips & Mistakes
Experiment with flavors, but don’t go overboard. Sometimes a simple mix of your favorite fruits with yogurt can be the most satisfying.
Storage Tips
Store in airtight containers in the fridge. It reheats beautifully, but if you sneak a bite cold straight from the container, it still works.
Variations and Substitutions
Feel free to mix and match fruits—berries, peaches, or even mango add delightful variations. If you want a non-dairy option, almond or coconut milk work beautifully, though adjustments in sweetness might be needed.
Frequently Asked Questions
Easy Frozen Old Fashioned Treats
Ingredients
Main Ingredients
- 1 cup fresh orange juice Freshly squeezed gives the best flavor.
- 0.5 cup simple syrup Adjust sweetness to your taste.
- 0.5 cup bourbon Use your favorite brand.
- 2 tbsp bitters Typically, aromatic bitters work best.
- 1 cup ice cubes For blending.
Instructions
Preparation Steps
- Start by blending the fresh orange juice, simple syrup, bourbon, bitters, and ice cubes together until smooth. Pour the mixture into suitable molds and freeze for at least four hours, or until solid. When ready, simply pop them out and enjoy your refreshing frozen old fashioned treats!