
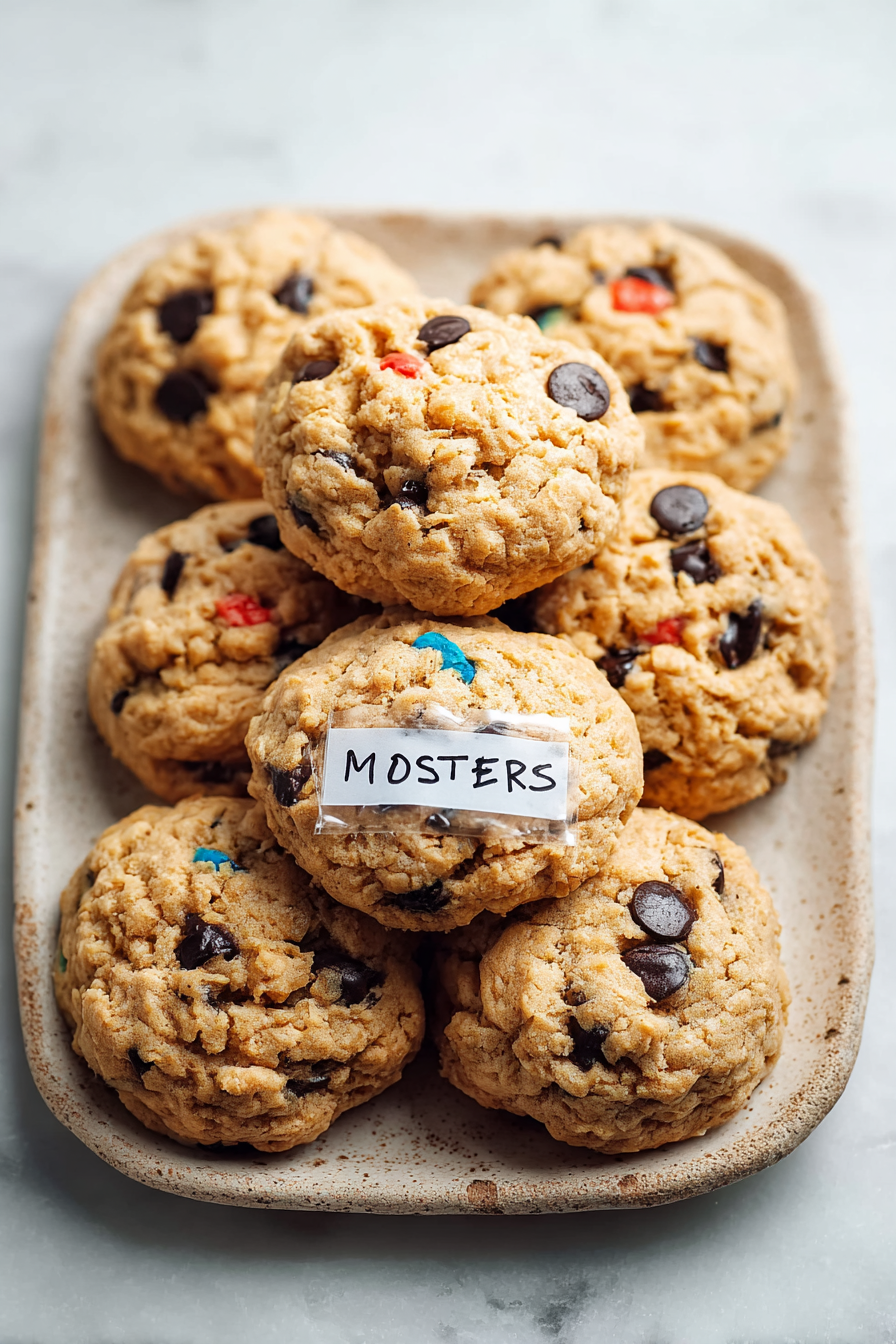
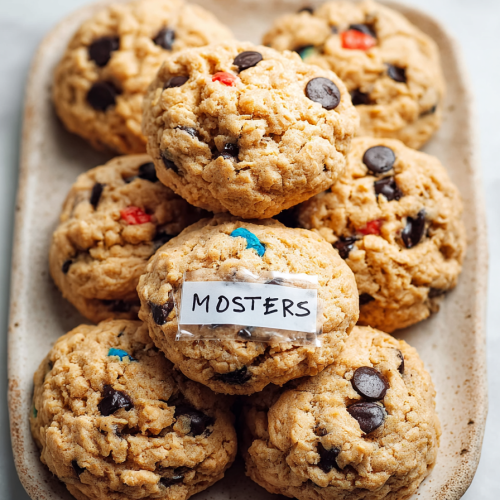
Easy Guide to Freezing and Storing Cookies
I bake a lot of cookies—small-batch experiments on weeknights, big trays for holiday trade, and the perennial stash in the freezer that saves dinner-table desserts and unexpected visitors. Freezing and storing cookies well means you can have a freshly baked taste on demand, without the stress of baking from scratch every time.
My husband is the cookie taste-tester-in-chief, and he can tell if a chocolate chip was frozen as dough versus baked fresh. For the record, he usually prefers the “fresh-from-the-oven” version, but after I learned how to freeze dough and reheated cookies properly, he started asking for frozen dough balls on busy mornings so he could pop one in the oven before work. Our kiddo loves decorating sessions, and freezing baked cookies gives us a patient backup when a decorating day turns into a “let’s just nap” day. This guide grew out of those small domestic negotiations: I wanted the convenience, my family wanted the texture and flavor, and together we found the sweet spot.
Why You’ll Love This Easy Guide to Freezing and Storing Cookies
– Save time without sacrificing flavor — freeze dough or fully baked cookies and get near-fresh results whenever you want.
– Avoid waste — freeze extras to prevent stale trays taking over your counter or pantry.
– Better planning for gatherings — prepare multiple varieties ahead of time and defrost selectively for a mixed cookie plate.
– Keep decorating simple — freeze plain cookies, then thaw and decorate the day you need them for a perfectly crisp base.
– Consistent results — the techniques here help preserve texture and prevent freezer-burned disappointments.
Behind the Recipe
Freezing and storing cookies is less about strict rules and more about small habits that protect texture and flavor. I learned the hard way that cookies frozen in a single layer and then stacked with parchment between them thaw more cleanly than ones piled together. Dough freezes beautifully, but the shape you freeze it in matters — small scoops or flattened discs thaw and bake more consistently than awkward lumps. For baked cookies, a quick chill on a rack before packing prevents steam from forming and softening edges. People often assume the freezer kills crispness, but with the right packaging and a brief reheat you can have a crackly edge and tender center in minutes.
Shopping Tips
– Baking Basics (Flour/Sugar/Leaveners): Use the flour the recipe calls for (all-purpose vs. bread) and check baking powder/soda dates — old leaveners give flat, sad cookies.
– Fats & Oils: Unsalted butter is my go-to so I can control salt; if using margarine or shortening, expect different spread and texture.
– Eggs: Room-temperature large eggs incorporate better into dough, but you can freeze beaten eggs if you plan ahead.
– Chocolate: Buy quality chips or chop a bar into chunks — chunks freeze and melt more attractively than small, industrial chips.
– Nuts & Seeds: Toast and cool before mixing; store extra nuts in the freezer so they stay fresh when added to frozen dough.
Prep Ahead Ideas
– Scoop dough into uniform balls and place them on a baking sheet to flash-freeze for 1–2 hours; then transfer to a labeled freezer bag so you can bake single cookies whenever you like.
– Bake a full batch, cool completely, then separate layers with parchment and freeze flat. Store in airtight containers once solid.
– Measure dry ingredients into labeled zip-top bags for future recipes—this cuts out half the active prep time on cookie day.
– Store prepped components (chips, toasted nuts, zest) in small airtight containers in the fridge or freezer; they’ll keep for weeks and speed up assembly.
Time-Saving Tricks
– Keep a silicone mat or parchment-lined baking sheet ready for flash-freezing dough scoops — it prevents sticking and simplifies transfer.
– Make larger batches and freeze in portioned bags to avoid daily scooping: one bag per type of cookie keeps variety without clutter.
– Use a cookie scoop to ensure uniform sizes; smaller cookies bake from frozen with minimal time adjustment.
– When quality matters, slow thawing improves texture; quick reheats after thaw preserve crispness better than microwaving cold cookies.
Common Mistakes
– Freezing warm cookies: I did this once and everything went soggy from trapped steam—always cool completely before packing.
– Forgetting to remove air: Poor sealing equals freezer burn; press excess air out of bags or use a vacuum sealer for long-term storage.
– Baking frozen dough without adjustment: Leave a couple extra minutes and watch the first tray to avoid underbaked centers.
– Stacking without parchment: Cookies fuse together—lay parchment squares between layers to rescue them.
What to Serve It With
Cookies are endlessly adaptable: pair warm chocolate-chip cookies with a glass of milk for nostalgic comfort, serve buttery shortbread with strong coffee for afternoon company, or assemble a cookie plate with fresh fruit and a selection of cheeses for a grown-up twist.
Tips & Mistakes
– Tip: Label bags with date and type—you’ll thank yourself months later.
– Mistake: Storing mixed varieties together can transfer flavors (e.g., ginger to chocolate), so separate spiced cookies from neutral ones.
Storage Tips
Store in airtight containers in the fridge. It reheats beautifully, but if you sneak a bite cold straight from the container, it still works.
Variations and Substitutions
– Swap brown sugar for coconut sugar in many cookie recipes for a deeper caramel note, but expect a slightly drier crumb.
– Use gluten-free flour blends in a 1:1 sub for all-purpose; chilling the dough a bit longer helps with spread.
– Butter gives best flavor; if you must use a neutral oil, reduce baking time slightly and expect softer edges.
– For nut-free households, replace nuts with extra chocolate chunks or toasted oats—texture changes but flavor stays reliable.

Frequently Asked Questions
Easy Guide to Freezing and Storing Cookies
Ingredients
Main Ingredients
- 2 cup all-purpose flour
- 1 cup granulated sugar You can adjust the sweetness to your preference.
- 1 cup unsalted butter Make sure it's softened to room temperature for easy mixing.
- 2 large eggs These will help bind the ingredients together.
- 1 tsp vanilla extract
- 0.5 tsp baking soda This helps the cookies rise.
- 0.5 tsp salt Enhances the flavors of the cookies.
Instructions
Preparation Steps
- Preheat your oven to 350°F (175°C). In a large mixing bowl, cream the softened butter and sugar together until light and fluffy. Add in the eggs, one at a time, mixing well after each addition. Stir in the vanilla extract.
- In another bowl, whisk together the flour, baking soda, and salt. Gradually add this dry mixture to the wet ingredients, stirring until just combined. Avoid overmixing to keep your cookies tender.
- Drop spoonfuls of cookie dough onto a baking sheet lined with parchment paper, spacing them out to allow for spreading. Bake in the preheated oven for 10-12 minutes, or until the edges are lightly golden.
- Once baked, let the cookies cool on the baking sheet for a few minutes before transferring them to wire racks to cool completely. For freezing, allow cookies to cool completely before wrapping them in plastic wrap or placing them in a freezer-safe container.