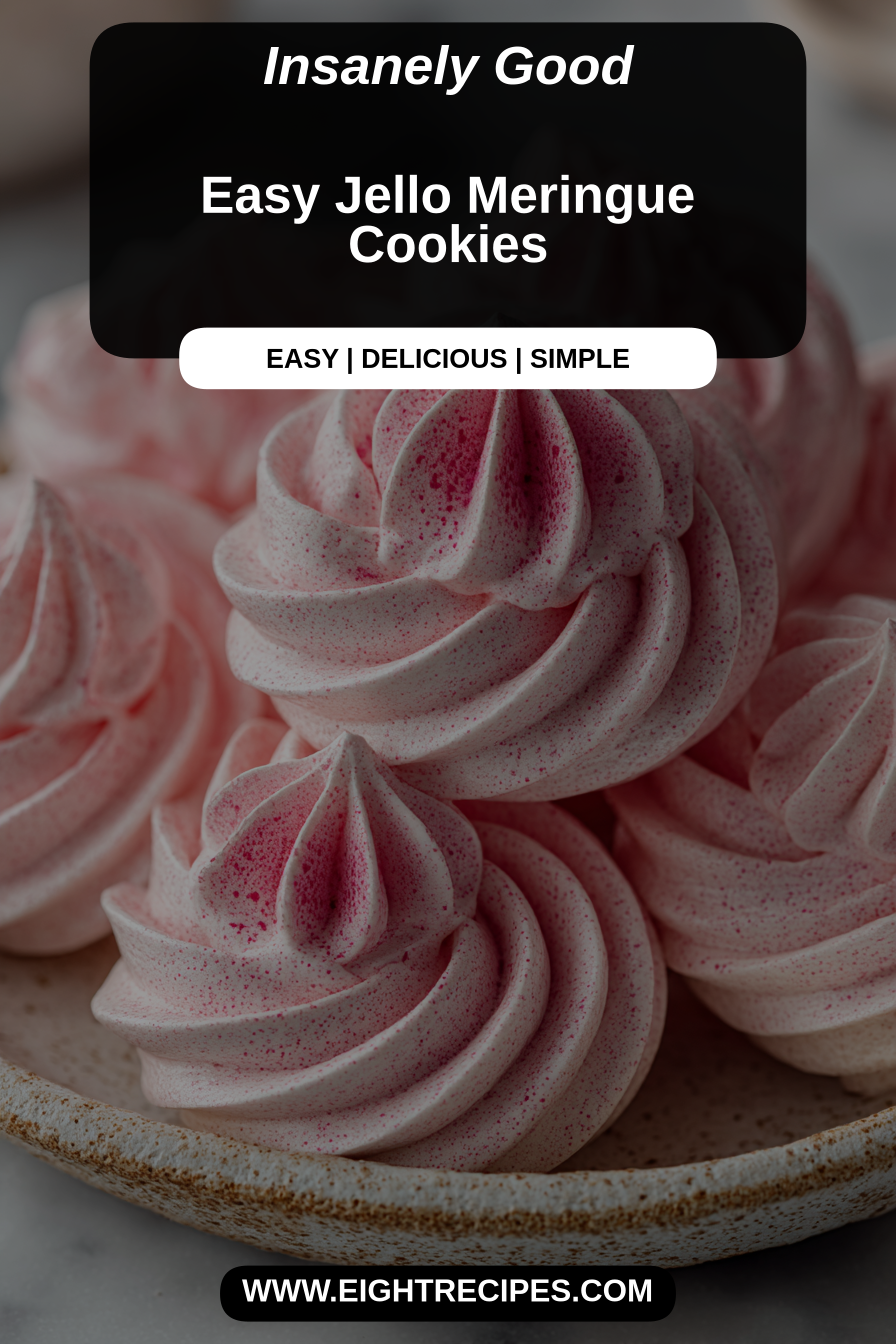
Easy Jello Meringue Cookies

Oh, these delightful little morsels are a pure joy! Imagine a cloud-like cookie, crisp and airy, that dissolves on your tongue, leaving behind a burst of fruity flavor. That’s exactly what you get with these Easy Jello Meringue Cookies. They’re surprisingly simple to make, yet elegant enough to grace any dessert table, making them perfect for potlucks, parties, or just a sweet treat for your family. The secret lies in the vibrant jello powder, which infuses the delicate meringue with both color and an irresistible tang.
My husband, bless his sweet tooth, absolutely adores these. I first made them for a summer BBQ we hosted, thinking they’d be a light, colorful addition to the dessert spread. Well, they were more than an addition; they were a sensation! I remember him trying one, his eyes widening in surprise at the delicate crunch, then the quick melt and the burst of strawberry. He immediately declared them “magic cookies.” Now, whenever we have an event or just need a little pick-me-up, he’ll hint (or sometimes just outright ask) for “the magic jello clouds.” They’ve become a sweet, light staple, bringing a little pop of color and cheer to our kitchen, and a definite smile to his face every time.
Why You’ll Love This Easy Jello Meringue Cookies
* They’re beautifully light and airy, offering a delicate crunch that melts in your mouth, making them feel like a little cloud of sweetness.
* The recipe is surprisingly straightforward, relying on just a few basic ingredients and a simple technique that’s perfect for beginner bakers or those looking for a quick, impressive dessert.
* With the vast array of jello flavors available, you can customize these cookies endlessly, creating vibrant colors and tastes to match any occasion or craving.
* They are naturally gluten-free and very low in fat, providing a guilt-free indulgence that still satisfies your sweet tooth without feeling heavy.
* These cookies bake at a low temperature, making them a fantastic choice for summer baking when you don’t want to overheat your kitchen, and they keep well, too.
Behind the Recipe
Meringues often get a reputation for being finicky, but I promise these are much more forgiving than you might think. The biggest lesson I’ve learned is patience, especially when whipping the egg whites. You really want to achieve those stiff, glossy peaks; any shortcuts here will result in flat, sad cookies. Another common stumble is not adding the sugar slowly enough, which can deflate your carefully whipped whites. I like to add it one spoonful at a time, letting it dissolve completely before adding more. And don’t rush the baking process! Meringues don’t bake so much as they dry out, so a low and slow temperature is key for that perfect crisp texture without browning. A little touch that truly makes them shine is using a vibrant jello flavor – think strawberry, cherry, or lime – for both the visual appeal and the delightful burst of fruitiness.
Shopping Tips
– Eggs: Fresh, cold large eggs are ideal for separating whites cleanly. Allow them to come to room temperature before whipping for maximum volume.
– Baking Basics: You’ll need granulated sugar for the meringue base. If you have cream of tartar on hand, it’s a wonderful stabilizer for egg whites, though not strictly essential if your technique is solid.
– Sweeteners: Beyond granulated sugar, consider a touch of powdered sugar at the end for an even silkier meringue, though it’s optional.
– Specialty Item: Grab your favorite flavor of Jello powder. The vibrant colors and intense fruit flavors truly make these cookies pop.
– Flavor Boosts: A good quality vanilla extract always elevates any sweet treat, even with the jello providing the main flavor.
– Crunch Extras: Sometimes I’ll add a tiny pinch of edible glitter or a sprinkle of finely crushed freeze-dried fruit for extra pizzazz if I’m feeling fancy.
Prep Ahead Ideas
Unfortunately, meringues don’t really lend themselves to much “prep ahead” in their raw state. However, you can ensure all your ingredients are measured out and ready to go. Separating your egg whites a day in advance and storing them covered in the fridge allows them to come to room temperature more easily when you’re ready to bake. Just make sure no yolk gets into the whites! Having your piping bag fitted with a tip and ready to fill will also save you a few precious minutes.
Time-Saving Tricks
The biggest time-saver here is also the most crucial step: ensuring your egg whites whip up properly the first time. Make sure your mixing bowl and whisk are absolutely spotless and grease-free. Even a tiny bit of fat will prevent your egg whites from whipping to stiff peaks. I also find it helpful to have all my ingredients measured and laid out (mise en place) before I even start cracking eggs, which streamlines the entire process. While the cookies themselves take a while in the oven, it’s mostly hands-off drying time, so you can tackle other tasks around the house while they get perfectly crisp.
Common Mistakes
One frequent pitfall is impatience when whipping the egg whites. If they’re not whipped to firm, glossy, stiff peaks, your meringues will likely spread and be flat. Another common issue is opening the oven door too soon or too often during the drying process, which can cause them to crack or deflate. I once pulled them out too early, and they ended up chewy in the middle rather than crisp all the way through – a definite disappointment! If your meringues come out sticky, they simply needed more time to dry in the oven. Just pop them back in for a bit longer, checking every 10-15 minutes, until they’re perfectly crisp.
What to Serve It With
These light and airy cookies are perfect on their own as a sweet treat. They also make a lovely accompaniment to a scoop of vanilla bean ice cream, a bowl of fresh berries, or a delicate cup of tea or coffee. For a truly elegant dessert, try pairing them with a simple lemon curd or a light fruit mousse.
Tips & Mistakes
Achieving beautiful meringues really comes down to attention to detail in a few key areas. Always use a clean, dry, fat-free bowl and whisk. Room temperature egg whites whip up with more volume and stability, so plan ahead. When adding the sugar, do so gradually, allowing each addition to fully dissolve before the next to ensure a smooth, stable meringue. Don’t be tempted to bake at a higher temperature to speed things up; slow and low heat is essential for drying them out without browning them, giving you that quintessential crisp texture.
Storage Tips
Store in airtight containers in the fridge. It reheats beautifully, but if you sneak a bite cold straight from the container, it still works.
Variations and Substitutions
The beauty of these meringues is their versatility. You can experiment with virtually any Jello flavor – lemon, lime, orange, cherry, raspberry, or even tropical fruit blends will all work wonderfully, offering a new color and taste profile each time. For a subtle flavor boost, a tiny splash of a complementary extract (like almond or orange blossom with citrus jellos) can be added with the vanilla, but be very sparing! If you don’t have cream of tartar, a small squeeze of lemon juice or a tiny amount of white vinegar (about 1/4 teaspoon per 2 egg whites) can also act as an acid to help stabilize the egg whites, though it might impart a very faint flavor. While granulated sugar is traditional, you can substitute with superfine sugar if you have it for an even quicker dissolving process.