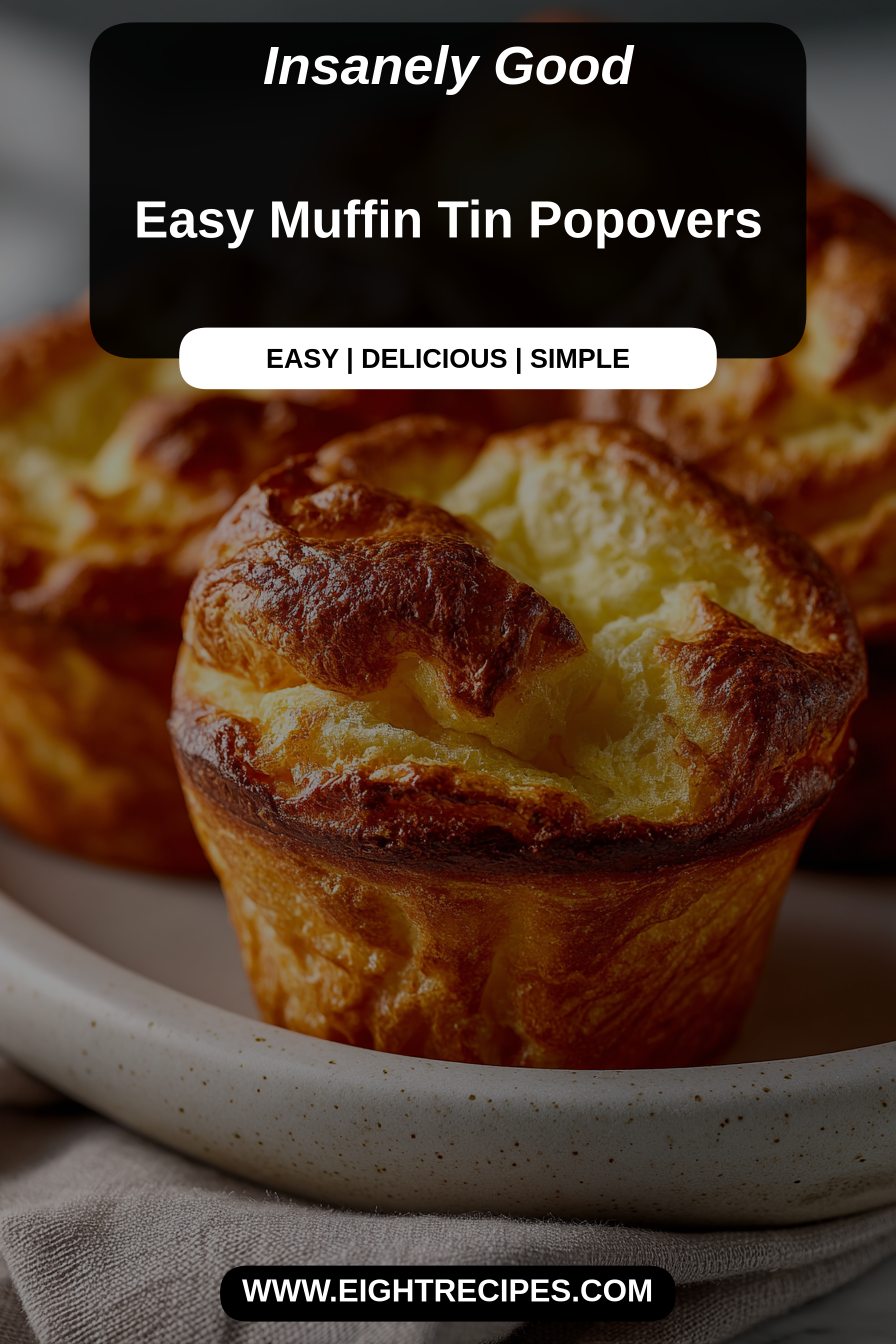
Easy Muffin Tin Popovers
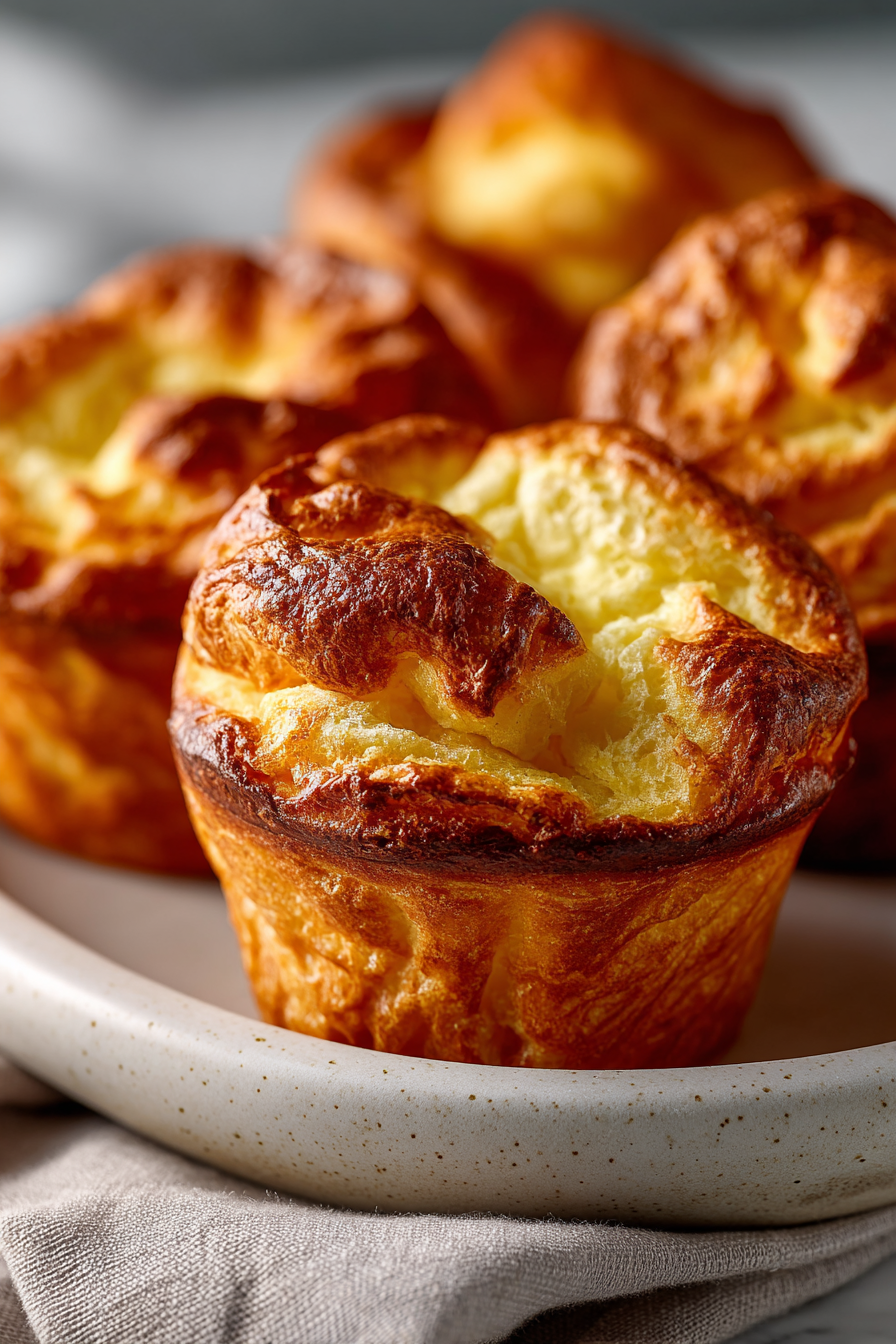
These light, airy popovers are the shortcut version of classic Yorkshire-style popovers, baked in a muffin tin for easy portioning and reliable results—crispy on the outside, pillowy inside, and ridiculously quick to make with pantry staples. They’re special because they use simple ingredients and a hot oven to create steam pockets that puff up into a dramatic, hollow shell perfect for sweet or savory fillings. If you want a crowd-pleasing brunch item that feels impressive but takes almost no babysitting, this is it.
My husband calls these our “Sunday morning magic” because he loves tearing one open and filling it with jam and softened butter, while my kid prefers a cheeky smear of cream cheese and smoked salmon. Over time they’ve become our go-to when guests drop by unexpectedly—portable, adaptable, and somehow always gone in ten minutes. I love how forgiving the recipe is: a little attention to temperature and one or two tiny tricks and the results look fancier than they are.
Why You’ll Love This Easy Muffin Tin Popovers
– They puff up like a bakery pastry but come together with batter you can whisk in one bowl.
– Versatile: serve them sweet with jam and whipped honey butter or savory stuffed with cheese, herbs, or soft-boiled eggs.
– Fast and impressive—great for last-minute guests or a relaxed weekend brunch.
– Kid-friendly to assemble and fun to fill, which makes them a hands-on family breakfast.
Behind the Recipe
I learned early on that popovers are mostly about heat and gentle handling. The batter should be smooth but not beaten hard—overmixing fights the lift you want. A screaming-hot pan at the start gives you the initial steam burst; a pan that’s too cool produces flatter results. Metal muffin tins work better than silicone because they transfer heat more aggressively, which helps with crisp edges. Also, letting the batter rest briefly at room temperature relaxes the flour and gives a better rise. Small tweaks—like brushing wells with melted butter and using room-temperature eggs—make a surprisingly big difference without adding complexity.
Shopping Tips
– Eggs: Use large eggs if possible; freshness matters for structure and rise—buy a carton you’ll rotate through within a week.
– Dairy: Whole milk gives the best richness and color, but 2% works in a pinch; if using buttermilk expect a slightly tangy flavor and a darker crust.
– Baking Basics (Flour/Sugar/Leaveners): All-purpose flour is the reliable choice here—sift only if your flour is clumpy; no baking powder is necessary for classic popovers.
– Fats & Oils: Unsalted butter is ideal so you can control seasoning; if using salted, reduce added salt slightly.
– Cheese: If making savory versions, grating your own cheese (sharp cheddar, Gruyère) melts better and gives superior flavor compared with pre-shredded blends.
Prep Ahead Ideas
– Whisk the batter and store it in the fridge for up to 24 hours; bring it to room temperature before baking for better rise.
– Grate cheese, chop herbs, or portion spreads the day before into small containers so assembly is fast.
– Pre-measure dry ingredients into a jar for a quick dump-and-whisk method on busy mornings.
– Keep butter softened but chilled in small pats for easy serving and faster clean-up.
Time-Saving Tricks
– Use a blender or immersion blender for a one-bowl batter that takes a minute and leaves no lumps.
– Preheat the muffin tin in the oven so you get that immediate steam lift when batter hits hot metal.
– Make a double batch of batter and freeze baked popovers; reheat briefly in a hot oven to return the crisp exterior.
– Keep fillings simple—pre-made jam, store-bought lemon curd, or sliced deli meats for quick assembly.
Common Mistakes
– Opening the oven too early: that sudden cool air can deflate popovers; wait until they’ve set and browned.
– Overfilling wells: fills should be about two-thirds full to leave room for dramatic rise.
– Overmixing the batter: you’ll see a dense result if you whip too much air in—stir just until smooth.
– Using silicone pans: they’re convenient but don’t brown or crisp the same way; metal yields the best lift and texture.
– Rescue: If popovers deflate slightly, return them to a preheated oven for a few minutes to re-crisp, or slice and toast the insides for a crunchy treat.
What to Serve It With
Serve warm with salted butter and a selection of jams for breakfast, or offer savory options like herbed ricotta, smoked salmon, thin-sliced roast beef, or a wedge of sharp cheese for brunch or appetizers. They pair wonderfully with a simple green salad or a bowl of soup for lunch.
Tips & Mistakes
Serve popovers straight from the oven for the maximum contrast between crisp exterior and tender interior—if they sit too long they’ll soften. Don’t try to freeze raw batter; freeze fully baked popovers instead, then reheat in a hot oven until crisp. When experimenting with fillings, remember that very wet toppings (heavy sauces, watery tomatoes) can weigh popovers down—use spreads and drier toppings or add them right before serving.
Storage Tips
Store in airtight containers in the fridge. It reheats beautifully, but if you sneak a bite cold straight from the container, it still works.
Variations and Substitutions
– Swap whole milk for buttermilk for a tangier flavor and slightly denser crumb; the classic recipe keeps the neutral milk taste.
– Stir grated cheese and a pinch of pepper into the batter for cheddar chive popovers, or fold in herbs for a fragrant savory version.
– For gluten-free options, try a 1:1 gluten-free baking flour blend—expect a slightly different texture and sometimes less dramatic rise.
– To make them sweet, add a teaspoon of vanilla and a tablespoon of sugar to the batter; top with powdered sugar or fruit preserves.