Easy Raspberry Jam Recipe
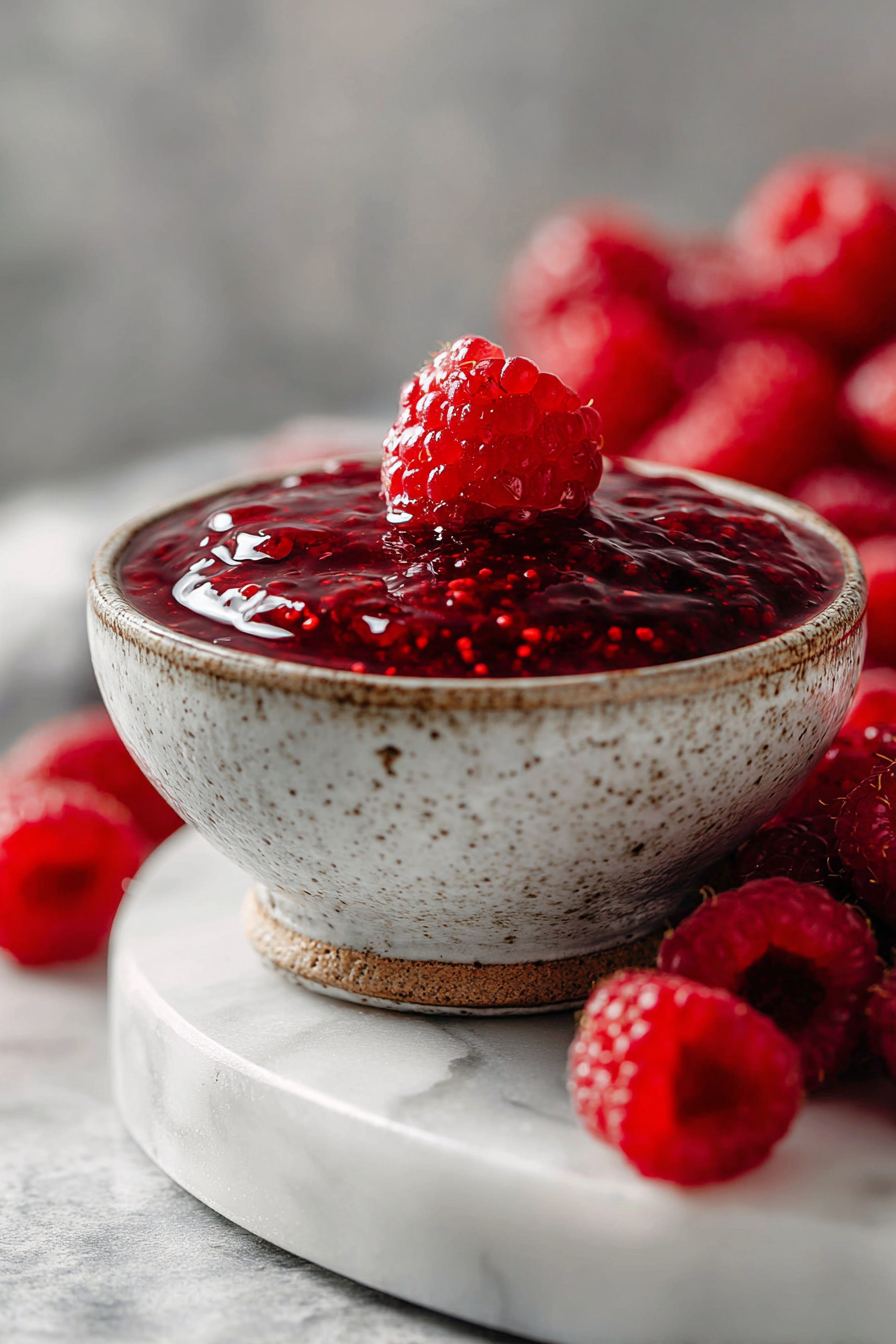
There’s a quiet magic that happens in the kitchen when you transform simple fruit into something truly special. This easy raspberry jam recipe is one of those culinary miracles—a vibrant, jewel-toned spread that captures the essence of summer in every spoonful. It’s incredibly straightforward, requiring just a few basic ingredients and a little patience, resulting in a homemade jam that far surpasses anything you’ll find in a store.
My husband, bless his heart, is a creature of habit, especially when it comes to his breakfast toast. For years, he was content with whatever store-bought jam we had on hand, but then I made this raspberry jam for the first time. The reaction was immediate. He took a bite, his eyes widened, and he simply said, “Wow.” Since then, our mornings haven’t been the same. It’s become a weekend ritual, a sweet reward after a busy week. The kids, too, have developed an uncanny ability to sniff out a fresh batch, eager to slather it on everything from pancakes to plain spoons. It’s more than just a spread; it’s a taste of home, a little bit of sunshine preserved, and a reminder of the simple joys we share around our kitchen table.
Why You’ll Love This Easy Raspberry Jam Recipe
You’ll fall head over heels for this recipe because it brings the vibrant, fresh taste of raspberries right into your home without any fuss. It’s incredibly rewarding to make, offering that satisfying feeling of creating something delicious from scratch. Beyond the personal satisfaction, this jam lets you control the sweetness and ingredients, ensuring a pure, unadulterated flavor that store-bought versions simply can’t match. It’s also surprisingly versatile, transforming everyday toast or yogurt into a gourmet experience, and making for a thoughtful, handmade gift.
Behind the Recipe
Making jam at home feels like a true kitchen accomplishment, and while it might seem daunting, it’s really quite forgiving. One thing I’ve learned over the years is that the quality of your fruit truly dictates the final flavor; super ripe, fragrant raspberries will give you the most exquisite jam. While some jams rely heavily on added pectin, raspberries are naturally quite high in it, especially when combined with a touch of lemon juice, so often, you don’t need to add any at all for a lovely set. The key is to be patient with the cooking process, letting the jam simmer gently, stirring regularly to prevent sticking and encourage the fruit to break down. Many people get tripped up by the “set test”—that moment of truth when you check if your jam is ready. Don’t rush it; a chilled plate is your best friend here. A little wrinkle after chilling means you’re good to go. The little touches that make it shine? Not overcooking it, so it retains that bright, fresh raspberry taste, and ensuring your jars are properly sterilized for longevity.
Shopping Tips
– Produce/Fruit: Look for bright red, plump, firm raspberries without any signs of mold. The riper they are, the more flavor your jam will have.
– Sweeteners: Granulated sugar is the standard, but feel free to experiment with a portion of light brown sugar for a subtle caramel note.
– Baking Basics: A fresh lemon provides both pectin and acidity, which brightens the raspberry flavor and helps the jam set.
– Specialty Item: Ensure you have appropriate canning jars with new lids if you plan to store the jam for an extended period.
– Budget Swaps: Don’t hesitate to use frozen raspberries, especially when fresh ones are out of season or too pricey. They work beautifully and taste just as good.
– Seasonality: While frozen berries are a year-round option, summer is the absolute best time for peak-flavor fresh raspberries.
Prep Ahead Ideas
The beauty of jam making is that most of the “prep” involves the actual cooking. However, you can certainly sterilize your jars and lids the day before, or even earlier in the week, and store them upside down on a clean towel. Having all your ingredients measured out and ready to go also makes the cooking process much smoother, especially when the jam is bubbling and requires your full attention.
Time-Saving Tricks
While jam making does require a little time at the stove, you can make the process efficient. Using a wide, heavy-bottomed pot allows for faster evaporation, helping your jam thicken more quickly without scorching. Don’t be tempted to double the recipe in one go; cooking smaller batches often means a quicker set. And remember, “mise en place”—having everything ready before you start—genuinely cuts down on stress and fumbling, making the whole experience more enjoyable. Sometimes, slowing down just a bit to properly sterilize your jars or wait for that perfect set means you won’t have to redo it later.
Common Mistakes
One common pitfall is not sterilizing jars properly, which can lead to spoilage. Another is overcooking the jam, resulting in a very stiff, candy-like texture, or undercooking it, which leaves you with a syrupy consistency. Not using enough lemon juice can also hinder the set and make the flavor less vibrant. I once forgot to stir frequently and ended up with a slightly scorched bottom, so regular, gentle stirring is key, especially as it thickens. If your jam seems too runny, don’t despair; you can always reboil it for a bit longer. If it’s too thick, you can gently warm it with a touch of water or lemon juice to loosen it before serving.
What to Serve It With
This raspberry jam is incredibly versatile. It’s divine spread generously on warm buttered toast, crusty sourdough, or fluffy English muffins. It elevates a simple peanut butter sandwich to gourmet status. Try it dolloped over plain Greek yogurt or cottage cheese for breakfast, swirled into oatmeal, or spooned over pancakes and waffles. It also makes a fantastic filling for thumbprint cookies, tarts, or even as a surprising savory glaze for pork or chicken.
Tips & Mistakes
Beyond the cooking, remember that proper jarring is crucial. Don’t overfill your jars, and leave adequate headspace for a good seal. Resist the urge to peek or move the jars too much as they cool; let them sit undisturbed for 12-24 hours to ensure a strong seal. If a jar doesn’t seal, simply refrigerate it and enjoy it first!
Storage Tips
Store in airtight containers in the fridge. It reheats beautifully, but if you sneak a bite cold straight from the container, it still works.
Variations and Substitutions
While this classic raspberry jam is perfect as-is, there are plenty of ways to play with it. For an extra aromatic touch, you could add a sprig of fresh rosemary or thyme during the simmering process, removing it before jarring. A tiny splash of good quality balsamic vinegar can deepen the berry flavor in a surprising, delightful way. If you prefer a less seedy texture, you can press some or all of the cooked raspberries through a fine-mesh sieve before the final simmer. For those who need a lower-sugar option, look for specific low-sugar pectin products designed for jam making, as simply reducing the sugar in this recipe without added pectin might result in a runnier set.