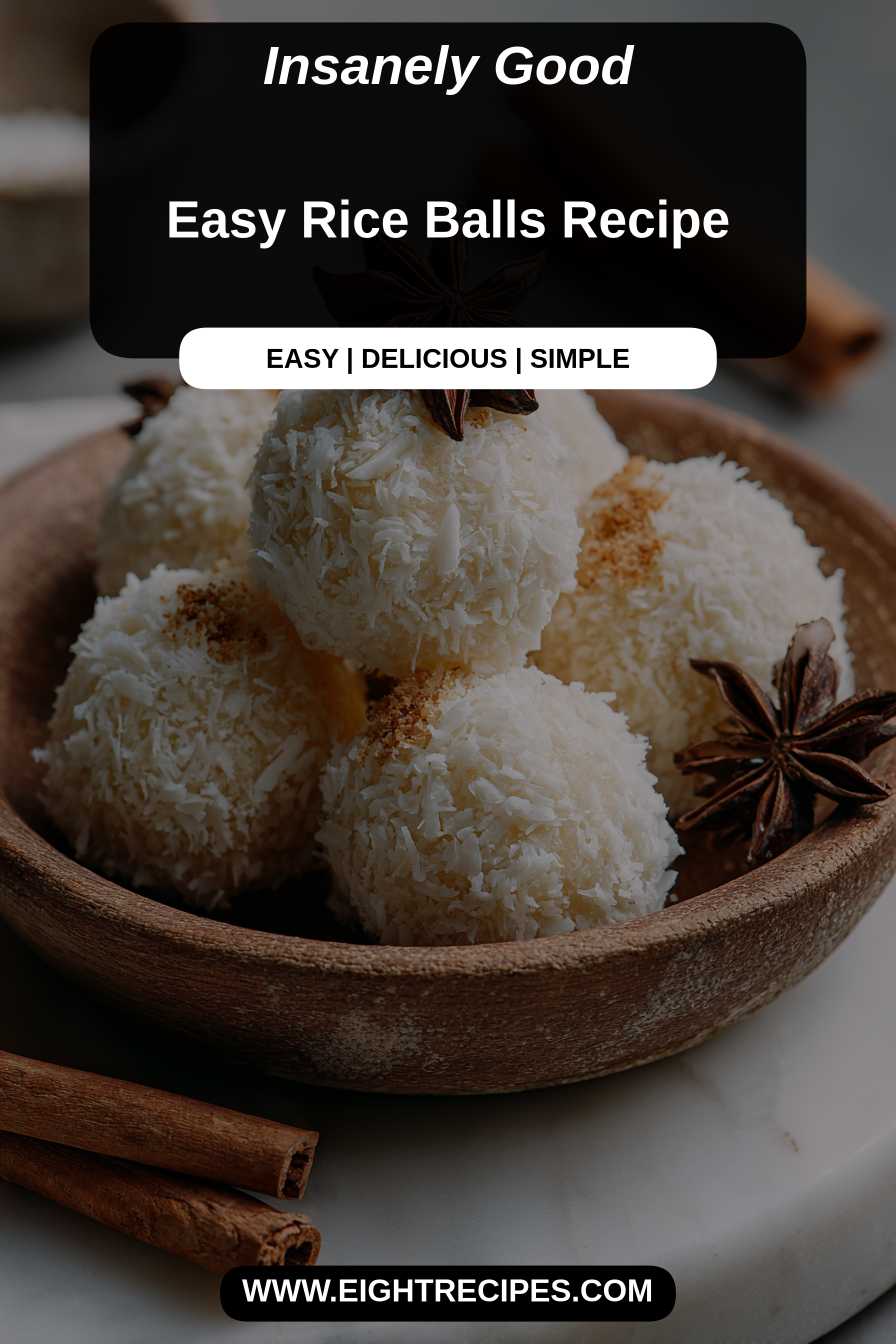
Easy Rice Balls Recipe
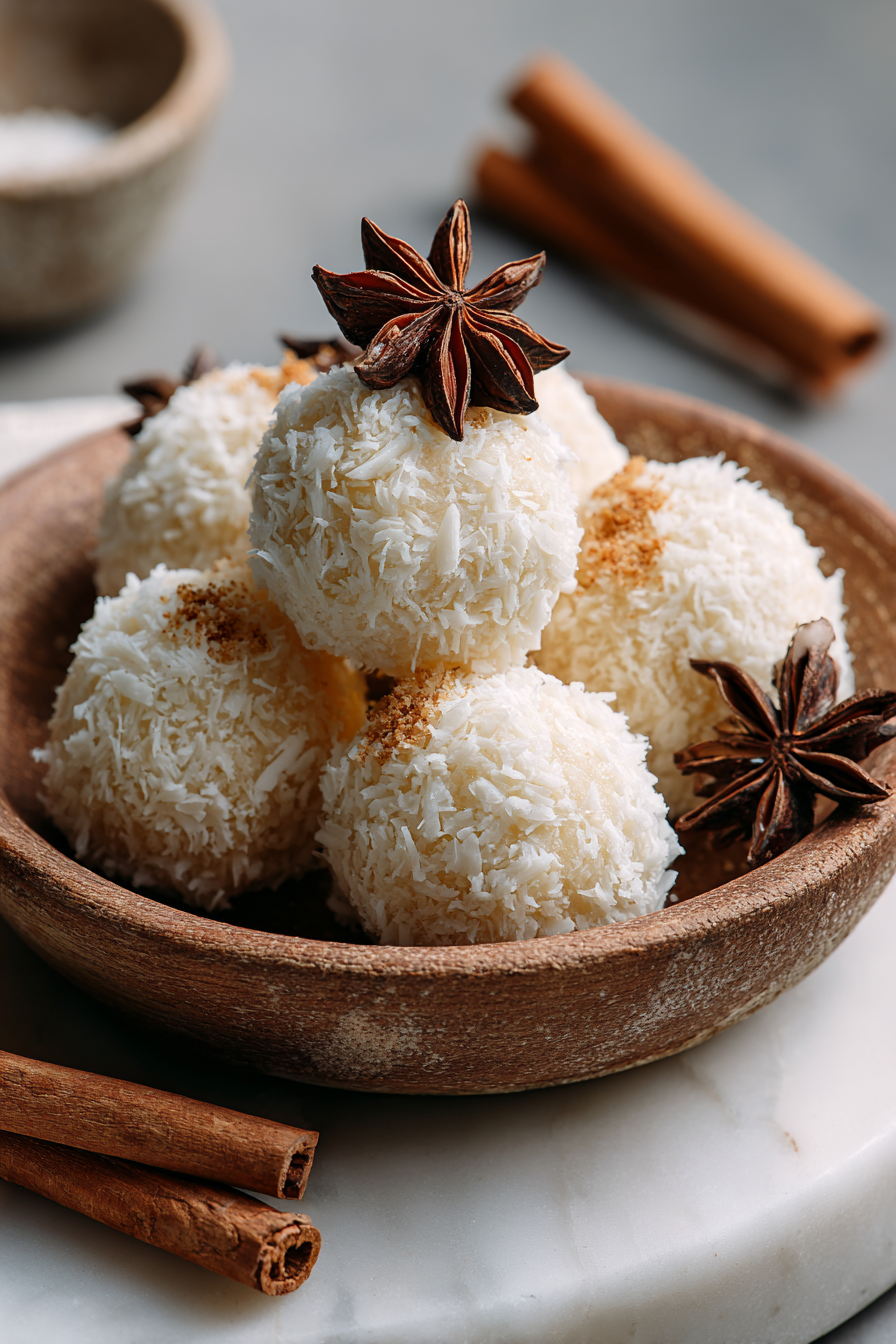
These simple rice balls are a true kitchen chameleon—versatile enough for a quick lunch, a delightful appetizer, or a charming side dish. They embody comfort in every bite, offering a wonderfully satisfying texture and a canvas for countless flavor possibilities, all while requiring minimal fuss. It’s the kind of approachable recipe that quickly earns a permanent spot in your rotation, proving that delicious doesn’t have to mean complicated.
My husband, bless his heart, is usually a meat-and-potatoes kind of guy, but even he has fully embraced these rice balls. I remember the first time I made them, intending them as a light snack for a picnic. He devoured half the batch before we even left the kitchen, declaring them “surprisingly addictive.” Now, whenever I make a batch, it’s a race to see who gets the last one. They’ve become our go-to for busy weeknights when we need something quick and comforting, and they’re also a staple in his lunchbox, a little reminder of home in the middle of a hectic day.
Why You’ll Love This Easy Rice Balls Recipe
* They’re incredibly adaptable, serving as a delicious base for whatever flavors you’re craving or ingredients you have on hand. Think of them as a blank canvas for your culinary creativity!
* This recipe is a masterclass in elegant simplicity, proving that you don’t need a long ingredient list or complex techniques to create something truly satisfying and impressive.
* Perfect for meal prepping, these rice balls hold up beautifully in the fridge, making them an ideal grab-and-go snack or a quick component for lunch throughout the week.
* They’re wonderfully satisfying and provide that comforting, carb-y hug we all sometimes crave, but in a portion-controlled and easily customizable format.
Behind the Recipe
What I’ve really come to appreciate about making these at home is how forgiving they are, which is a blessing on those days when perfection feels like an impossible goal. The biggest “aha!” moment for me was realizing that the type of rice truly matters; a medium or short-grain sticky rice is paramount for getting that cohesive, easy-to-shape texture. Long-grain rice, while lovely in other dishes, tends to be too separate and crumbly here. Don’t be shy about seasoning the rice while it’s still warm; that’s when it best absorbs all those wonderful flavors. And a little trick I’ve picked up? Dampen your hands ever so slightly when forming the balls. It prevents the rice from sticking to you and helps create a smooth, appealing shape. It’s those little touches that elevate them from just “rice” to something truly special.
Shopping Tips
– Grains/Pasta: Opt for a medium-grain or short-grain sushi rice. Its inherent stickiness is key for forming the balls, unlike long-grain varieties which tend to be too dry and separate.
– Fats & Oils: A good quality toasted sesame oil adds a wonderful depth of flavor. Look for one labeled “toasted” for that signature nutty aroma.
– Fresh Herbs: Fresh chives, scallions, or cilantro can elevate the taste and appearance. Choose vibrant, crisp bunches without any yellowing or wilting.
– Seasonings: Pick up a low-sodium soy sauce or tamari. It gives you more control over the saltiness without sacrificing the savory umami notes.
– Crunch Extras: Toasted sesame seeds, either black or white, are excellent for texture and garnish. They add a lovely visual appeal and a subtle nuttiness.
– Budget Swaps: While fresh is best, if you’re looking to save a little, using pre-chopped frozen vegetables (like carrots or peas) can work for fillings if you’re adding them.
Prep Ahead Ideas
You can cook the rice up to two days in advance and store it in an airtight container in the refrigerator. This is a huge time-saver! If you’re planning to include any cooked fillings like finely diced cooked chicken or flaked salmon, those can also be prepared ahead of time and kept separate. Have any herbs or vegetables like scallions or carrots chopped and ready to go in small containers. When it’s time to assemble, just combine, shape, and serve. This kind of prep makes a busy weeknight assembly a breeze, turning what could be a chore into a quick, enjoyable task.
Time-Saving Tricks
The biggest time-saver here is, without a doubt, a good rice cooker. Set it and forget it, and you’ll have perfectly cooked rice with minimal effort. While forming the balls by hand is satisfying, if you’re making a large batch, consider using plastic wrap as a buffer between your hands and the rice, or even a specialized onigiri mold for super quick, uniform shapes. Don’t skip the step of letting the rice cool slightly; it’s easier to handle when warm but not piping hot, preventing burned fingers and allowing for a better, firmer shape. Sometimes, slowing down for five minutes to let the rice temper can actually save you more time in the long run by making the shaping process smoother.
Common Mistakes
One common pitfall is trying to use the wrong type of rice. Using long-grain rice like Basmati or Jasmine often results in crumbly, difficult-to-form balls. If you’ve made this mistake, try adding a tiny bit of water and reheating briefly, then quickly working it with a spoon to encourage more stickiness before shaping. Another issue can be under-seasoning the rice; it’s easy to be too shy. Always taste a small bit of the seasoned rice before forming to ensure the flavor is robust enough, adding a pinch more salt or soy sauce as needed. Lastly, don’t press too hard when forming; a gentle but firm hand is all that’s needed to create a cohesive ball without compacting it into a dense, unappealing texture.
What to Serve It With
These Easy Rice Balls Recipe are wonderfully versatile. They pair beautifully with a light miso soup and a simple green salad dressed with a ginger-sesame vinaigrette for a complete meal. For a heartier option, serve them alongside grilled salmon or baked tofu, allowing them to soak up any delicious pan juices. They also make fantastic appetizers with a side of soy-ginger dipping sauce or a dollop of spicy mayo. Think of them as the perfect accompaniment to almost any Asian-inspired dish, offering a neutral yet comforting counterpoint.
Tips & Mistakes
Storage Tips
Store in airtight containers in the fridge. It reheats beautifully, but if you sneak a bite cold straight from the container, it still works.
Variations and Substitutions
These rice balls are made for customization. For a savory kick, you can mix in finely chopped kimchi, a touch of furikake, or even some leftover cooked protein like shredded chicken, flaked salmon, or seasoned ground beef. A popular and delicious filling involves a small amount of tuna salad or a pickled plum (umeboshi). If you don’t have sesame oil, a dash of olive oil can work for texture, but you’ll lose that signature nutty aroma. For a vegetarian option, simply omit any meat-based fillings and load up on finely diced vegetables like carrots, peas, or corn. While purists might stick to sushi rice, sometimes I’ll use a brown short-grain rice for a healthier, nuttier twist – just be aware it might be slightly less sticky.