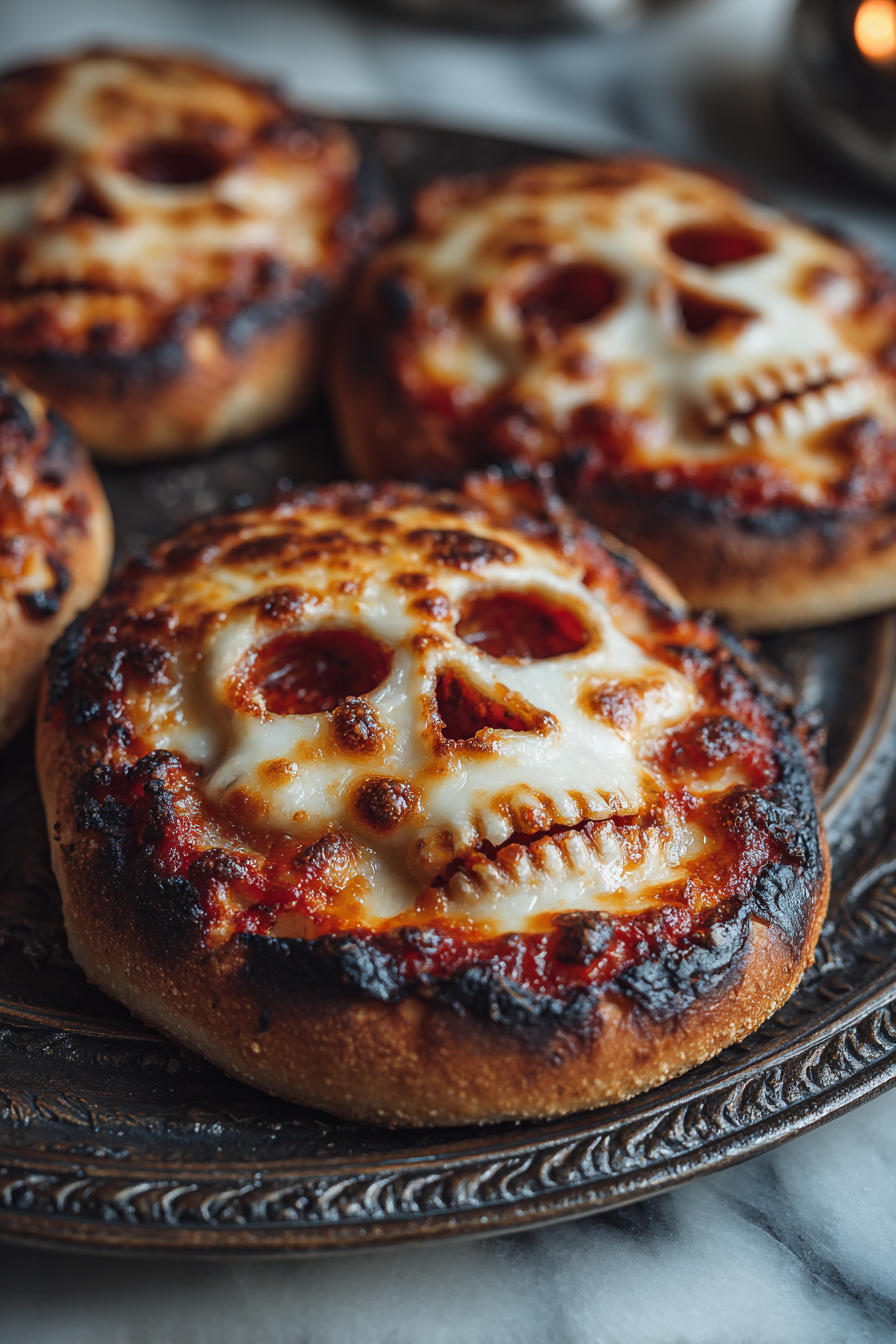
Halloween Pizza Skulls
This time of year, as the leaves turn and a playful chill settles in, my kitchen transforms into a hub of autumnal baking and spooky treats. Few things get my family more excited than a fun, edible craft, and these Halloween Pizza Skulls are the absolute reigning champions of our spooky season snack lineup. They’re incredibly easy to make, a blast to decorate, and deliver all the cozy, savory goodness of pizza in an irresistibly festive package. Perfect for a party or a ghoulish movie night, these are guaranteed to bring smiles and satisfy hungry appetites.
My husband, Mark, claims to be “too cool” for Halloween decorations these days, but the moment I pull out the skull cookie cutter, he’s mysteriously “helping” with the dough. I remember one year, our little ones, then barely tall enough to see over the counter, meticulously placed tiny olive eyes on each skull, giggling with every perfectly imperfect creation. It’s become a yearly tradition, a signal that Halloween is truly here, a delicious blend of family fun and cheesy goodness that warms our home even as the evenings grow colder. He loves to sneak a “plain cheese skull” before anyone else can get to them, claiming quality control.
Why You’ll Love This Halloween Pizza Skulls
* They’re incredibly fun and engaging to make, especially with kids. It’s more of an edible craft project than just cooking!
* You get all the comforting deliciousness of your favorite pizza, but in a charmingly spooky, individual serving. No fighting over slices here!
* Highly customizable with your favorite toppings, allowing everyone to create their own ghoulish masterpiece.
* Perfect for Halloween parties, school lunches, or a cozy movie night in – they always get a fantastic reaction.
* They’re surprisingly quick and easy, especially if you opt for store-bought dough, making them ideal for busy weeknights or last-minute festive needs.
Behind the Recipe
Getting these little skulls just right is mostly about not overthinking it. The biggest thing I’ve learned is to handle your dough gently. If you’re using store-bought refrigerated dough, let it come to room temperature for about 15-20 minutes before rolling; it makes it much more pliable and less likely to snap back. Don’t roll it too thin, or your skulls will be prone to tearing and won’t hold up to the toppings, but don’t leave it too thick either, or it won’t cook through properly. Aim for about 1/4 inch thickness. Also, resist the urge to pile on too many toppings. A little sauce, a good sprinkle of cheese, and a few choice embellishments are all you need for flavor and structural integrity. For those spooky eyes and noses, olives are my go-to, but tiny bits of bell pepper or pepperoni work wonderfully too. The little touches make all the difference, transforming a simple pizza into a work of Halloween art.
Shopping Tips
– Pizza Dough: Whether you opt for fresh dough from your local pizzeria or the refrigerated kind from the grocery store, good quality dough is your foundation. I prefer the fresh kind for a chewier crust.
– Cheese: Low-moisture, part-skim mozzarella is your best friend for melt without excessive oiliness. A block that you shred yourself will often melt more beautifully than pre-shredded bags.
– Pizza Sauce: A good jarred pizza sauce works wonders for convenience, but if you have a favorite homemade recipe, now’s the time to use it. Look for one with good depth of flavor.
– Toppings: Pepperoni, black olives, green bell peppers, or even a few strands of finely chopped red onion can add fantastic flavor and make for great skull features.
– Specialty Item: A skull-shaped cookie cutter is essential for achieving the iconic shape. Various sizes are available, so pick one that suits your desired serving size.
Prep Ahead Ideas
You can definitely get a head start on these fun pizzas. Shred your mozzarella cheese and chop any vegetable toppings (like olives or bell peppers) a day or two in advance, storing them in airtight containers in the fridge. You can also make your pizza sauce from scratch ahead of time if you prefer that over store-bought. Having these components ready to go means that when it’s time to assemble, all you need to do is roll out the dough and decorate, making for a much smoother and less chaotic kitchen experience, especially if you have little helpers involved.
Time-Saving Tricks
The biggest time-saver here is using good quality store-bought pizza dough. It eliminates the need for proofing and kneading, getting you straight to the fun part. If you’re really in a pinch, pre-shredded mozzarella is an option, though I find freshly shredded melts better. Another trick is to preheat your oven and baking sheet while you’re cutting and topping the skulls; a hot surface helps the crust get crisp right from the start. Don’t be afraid to enlist help from your family for topping the skulls; it speeds things up and adds to the festive fun!
Common Mistakes
One common pitfall is rolling the dough too thin, which can lead to soggy centers or crusts that tear easily when transferred. Aim for about 1/4 inch thickness for sturdy skulls. Another mistake is overloading the skulls with too many toppings, which can make them difficult to bake evenly and prone to falling apart. A thin layer of sauce, a modest amount of cheese, and just a few decorative toppings are plenty. Finally, don’t skimp on preheating your oven; a hot oven is crucial for a crisp crust and properly melted cheese.
What to Serve It With
These Halloween Pizza Skulls are fantastic on their own, but if you’re looking to round out the meal or create a more elaborate Halloween spread, consider serving them alongside a simple green salad with a light vinaigrette, some crunchy carrot and celery sticks, or even a spooky-themed fruit punch. For a heartier meal, a warm bowl of Creamy Tomato Soup would be a perfect pairing, offering a comforting contrast to the savory pizza.
Tips & Mistakes
To ensure your skull shapes are crisp on the bottom, bake them on a preheated pizza stone or an upside-down baking sheet. If you find your dough sticking, a light dusting of flour or cornmeal on your work surface and cutter can help. Be gentle when transferring the shaped dough to prevent stretching or tearing. For a richer flavor, you can brush the exposed crust edges with a little olive oil before baking.
Storage Tips
Store in airtight containers in the fridge. It reheats beautifully, but if you sneak a bite cold straight from the container, it still works.
Variations and Substitutions
These skulls are incredibly adaptable! For a vegetarian option, simply omit the pepperoni and load up on veggies like finely diced bell peppers, mushrooms, or thinly sliced red onion for features. You can swap out mozzarella for a blend of provolone and cheddar for a different flavor profile, or even add a sprinkle of Parmesan. If you don’t have a skull cookie cutter, you can use a round cutter and then use a small knife to create skull-like indentations or freehand the shapes. For a spicier kick, add a few red pepper flakes to your sauce.