
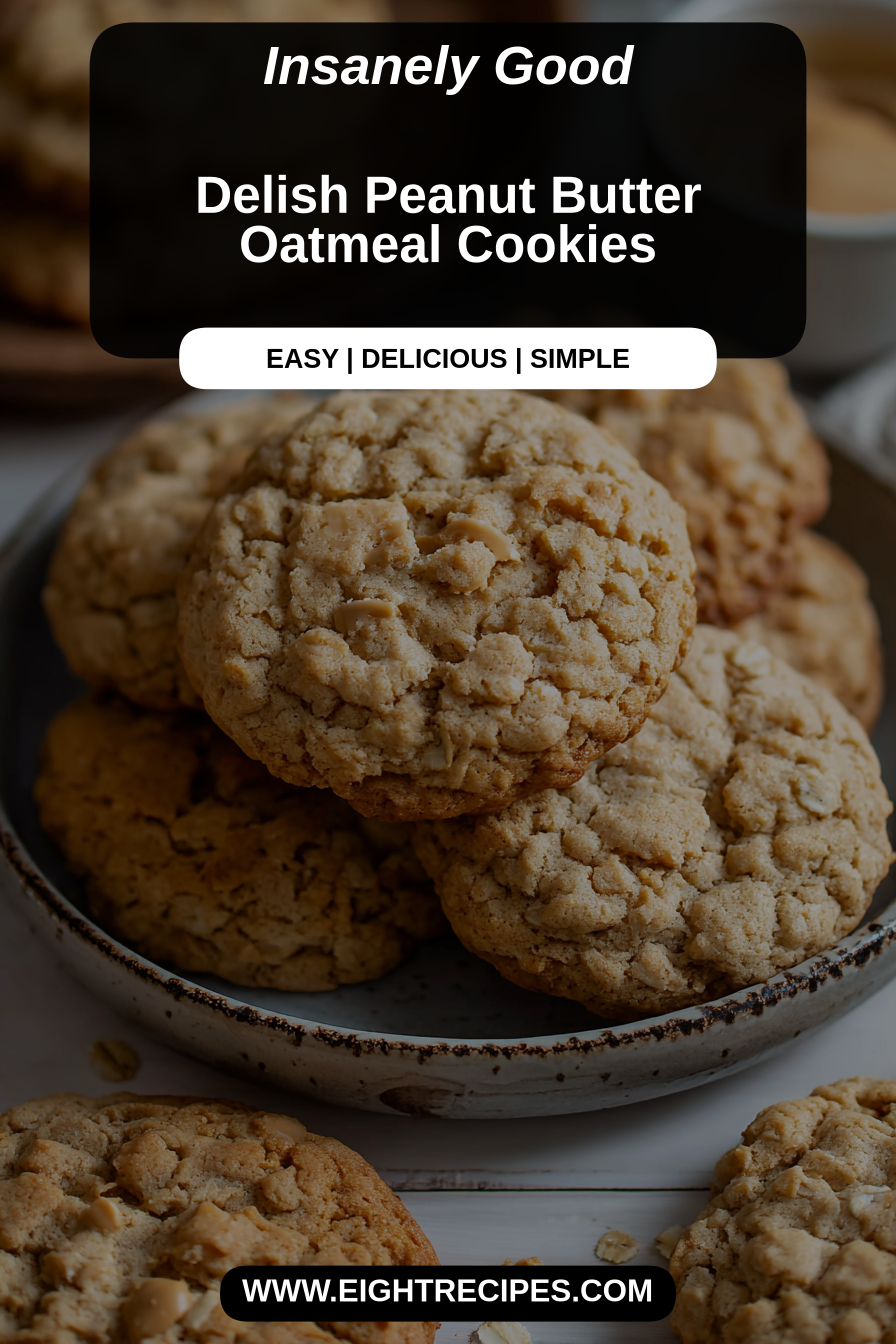
Delish Peanut Butter Oatmeal Cookies
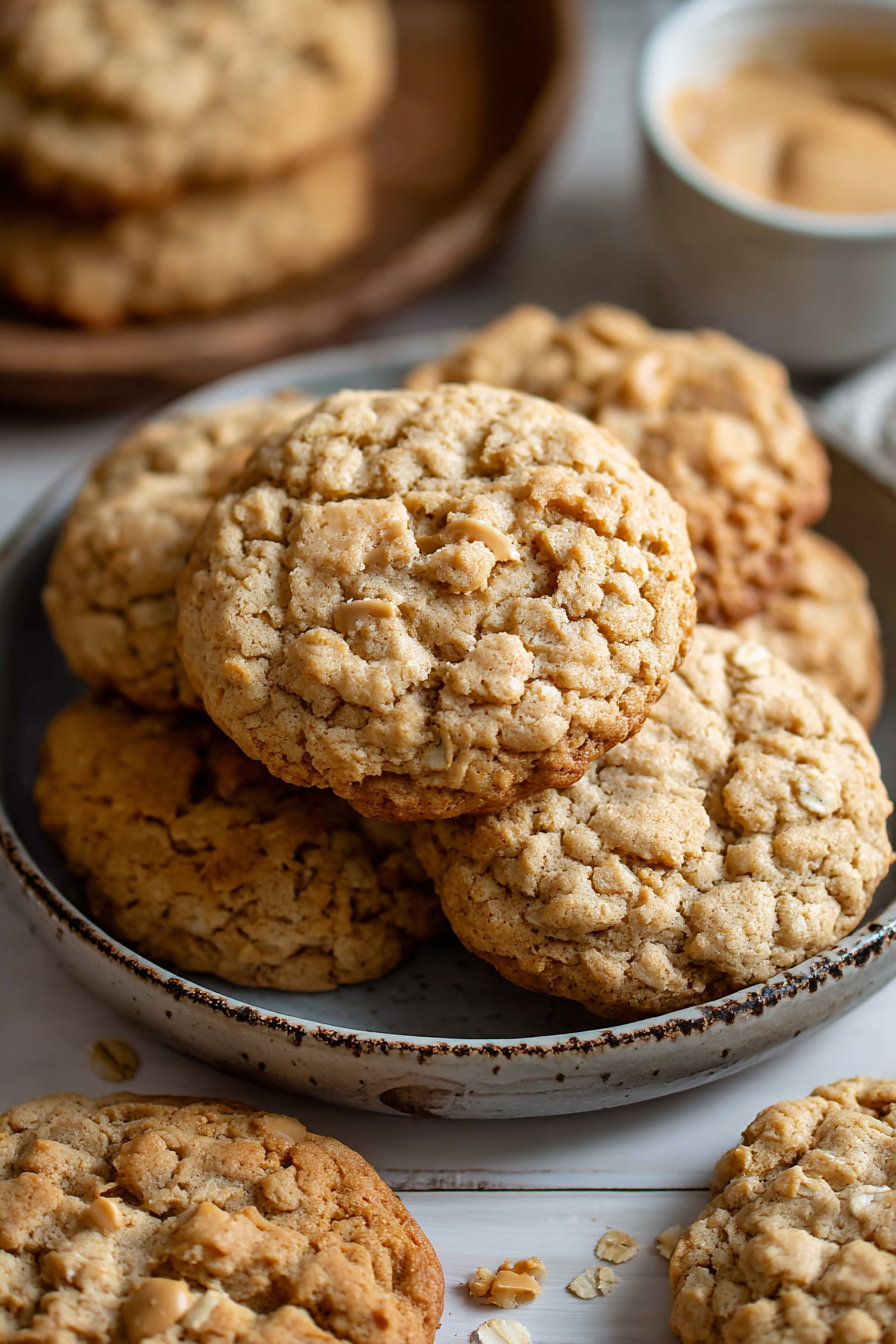
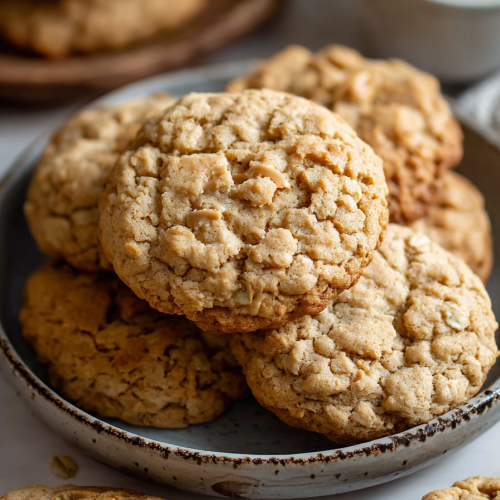
These peanut butter oatmeal cookies are the kind of cookie I make when I want something soulful, no-fuss, and reliably loved by everyone who tries one — crisp at the edges, tender in the middle, with the warm, toasted nuttiness of peanut butter and the hearty chew of oats. They’re an everyday cookie but with personality, the sort you bake for a lunchbox, an impromptu coffee visit, or just because the jar of peanut butter is calling your name.
My husband is the cookie quality-control officer in our house, and these are his favorite for a quiet Sunday afternoon with a mug of tea. Our daughter calls them “oat peanut hugs,” which is both accurate and adorable. I made them the week I was juggling remote work and homeschooling, and they became the ritual that let us press pause: she’d help drop dough, he’d do the oven watch, and we’d all celebrate with warm cookies and a ridiculous amount of crumbs. They’ve settled into our rotation because they’re forgiving, quick to come together, and endlessly tweakable.
Why You’ll Love This Delish Peanut Butter Oatmeal Cookies
– They balance chew and crisp in a way that feels both rustic and comforting.
– Peanut butter gives a rich, nutty backbone so you don’t miss complex add-ins; the oats add substance and texture.
– Easy to customize — swap mix-ins or adjust sweetness without upsetting the cookie’s structure.
– Great for mixing ahead and freezing, so you always have warm cookies on demand.
Behind the Recipe
I’ve baked these over and over until the formula felt like second nature. The two things that matter most: don’t overwork the dough and give it at least a short rest if you can — it helps hydrate the oats and keeps the centers tender. Use a peanut butter you love; natural or runny brands will change spread and texture, but both work if you lean into that difference. Also, folding in the oats by hand keeps the batter from getting overmixed and preserves little pockets of chew. This recipe is very forgiving, which is why it’s become my go-to for last-minute baking: small variations in mix-ins or nut butter consistency won’t derail the outcome.
Shopping Tips
– Baking Basics (Flour/Sugar/Leaveners): Choose all-purpose flour for a familiar texture and measure by spooning into the cup or weighing for consistent results; use baking soda for a light lift.
– Fats & Oils: Use a stick-style butter or margarine you enjoy; the butter flavor plays a big role, so don’t skimp on quality if you like a richer cookie.
– Eggs: Bring eggs to room temperature for more even mixing and better structure in the dough.
– Nuts & Seeds: If adding chopped nuts, toast them briefly for more flavor and crunch, and cool before folding into the dough.
– Sweeteners: Light brown sugar gives a hint of molasses that complements the peanut butter; if swapping for white sugar, expect a slightly less chewy texture.
Prep Ahead Ideas
– Make the dough the day before and chill it; chilled dough spreads less and often yields a better texture.
– Portion the scooped dough onto a tray and freeze until firm, then transfer to a bag so you can bake just what you need.
– Store pre-measured dry ingredients together in a jar for a speedy stir-together batch when you’re short on time.
Time-Saving Tricks
– Use a cookie scoop to portion dough quickly and evenly — no need to fuss with rolling or shaping.
– If you’re short on time, a 10–15 minute chill helps but isn’t mandatory; just space the cookies a bit farther apart to allow for spreading.
– Keep a clean counter and have all mix-ins nearby (mise en place) so you can move through the recipe without stopping.
Common Mistakes
– Overbaking: I once left a tray in until they looked “done” and they turned out dry; pull them when the edges are set and the centers still look slightly soft.
– Too much flour: Packing the flour into the cup yields a dense cookie; spoon into the cup and level or weigh for best results.
– Using runny peanut butter without adjusting: It makes dough looser and cookies flatter; if using runny PB, chill the dough a little longer before baking.
– Adding too many mix-ins: It’s tempting, but overloading the dough can interfere with structure; keep roughly to one hearty handful of extras per batch.
What to Serve It With
These cookies are lovely with a simple glass of milk, a steaming mug of coffee, or a cup of tea. For a grown-up pairing, try a latte with a touch of cinnamon or a small scoop of vanilla ice cream sandwiched between two slightly warm cookies for an instant treat.
Tips & Mistakes
For the best texture, don’t skip chilling if your kitchen is warm — it saves you from overly thin cookies. If your first tray spreads too much, reduce oven temperature by 15 degrees or chill the dough longer. When in doubt, underbake slightly; cookies continue to firm up as they cool.
Storage Tips
Store in airtight containers in the fridge. It reheats beautifully, but if you sneak a bite cold straight from the container, it still works.
Variations and Substitutions
– Swap half the oats for quick-cooking oats if you want a softer, less chewy bite; rolled oats keep more texture.
– Use crunchy peanut butter for more texture, or almond/seed butter for a different nut profile — expect small flavor and spread differences.
– Stir in chocolate chips, raisins, or toasted coconut for variety; keep additions moderate so the cookie structure isn’t overwhelmed.
– To make them vegan, use a flax egg and a plant-based butter; texture may be slightly different but still delicious.
Frequently Asked Questions
Delish Peanut Butter Oatmeal Cookies
Ingredients
Main Ingredients
- 1 cup peanut butter Creamy works best
- 0.5 cup granulated sugar
- 0.5 cup brown sugar Packed
- 1 large egg Beaten
- 1 tsp vanilla extract
- 1 cup old-fashioned oats
- 0.5 cup all-purpose flour
- 0.5 tsp baking soda
- 0.25 tsp salt
- 0.5 cup chocolate chips Optional but delicious!
Instructions
Preparation Steps
- Preheat your oven to 350°F (175°C) and line a baking sheet with parchment paper. This will help your cookies bake evenly and not stick.
- In a mixing bowl, combine the peanut butter, granulated sugar, brown sugar, beaten egg, and vanilla extract. Mix until smooth and creamy.
- Slowly add in the oats, flour, baking soda, and salt. Stir until everything is well combined. If you’re using chocolate chips, fold them in now!
- Scoop tablespoons of the cookie dough onto the prepared baking sheet, spacing them about 2 inches apart.
- Bake for 10 to 12 minutes or until the edges are lightly golden. Keep an eye on them so they don’t overbake!
- Let the cookies cool on the baking sheet for a few minutes before transferring them to a wire rack to cool completely. Enjoy your delightful cookies!