
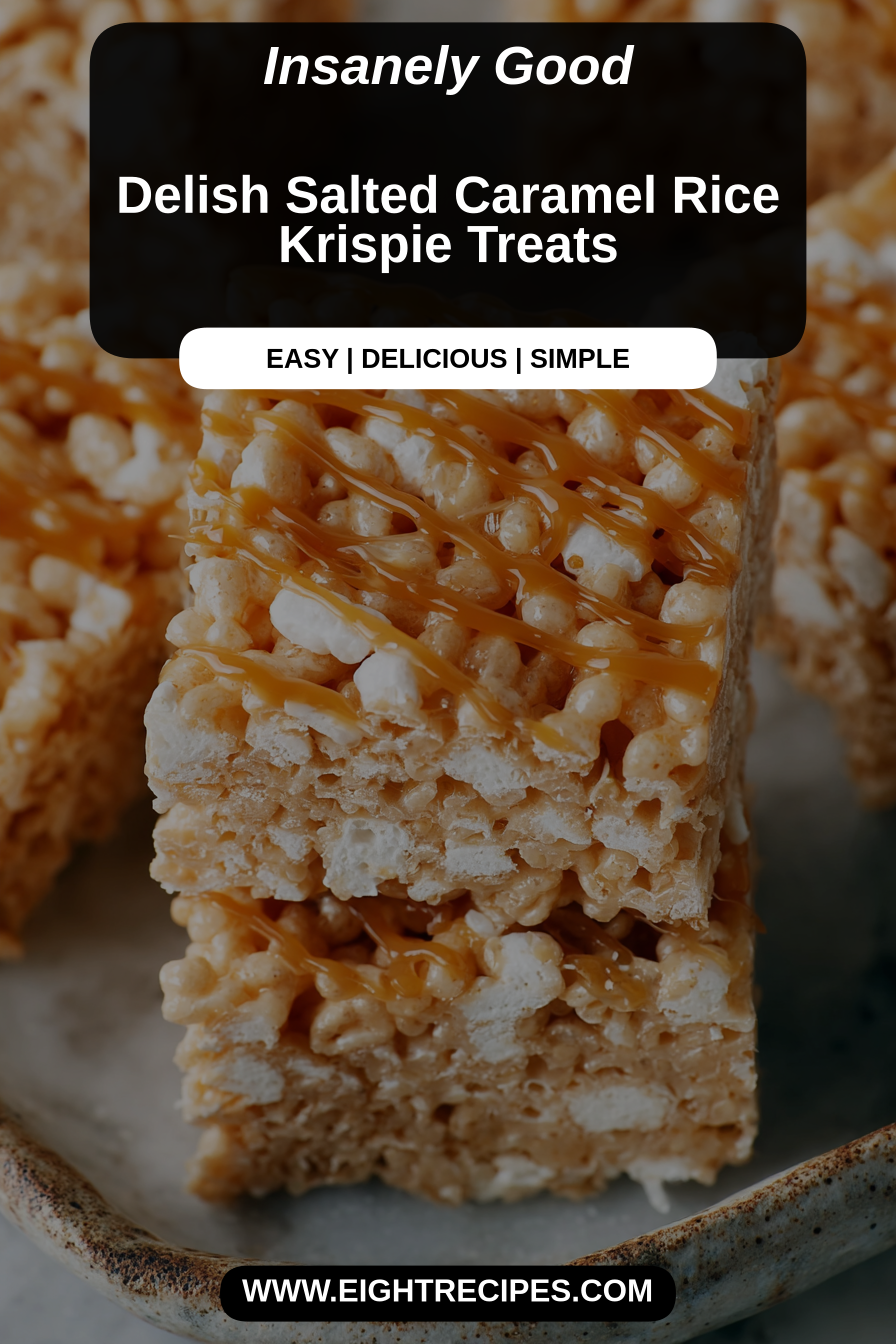
Delish Salted Caramel Rice Krispie Treats
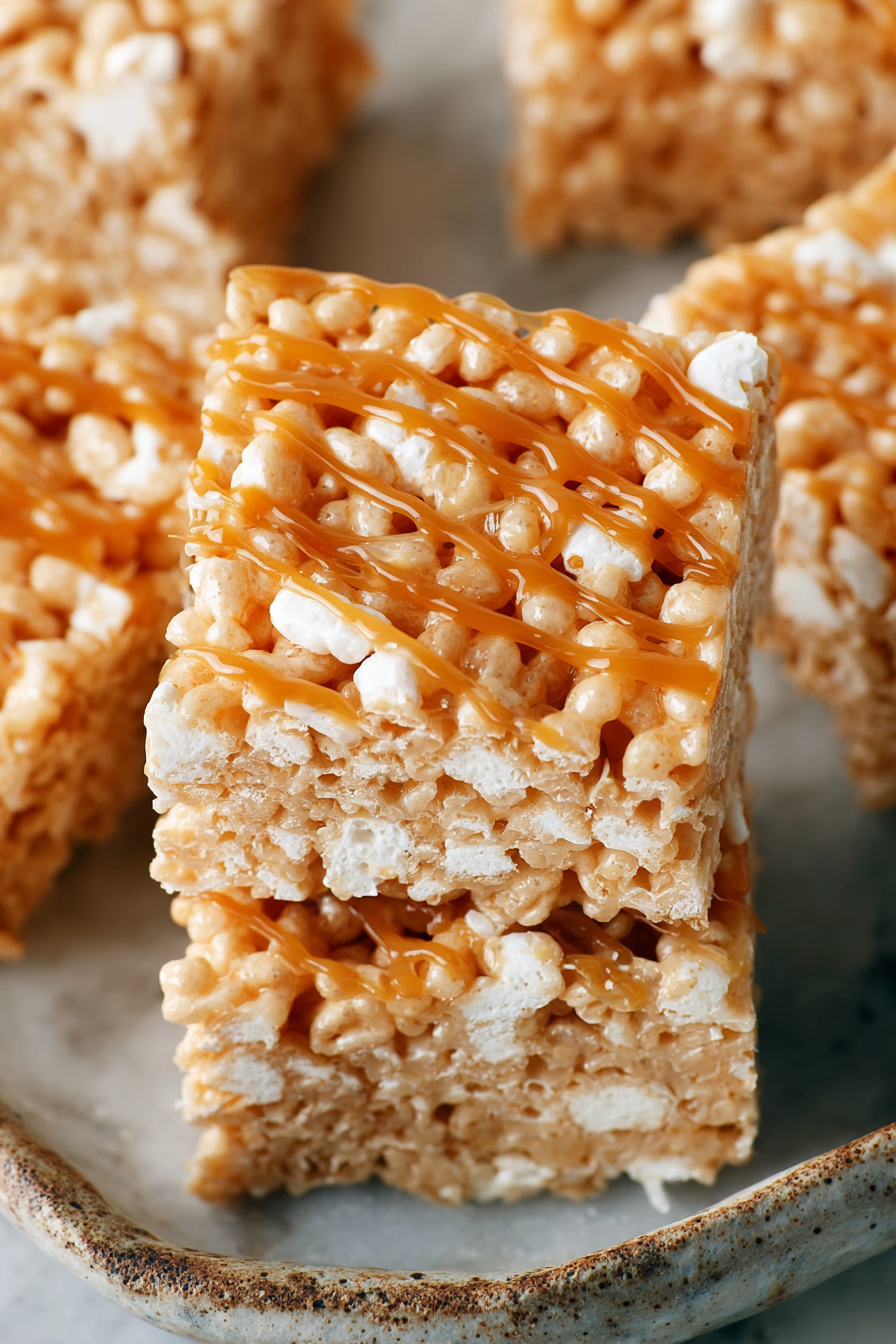
These salted-caramel Rice Krispie treats are the cozy, slightly grown-up cousin of the classic childhood snack: toasty cereal and marshmallow come together as a chewy, nostalgic base, then a buttery, deeply caramel drizzle and a flurry of flaky sea salt lift them into deliciously addictive territory. They’re easy enough for a weeknight dessert but special enough to bring to potlucks, bake sales, or an after-dinner treat when you want something a little decadent without fuss.
My husband is the one who insisted I add extra caramel the first time I made these — and then stood by the baking sheet, sampling edges as I finished sprinkling salt, like he was on a very deliberate mission. Our kiddo calls them “golden squares,” and they’ve become our go-to after-school reward and a staple at weekend movie nights. I love how the salt cuts through the sweetness and how a slightly toasted marshmallow flavor makes them feel comforting in a way that store-bought bars rarely do.
Why You’ll Love This Delish Salted Caramel Rice Krispie Treats
– Familiar comfort turned elevated: the same pillowy marshmallow and crunchy cereal, but with a buttery caramel boost and flaky salt for contrast.
– Fast and forgiving: you can make the caramel ahead or use store-bought, and the base comes together in minutes.
– Crowd-pleaser for all ages: kids adore the chew and adults appreciate the sophisticated salt-and-sweet interplay.
– Portable and party-ready: they hold their shape, travel well, and slice into attractive little squares for sharing.
Behind the Recipe
Making a better Rice Krispie treat is mostly about texture and balance. Melt marshmallows slowly and stir gently — overheating will make the mixture stiff once it cools. Toasting the marshmallows or browning the butter first gives a richer, almost toasted-marshmallow depth that pairs beautifully with caramel. The caramel should be fluid enough to drizzle without puddling; too much and the bars go soft. Finish with a light hand of flaky sea salt so each bite alternates sweet and savory rather than leaning cloying. Finally, let the pan rest briefly before cutting so the pieces hold neat edges without crumbling.
Shopping Tips
– Baking Basics: Use fresh marshmallows (mini or chopped regulars) and a crisp rice cereal; stale marshmallows or soggy cereal will affect texture.
– Fats & Oils: Unsalted butter is best so you control the salt level; if using salted, skip additional salt until taste-testing.
– Dairy: If you’re making caramel from scratch, pick a good-quality heavy cream — it makes the sauce glossy and smooth.
– Sweeteners: For the caramel, look for light or dark brown sugar (or ready-made caramel sauce); good-quality caramel saves time and tastes better than cheap syrup.
– Chocolate: Optional: a quick dark chocolate drizzle is a lovely counterpoint; choose 60–70% cacao for balance.
Prep Ahead Ideas
– Make the caramel 1–2 days ahead and store it in an airtight jar in the fridge; rewarm gently before drizzling.
– Measure the cereal and marshmallows into a container or bag the night before so everything is ready to go.
– Line your pan with parchment in advance for faster assembly and cleanup. Prepping these small things makes the final 10 minutes a breeze.
Time-Saving Tricks
– Use the microwave to melt marshmallows and butter in 20–30 second bursts for a fast, hands-off option; stir between bursts until smooth.
– Keep a jar of quality store-bought caramel on hand for last-minute batches — it’s a perfectly fine shortcut.
– Lay out all ingredients and tools (mise en place) before heating anything; working quickly while the marshmallow mix is warm preserves that gooey texture.
– Slowing down helps here: let the pan rest before cutting so the bars slice cleanly rather than tearing.
Common Mistakes
– Overheating the marshmallows: I’ve scorched marshmallow once — it resulted in a rubbery, hard bar. Fix: pull off heat sooner and stir vigorously off the burner.
– Soggy bars from too much caramel: use a light hand with drizzle or allow caramel to set slightly before adding more on top.
– Pressing the mixture too hard into the pan: I’ve compacted them into hockey pucks; press gently with a buttered spatula or parchment for even density.
– Forgetting the salt: without a touch of flake sea salt the caramel can be one-note sweet; a sprinkle makes the flavor sing.
What to Serve It With
– Coffee or espresso to cut through the sweetness, or a big glass of cold milk for classic pairing. For a fancier spread, serve alongside vanilla ice cream and extra salted caramel for drizzling.
Tips & Mistakes
Keep portions modest — these are rich, so small squares go a long way. If serving warm, put the cut pieces on a rack so any excess caramel doesn’t pool under them. And don’t skip the flaky salt — it’s the finishing note.
Storage Tips
Store in airtight containers in the fridge. It reheats beautifully, but if you sneak a bite cold straight from the container, it still works.
Variations and Substitutions
– For gluten-free bars, use a certified gluten-free puffed rice cereal.
– Swap butter for coconut oil for a dairy-free twist, and use coconut-based caramel or dulce de leche alternatives if needed.
– Add-ins: fold in toasted pecans or mini chocolate chips for texture and flavor, but avoid anything that will release oil and make the bars greasy.
– If you want less sugar, use a thinner layer of caramel and opt for a dark chocolate drizzle to balance sweetness.
Write me the frequently asked questions and answers Delish Salted Caramel Rice Krispie Treats in the same way as the example below.
Frequently Asked Questions
Delish Salted Caramel Rice Krispie Treats
Ingredients
Main Ingredients
- 2.5 cups Rice Krispies
- 1 cup mini marshmallows
- 0.5 cup unsalted butter Melted
- 1 cup caramel sauce Plus extra for drizzling
- 0.5 teaspoon salt For sprinkling on top
Instructions
Preparation Steps
- In a large bowl, mix the Rice Krispies with melted butter and mini marshmallows until everything is well combined. This is the base for your treats!
- Next, melt the caramel sauce in a microwave-safe bowl for about 30 seconds until warm and pourable. Fold it into the Rice Krispie mixture carefully.
- Press the mixture evenly into a greased 9x13 inch pan and let it cool for a bit. This step helps them hold their shape!
- Once cooled, drizzle extra caramel sauce on top and a sprinkle of salt to enhance that sweet and savory flavor.
- Cut into squares and enjoy your deliciously sweet treats with family or friends!