
Easy Brined Chicken Wings
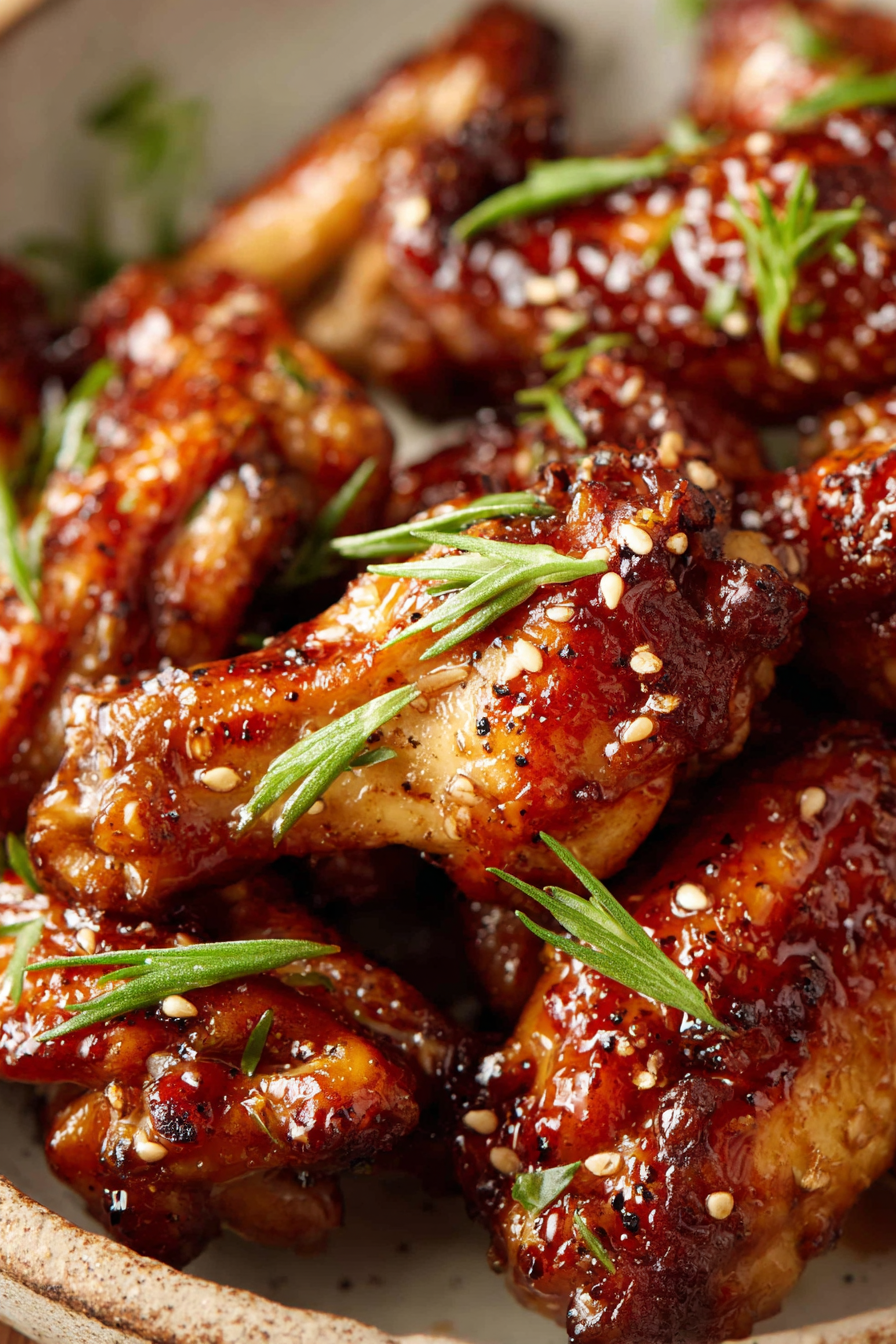
These brined chicken wings are my weeknight and party standby: simple salt-and-sugar brine, a little aromatics, and a hot roast (or quick fry) that yields wings with juicy meat and crackly skin. They’re forgiving, quick to finish, and endlessly adaptable—toss them in a sticky glaze, a dry spice rub, or just a squeeze of citrus and flaky salt.
My husband calls these “the wings that saved dinner” because they turn up whenever our plans are vague and appetites are not. Our kiddo learned to clap when the timer goes off because the house smells like a game-day kitchen, and more than once I’ve shown up to book club with a pan of wings and walked into a room of instant friends. They’re the kind of recipe that’s become shorthand for cozy evenings, last-minute guests, and the occasional very necessary snack plate.
Why You’ll Love This Easy Brined Chicken Wings
– Brining keeps the meat tender and seasoned through, so the inside never dries out even if the skin gets delightfully crisp.
– The technique is flexible: brine overnight or for a few hours, roast, bake, or fry depending on time and equipment.
– The finished wings play well with lots of flavors—spicy, sweet, smoky, or bright citrus—so everyone at the table can pick their favorite.
– They’re foolproof to scale up for a crowd but elegant enough to serve alongside a composed salad for a simple weeknight dinner.
Behind the Recipe
Brining adds an almost magical juiciness that you don’t get from seasoning after cooking. I’ve learned to treat the brine as flavor insurance: a modest amount of sugar balances the salt and helps with browning, and a couple of aromatics—garlic, peppercorns, a bay leaf—add subtle depth without demanding attention. The trickiest bit is skin texture: dry skin equals crisp skin, so give the wings time to air-dry after the brine and pat them thoroughly before they hit the oven or fryer. Also, overcrowding the pan steams the wings instead of roasting them; a single layer with air circulation produces the best crunch. Small additions—cornstarch or baking powder tossed with the wings before cooking—will lift the skin and help it blister; it’s a small extra step that changes everything.
Shopping Tips
– Protein: Buy whole wings or wing sections depending on your preference; if you want faster cooking, ask the butcher to separate the flats and drumettes.
– Spices: A basic blend of black pepper, smoked paprika, and garlic powder is all you need; pick fresh-smelling spices for the brightest flavor.
– Fats & Oils: Use an oil with a high smoke point for roasting or frying (neutral oils or avocado oil work well); a little finishing oil like sesame or olive adds flavor after cooking.
– Citrus: Limes and lemons are great finishing touches—choose firm, heavy fruits for juiciness and avoid dry, pithy specimens.
– Crunch Extras: If you plan to finish with sesame seeds or chopped scallions, have them fresh and ready to sprinkle right before serving for the best texture.
Prep Ahead Ideas
– Brine the wings the night before and leave them in the fridge; this is the single best make-ahead move for flavor and texture.
– Mix any dry rub or sauce a day in advance and store in an airtight container so finishing is hands-off.
– Pat wings dry and place them on a rimmed sheet in the fridge uncovered for an hour or two before cooking to help the skin dehydrate slightly—this can be done a few hours ahead.
Time-Saving Tricks
– Roast on a wire rack set over a sheet pan so hot air circulates and you don’t need to flip as often.
– Use convection/broil at the end for instant crisping instead of frying to save cleanup time.
– Keep mise en place simple: have sauce warmed and garnishes prepped while the wings rest after cooking so you can serve immediately.
– Buy pre-cut wings if you’re in a hurry—just adjust cooking time slightly and be sure to pat them dry.
Common Mistakes
– Over-salting by adding extra salt after brining: taste your sauce before tossing and remember the wings are already seasoned.
– Not drying the skin: wet skin steams, so always pat well and, if possible, air-dry briefly in the fridge.
– Overcrowding the pan: if they’re touching, they won’t crisp. Use two pans if needed.
– Brining too long: small pieces like wings don’t need days; extended brining can make them mushy. If that happens, rinse lightly and pat dry, then roast at a higher heat to help restore texture.
What to Serve It With
Tips & Mistakes
Pair wings with crunchy, cooling sides—slaw, pickles, or a simple cucumber salad—to balance richness. For sauces, serve them on the side so folks can dip to taste and the wings retain their crisp. A common slip is saucing too early; if you’re after crispy skin, toss the wings in glaze just before serving or offer sauce in a bowl.
Storage Tips
Store in airtight containers in the fridge. It reheats beautifully, but if you sneak a bite cold straight from the container, it still works.
Variations and Substitutions
– Sweet swaps: honey, maple, or agave stand in nicely for sugar in glazes; start with less and adjust to taste.
– Umami swaps: tamari works for gluten-free instead of soy; fish sauce can add depth in small amounts.
– Texture swaps: baking powder instead of cornstarch gives an extra-crisp finish if you’re avoiding the starch flavor.
– Keep the classic brine if you want reliably tender wings; heavy-handed changes to brine ratio are the easiest way to throw off the balance.

Write me the frequently asked questions and answers Easy Brined Chicken Wings in the same way as the example below.
Frequently Asked Questions
Easy Brined Chicken Wings
Ingredients
Main Ingredients
- 2 lb chicken wings
- 0.5 cup kosher salt For brining
- 0.5 cup brown sugar Adds sweetness to the brine
- 1 tbsp black peppercorns Whole for best flavor
- 1 tbsp garlic powder
- 1 tbsp onion powder
- 8 cup water For the brine
Instructions
Preparation Steps
- Start by mixing the water, kosher salt, brown sugar, black peppercorns, garlic powder, and onion powder in a large pot. Stir well until everything is dissolved. Bring this mixture to a boil, then cool it down to room temperature.
- Once cooled, place the chicken wings in a large container or zip-top bag and pour the brine over them. Make sure the wings are fully submerged. Seal the bag or cover the container, then refrigerate for at least 2 hours, or up to 12 hours for more flavor.
- Preheat your oven to 400°F (200°C). Remove the wings from the brine and pat them dry with paper towels. This will help them crisp up in the oven.
- Arrange the wings on a baking sheet in a single layer and bake for about 30 minutes or until they're golden brown and crispy, flipping them halfway through for even cooking.
- Let the wings rest for a few minutes before serving. Enjoy these delightful wings plain or toss them in your favorite sauce for an extra kick!