
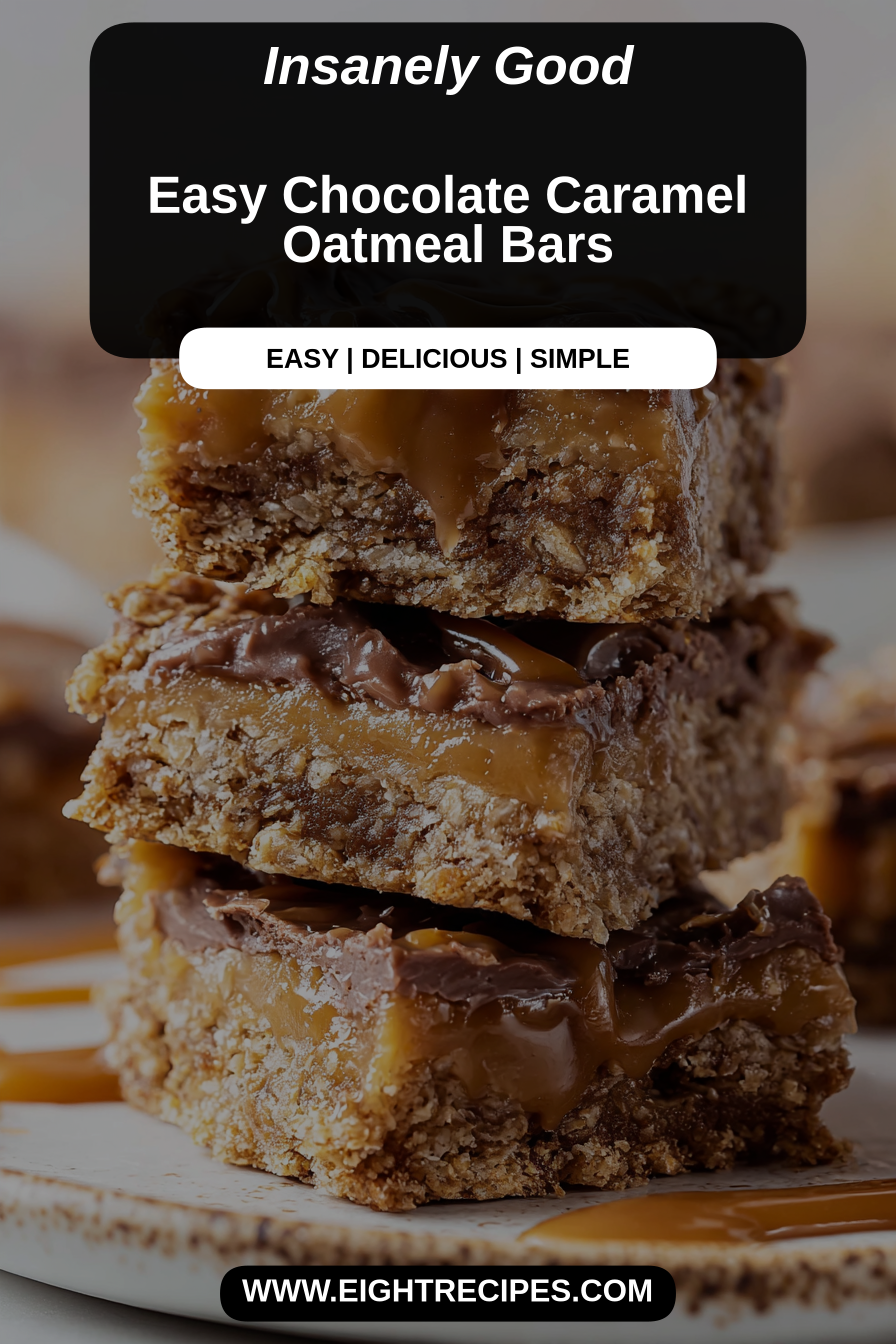
Easy Chocolate Caramel Oatmeal Bars
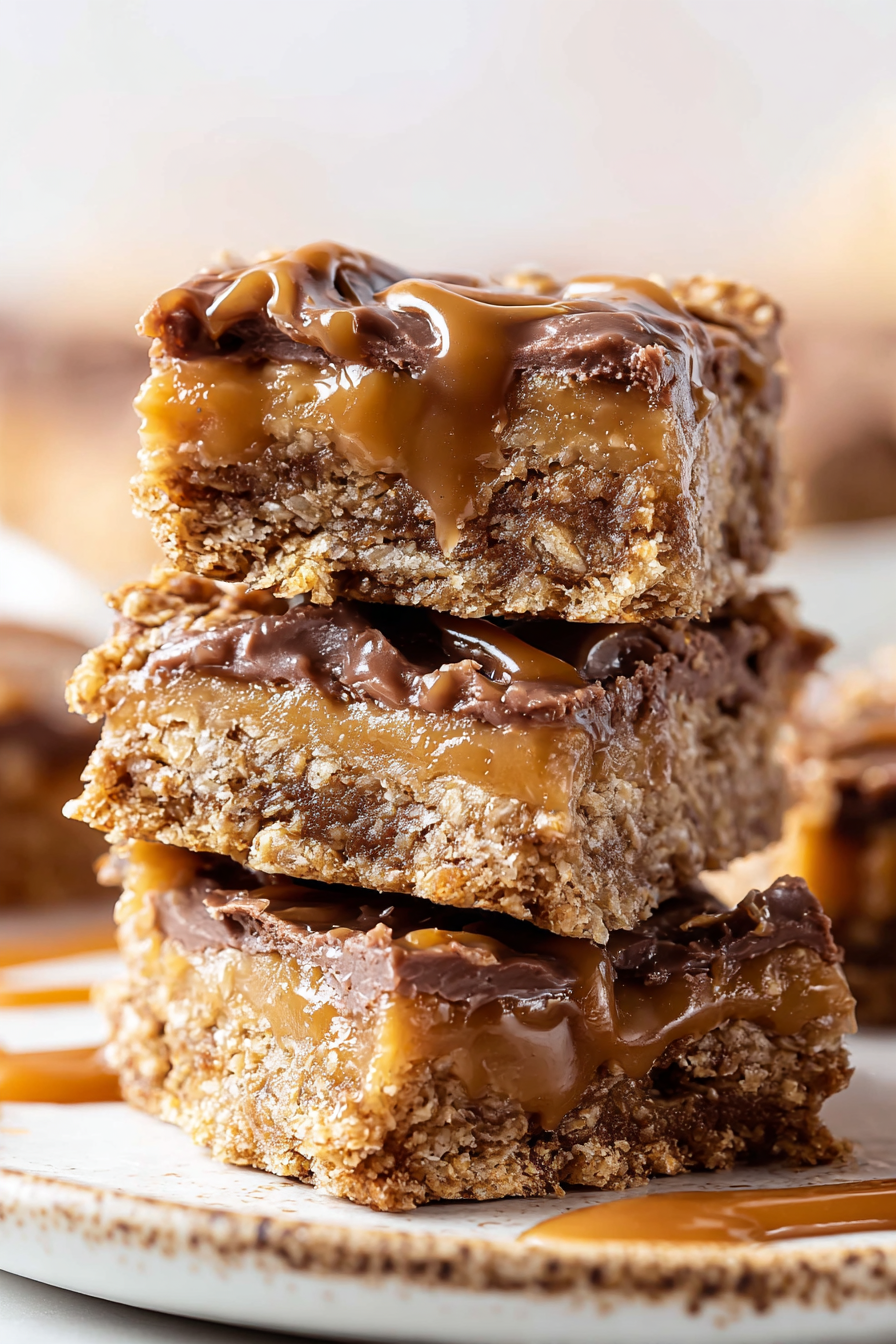
This recipe is a sweet, chewy bar built on toasted oats, a salty-sweet caramel layer, and a glossy chocolate top — the kind of dessert that feels both comforting and a little decadent. It’s the reason we always seem to need an extra baking dish in the house: these bars tick every box for an afternoon treat, lunchbox upgrade, or a simple dessert that looks like you tried harder than you did.
My husband declared these “the new snack” the first week I made them and promptly hid half the pan in the back of the fridge. Our kiddo learned to open the container with one hand and carry a bar to the couch like a tiny trophy. They’ve become a weekend-baking ritual: I make a batch, he approves the caramel-to-chocolate ratio, and we debate whether a sprinkle of flaky salt is absolutely necessary (it is).
Why You’ll Love This Easy Chocolate Caramel Oatmeal Bars
– Chewy oat base that holds together without being gummy, perfect for packing or snacking.
– A buttery caramel layer that’s rich without being cloying — and it pairs beautifully with bittersweet chocolate.
– Textural contrast: tender oats, silky caramel, and a crisp chocolate snap.
– Flexible: you can add nuts, seeds, or dried fruit and still keep the core flavors intact.
– Makes a big pan so you have treats for several days — or enough to share when guests drop by.
Behind the Recipe
I learned early on that the difference between a meh bar and a memorable bar is small: properly toasted oats, a caramel that has body but isn’t rock-hard, and chocolate that sets with a satisfying sheen. The oat layer needs a little warmth and time to compact so it won’t crumble, and the caramel needs patience — rush it and it won’t slice cleanly. I often press the base while it’s still warm to avoid gaps between layers, and I cool the finished bars until the chocolate is fully set before slicing so each piece looks clean and inviting.
Shopping Tips
– Baking Basics (Flour/Sugar/Leaveners): Use regular all-purpose flour if the recipe calls for it; measure by spooning into the cup or use a scale for best consistency. Granulated sugar is usually fine for the caramel.
– Fats & Oils: Choose a good-quality unsalted butter — it impacts both flavor and caramel texture. If using salted butter, reduce any added salt elsewhere.
– Chocolate: Pick a chocolate you like eating on its own; a 60–70% bittersweet works beautifully for balance, but milk chocolate makes the bars sweeter and more kid-friendly.
– Nuts & Seeds: If adding chopped nuts, toast them lightly for more flavor and crunch; store raw nuts in the fridge to prevent rancidity.
– Sweeteners: If substituting maple syrup or honey, expect a shift in texture and flavor — they add moisture and a distinct profile, so use them thoughtfully.
Prep Ahead Ideas
– Toast oats and measure dry ingredients the day before; store in an airtight container to keep the toasty aroma.
– Make the caramel a day ahead and refrigerate in a sealed jar; warm gently before assembling so it spreads easily.
– Line and prep your baking pan (parchment overhang) ahead of time for a no-stress assembly; keep the lined pan at room temperature.
Time-Saving Tricks
– Use store-bought soft caramels melted with a touch of cream if you’re short on time — they won’t be identical to scratch caramel but are very good in a pinch.
– Microwave the chocolate in short bursts, stirring between each, to melt quickly without seizing.
– Keep all ingredients within arm’s reach (mise en place): once the caramel is ready, you’ll want to move efficiently to layer and chill.
Common Mistakes
– Overbaking the oat base: it will keep cooking a bit in the hot pan, so remove when it’s just turning golden to avoid dry bars.
– Caramel too runny: if it hasn’t cooked long enough, chill the caramel briefly to thicken before spreading, or cook it a touch longer until it coats the back of a spoon.
– Chocolate seizing: don’t let any water touch the chocolate while melting; if it seizes, add a little neutral oil or cream and stir gently to smooth it out.
– Slicing too soon: cutting before the layers are fully set leads to messy pieces — chill until the chocolate snaps.
What to Serve It With
These bars are great paired with a strong black coffee or an iced latte for afternoons, or a scoop of vanilla ice cream for dessert. They also travel well as a picnic treat or a post-soccer-game snack.
Tips & Mistakes
A final sprinkle of flaky sea salt right after the chocolate sets elevates the flavor by adding contrast, but don’t oversalt — a little goes a long way. If your bars are too sticky after refrigeration, let them come to room temperature briefly before serving for easier handling.
Storage Tips
Store in airtight containers in the fridge. It reheats beautifully, but if you sneak a bite cold straight from the container, it still works.
Variations and Substitutions
You can swap some of the oats for quick-cooking oats for a softer texture, but avoid replacing all old-fashioned oats or the base will lose structure. For nut-free versions, use toasted seeds like pumpkin or sunflower instead of nuts. If you want to reduce refined sugar, try a partial swap of brown sugar with maple syrup, but expect a slightly moister, darker caramel. For a vegan version, use plant-based butter and a thickened date caramel, though the flavor will be noticeably different from the classic dairy version.
Frequently Asked Questions
Easy Chocolate Caramel Oatmeal Bars
Ingredients
Main Ingredients
- 1.5 cups rolled oats Use old-fashioned for best texture.
- 0.5 cups brown sugar Pack tightly in the measuring cup.
- 0.5 cups unsalted butter Melted for easier mixing.
- 1 cup all-purpose flour
- 1 cup chocolate chips Semi-sweet works great!
- 1 cup caramel sauce Store-bought or homemade will do.
Instructions
Preparation Steps
- Begin by preheating your oven to 350°F (175°C). Grease a 9x13 inch baking dish or line it with parchment paper for easy removal.
- In a large bowl, mix together the melted butter, brown sugar, and rolled oats until combined. Then, add the all-purpose flour and chocolate chips, stirring until everything is well incorporated.
- Spread half of the oat mixture evenly into the prepared pan to create the base. Press it down firmly.
- Pour the caramel sauce over the base layer, ensuring it spreads evenly. Then, sprinkle the remaining oat mixture on top of the caramel layer, but without pressing it down too much.
- Bake in the preheated oven for about 25 minutes, or until the top is golden and set. Once finished, allow it to cool completely before slicing into squares.