
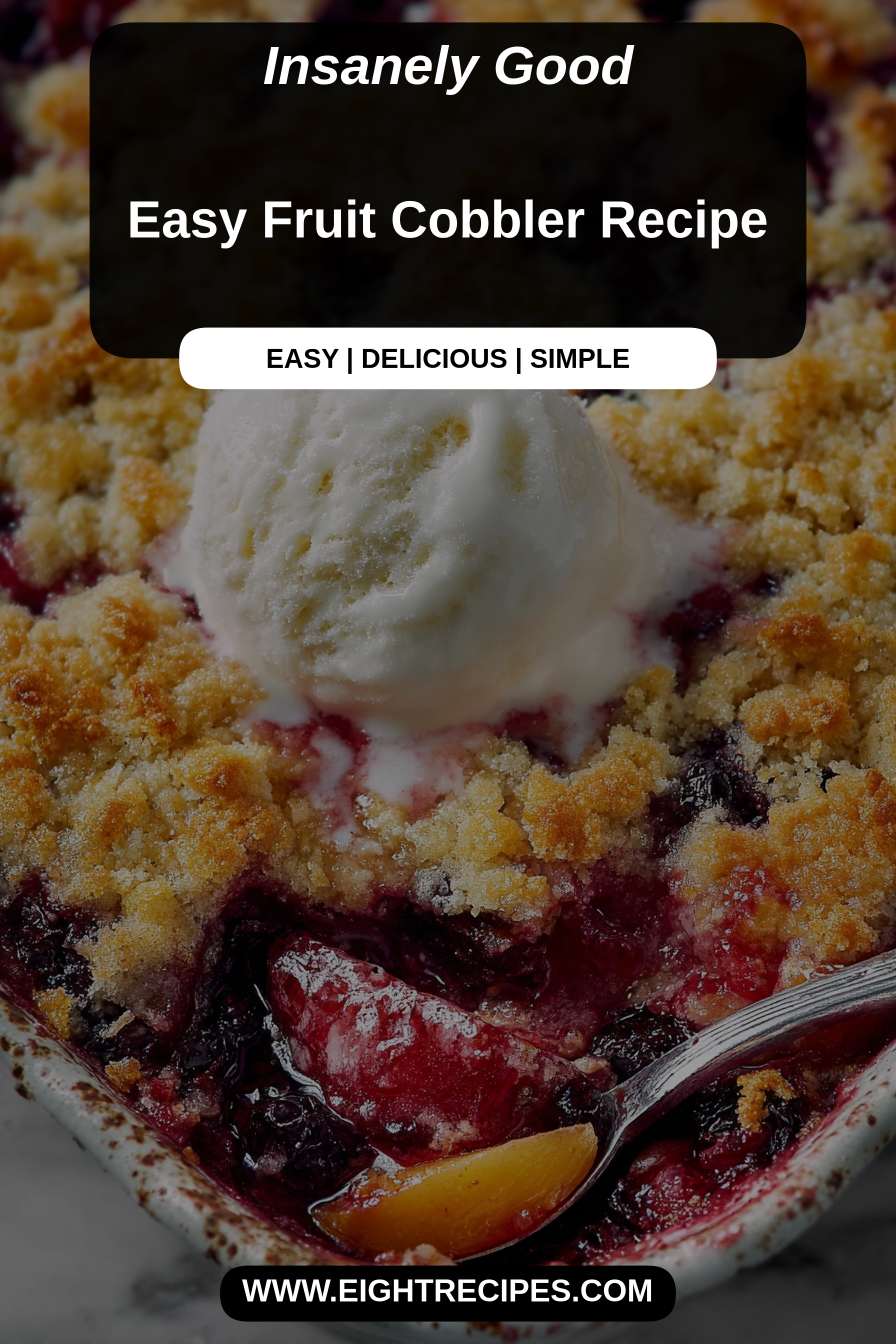
Easy Fruit Cobbler Recipe
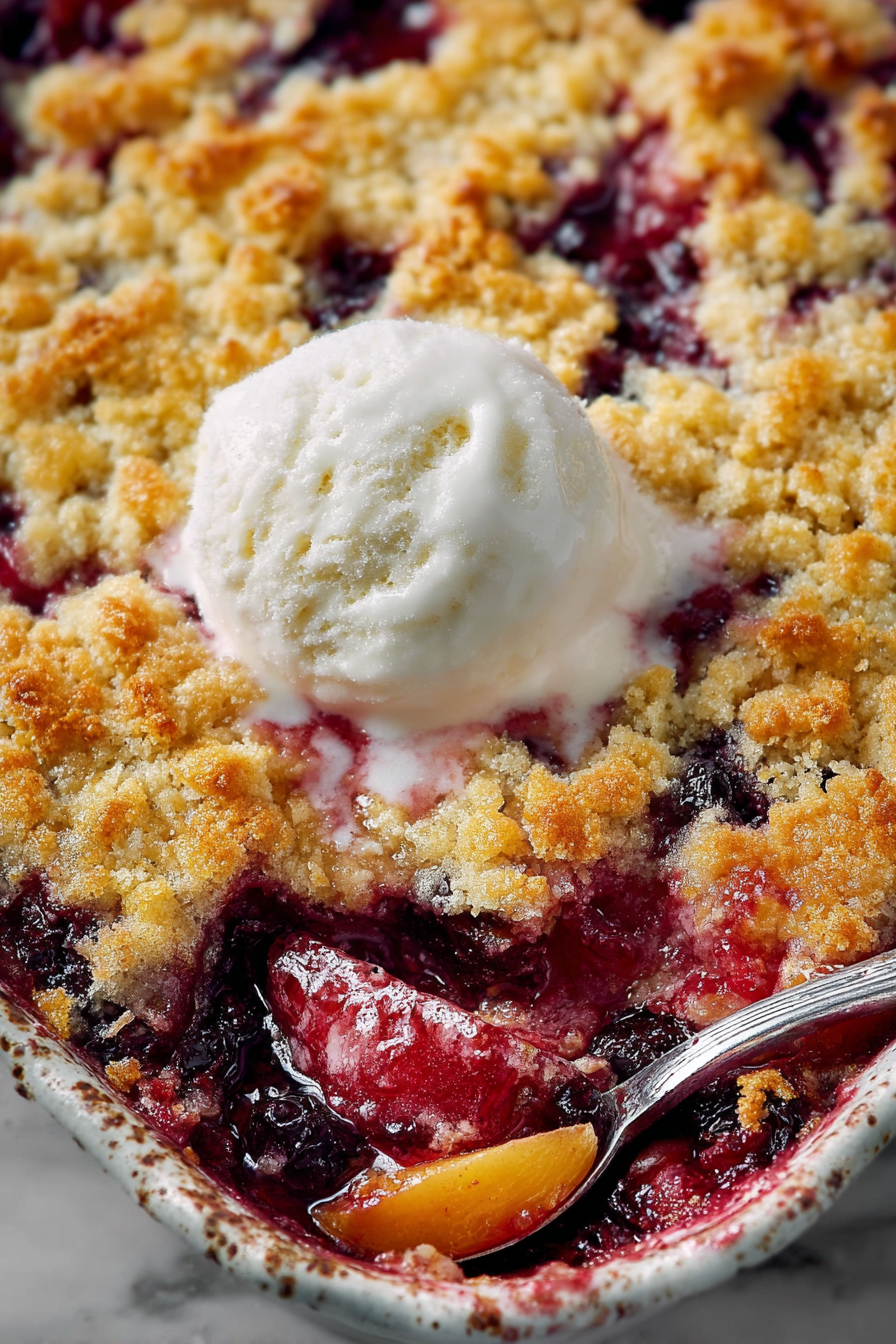
I make fruit cobbler year-round because it’s the kind of dessert that feels both rustic and comforting — bubbling fruit topped with a buttery, biscuit-like crust that soaks up juices and sends warm, fruity steam through the house. This Easy Fruit Cobbler Recipe is forgiving, quick to throw together, and flexible enough to showcase whatever fruit is in season or hiding in the freezer. It’s the dessert I turn to when I want something homey with a little bit of wow.
My little family calls this “the cobbler that fixes everything.” On cranky homework nights or when friends drop by unexpectedly, I pull a cobbler out of the oven and somehow everyone slows down. My husband loves digging straight to the syrupy bottom while the kids argue over who gets the biggest crust piece — and I get a few minutes to breathe. It’s become our Sunday ritual: someone peels or slices fruit, someone else stirs sugar and spice, and we all take turns stealing warm spoonfuls before the full serving. That kind of low-stakes collaboration makes this recipe feel like more than dessert; it’s a tiny family anchor.
Why You’ll Love This Easy Fruit Cobbler Recipe
– It’s forgiving: swap fruits, tweak the sugar, or bake in different dishes and it still sings.
– Fast-ish prep with a big payoff — most of the work is slicing fruit and a simple batter or biscuit topping.
– Crowd-pleasing texture contrast: tart, juicy fruit beneath a tender, slightly crisp top.
– Makes great use of seasonal fruit or the bag of frozen berries in your freezer.
– Comforting and nostalgic without being fussy; perfect for weeknights or company.
Behind the Recipe
This cobbler evolved from experimenting with toppings and learning how different fruits release liquid. I learned to balance sugar with the natural sweetness of fruit and to sprinkle a little extra flour or cornstarch into very juicy mixes to prevent a soupy filling. A tender top comes from not overworking the dough and giving the batter or biscuits just enough time in the oven to brown. Small touches — lemon zest for brightness, a pinch of salt in the topping, or a quick dash of vanilla — lift it from “fine” to memorable. The recipe is intentionally adaptable so you can highlight peaches, berries, apples, or a mixed fruit medley without changing technique.
Shopping Tips
– Fruit: Choose ripe but firm fruit for best texture — peaches should have some give but not be mushy; frozen berries are an easy, reliable backup.
– Baking Basics (Flour/Sugar/Leaveners): Use all-purpose flour for the topping unless you need a gluten-free alternative; check baking powder freshness for a reliably tender rise.
– Fats & Oils: Use cold butter for a flaky biscuit topping, and don’t substitute liquid oil if you want that layered texture.
– Dairy: If the recipe calls for buttermilk, you can make a quick substitute with milk plus a splash of vinegar, but fresh is best for tang.
– Nuts & Seeds: Toasted pecans or sliced almonds are optional but add a pleasant crunch; add them to the topping just before baking to preserve texture.
– Flavor Boosts: Keep vanilla extract and a lemon on hand — a little vanilla and citrus zest make the fruit pop.
Prep Ahead Ideas
– Slice fruit and toss it with sugar, spices, and the thickener (flour or cornstarch) a day ahead; store in an airtight container in the fridge so flavors marry.
– Make the biscuit or crumble topping ahead and keep it chilled; assemble and bake when ready for a fresher crust.
– Portion cobbler into individual ramekins and refrigerate unbaked for up to 24 hours; bake from cold, adding a few extra minutes.
– For longer storage, freeze the prepared filling (without topping) for up to 3 months, thaw overnight in the fridge, then top and bake.
Time-Saving Tricks
– Use frozen fruit straight from the freezer for an off-season shortcut — do not thaw first to avoid excess juice.
– One-bowl mixing for the topping keeps dishes to a minimum and speeds cleanup.
– Keep a jar of pre-measured mix (flour, sugar, salt, leavener) ready in the pantry for spur-of-the-moment baking.
– Use a baking stone or preheated sheet to give the bottom crust a faster, crisper bake if you like the topping especially crunchy.
– Mise en place: measure dry ingredients and zest the citrus before you start, so assembly is smooth.
Common Mistakes
– Adding too much sugar to naturally sweet fruit — taste the fruit first and reduce sugar if it’s already sweet; you can always sprinkle a little sugar on top before serving.
– Skipping a thickener with very juicy fruit — that leads to a runny cobbler; a tablespoon or two of cornstarch or flour usually fixes it.
– Overworking the biscuit or topping dough — it becomes tough; mix until just combined.
– Baking at too low a temperature — the fruit will bubble but the topping won’t brown; a hotter oven helps both components finish well.
– I once forgot to preheat the pan — the topping took longer and the fruit lost heat. Preheat the dish or the oven to get that immediate sizzle.
What to Serve It With
– A scoop of vanilla ice cream or a dollop of whipped cream is a classic pairing — the contrast of cold and hot is irresistible.
– Spoon alongside a cup of strong coffee or a mellow herbal tea for a cozy dessert after dinner.
– For a brunch twist, serve warm cobbler with a thin drizzle of yogurt sweetened with honey and a sprinkle of toasted nuts.
Tips & Mistakes
For best results, balance sweetness with a bit of acid — lemon juice or zest brightens the filling. If your fruit is underripe, add a touch more sugar and a splash of good-quality vanilla. If the topping browns too quickly while the filling finishes, tent the cobbler with foil for the last part of baking.
Storage Tips
Store in airtight containers in the fridge. It reheats beautifully, but if you sneak a bite cold straight from the container, it still works.
Variations and Substitutions
– Fruit swaps: Peaches, berries, apples, pears, or a mix all work; firmer fruit needs a bit more baking time.
– Sweetener swaps: Granulated sugar can be reduced or partially replaced with honey or maple syrup — reduce liquid slightly if using liquid sweeteners.
– Gluten-free: Use a 1:1 gluten-free flour blend for the topping and a trusted gluten-free baking powder; texture will be slightly different but still lovely.
– Dairy-free: Substitute non-dairy milk and vegan butter, and check that any pre-made mixes are dairy-free.
– Nuts and add-ins: Stir chopped nuts or rolled oats into the topping for added texture; avoid delicate garnishes that lose crunch in storage.
Write me the frequently asked questions and answers Easy Fruit Cobbler Recipe in the same way as the example below.
Frequently Asked Questions
Easy Fruit Cobbler Recipe
Ingredients
Main Ingredients
- 2 cup fresh mixed berries You can use blueberries, raspberries, or strawberries—whatever you have!
- 0.5 cup granulated sugar Adjust based on the sweetness of your fruit.
- 1 cup all-purpose flour
- 0.5 cup milk You can substitute with almond or oat milk.
- 0.25 cup unsalted butter Melted for best results.
- 1 tbsp baking powder Make sure it's fresh for proper rising.
- 0.25 tsp salt
Instructions
Preparation Steps
- Start by preheating your oven to 350°F (175°C). In a mixing bowl, combine the fresh mixed berries with half a cup of sugar and gently toss to coat. Set this mixture aside to let the juices meld together.
- In another bowl, whisk together the flour, baking powder, and salt. Pour in the milk and melted butter, mixing until just combined. The batter will be thick, which is perfect for a cobbler base.
- Spread the batter evenly in a greased baking dish. Carefully spoon the berry mixture over the top, allowing the juices to seep into the batter during baking.
- Bake in the preheated oven for about 35-40 minutes, or until golden brown and bubbly. You can tell it’s ready when the top is lightly browned and the fruit is bubbling around the edges.
- Once out of the oven, allow the cobbler to cool slightly before serving it warm. It's delicious on its own or with a scoop of vanilla ice cream on top!