
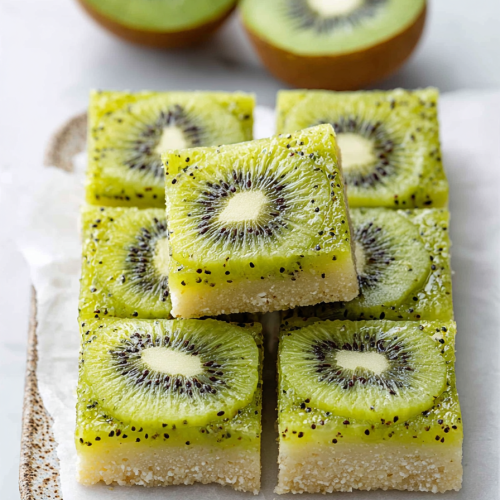
Easy Kiwi Bars Recipe
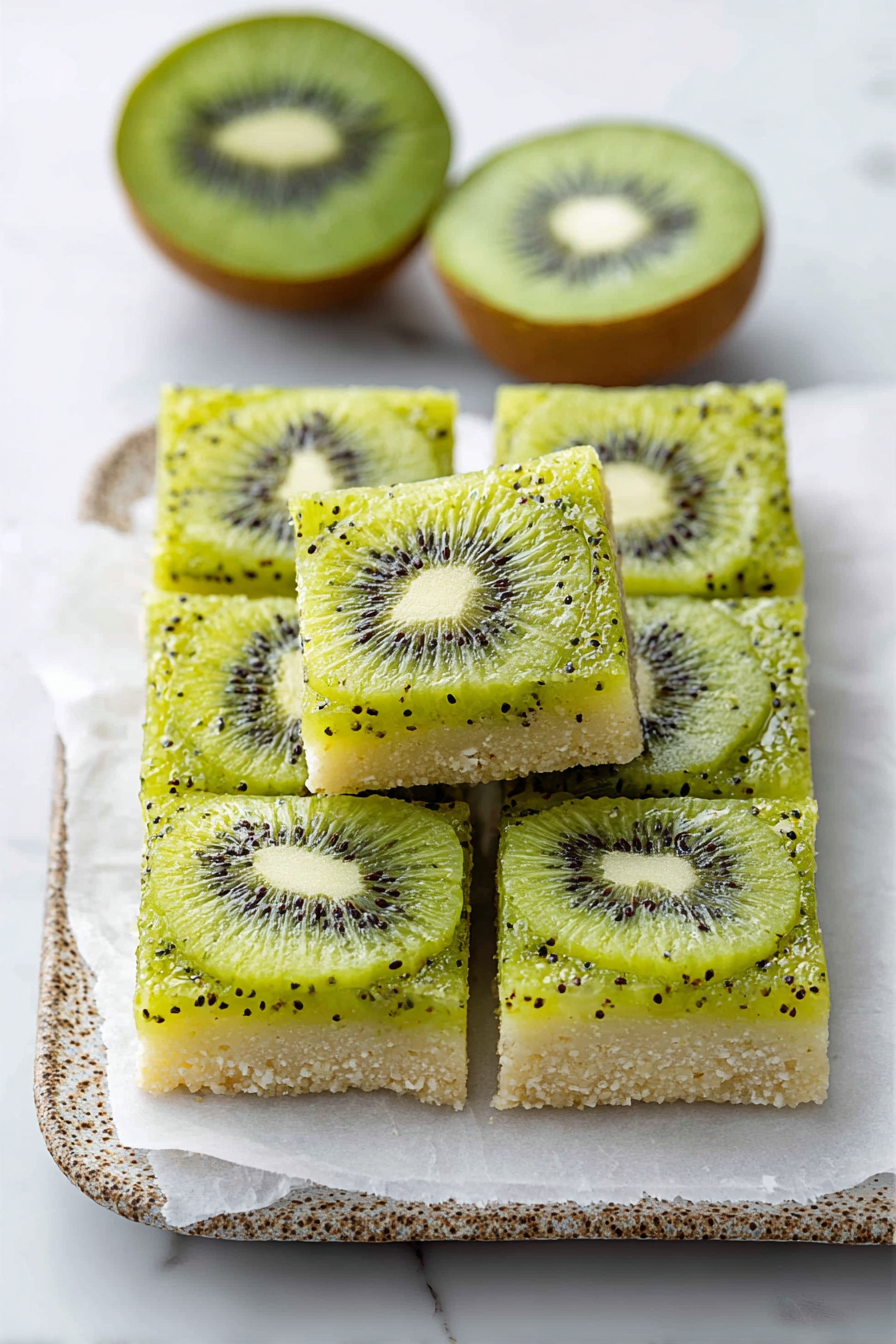
These bright, tangy kiwi bars are my go-to spring and summer dessert: a crisp buttery crust, a silky, slightly tart kiwi custard, and just enough powdered sugar or a thin glaze to make each bite feel celebratory without being cloying. They’re unexpectedly easy to pull together, and the fruit really sings when you choose ripe, fragrant kiwis.
My family—especially my overly enthusiastic husband—can’t get enough of them. He insists they’re the perfect balance of tart and sweet and will happily eat the ends that no one else wants. I started making these the summer our little one discovered fruit, and now they’re the dessert I’m asked to bring to every backyard picnic. There’s something joyful about the color and the way the kitchen smells while they bake; it’s become our “welcome spring” ritual.
Why You’ll Love This Easy Kiwi Bars Recipe
– Bright, fresh kiwi flavor that doesn’t get lost under heavy sugar or thick creams.
– A simple, buttery crust that provides a satisfying contrast to the tender filling.
– Straightforward steps that are great for bakers who want a pretty dessert without fuss.
– Flexible enough to make ahead for parties or to portion into lunchbox treats.
Behind the Recipe
I learned early on that kiwi behaves differently than other fruits in baked fillings: it’s softer and more watery, so the trick is to gently macerate or briefly cook the fruit with a little sugar and a thickener like cornstarch to achieve a clean, sliceable set. Blind-baking the crust until it’s just golden prevents a soggy bottom, and letting the bars chill thoroughly brings the flavors together and makes neat cuts possible. I also discovered that the difference between “okay” and “wow” is a small squeeze of lemon juice—brightness that amplifies the kiwi without stealing the show.
Shopping Tips
– Baking Basics: Pick all-purpose flour and a reliable granulated sugar; they’re the backbone of the crust and filling and don’t need to be specialty brands.
– Fats & Oils: Use cold, unsalted butter for the crust—it gives the best texture; if you only have salted, reduce any extra added salt in the recipe.
– Fruit: Choose kiwis that give slightly to gentle pressure and smell fresh at the stem end; underripe kiwis will be too tart and firm, overripe ones will be mushy.
– Eggs: Room-temperature eggs incorporate more smoothly into the filling; take them out of the fridge 20–30 minutes before you start baking.
– Nuts & Seeds: Optional—if you like a nutty crust, swap in finely ground almonds or graham cracker crumbs for up to half the flour for extra flavor and texture.
Prep Ahead Ideas
– You can make the crust up to 2 days ahead; wrap it tightly and keep it chilled until ready to blind-bake.
– Slice or peel kiwis a day ahead and toss them with a little sugar and lemon juice; store in an airtight container in the fridge to let the juices develop.
– Measure dry ingredients and store in labeled containers so assembly is quick when guests arrive.
Time-Saving Tricks
– Use a food processor to pulse the crust ingredients together quickly—no cutting butter by hand required.
– If you’re short on time, a pressed graham-cracker or shortbread crust works nicely and removes the blind-baking step.
– Prep the filling while the crust cools; having ingredients prepped (mise en place) makes it easy to move through the recipe without waiting.
Common Mistakes
– Using watery, overripe kiwis can make the filling too loose—rescue this by folding in a teaspoon or two of cornstarch dissolved in a little cold water and return the filling to a gentle simmer until thickened.
– Not blind-baking the crust can lead to a soggy bottom; bake until the edge just turns golden for best texture.
– Cutting the bars too soon often results in sloppy slices—chill completely (at least 2 hours) for clean bars.
– Over-sugaring to “fix” tart fruit can mute the kiwi’s brightness—try lemon and a touch of vanilla instead to balance flavors.
What to Serve It With
Tips & Mistakes
Serve these bars with a dollop of lightly sweetened whipped cream, a smear of mascarpone, or a scoop of vanilla ice cream for contrast. Avoid heavy sauces that overpower the kiwi; a simple lemon glaze or a dusting of powdered sugar is often all they need.
Storage Tips
Store in airtight containers in the fridge. It reheats beautifully, but if you sneak a bite cold straight from the container, it still works. For longer storage, freeze whole bars for up to 1 month; thaw in the fridge overnight before serving.
Variations and Substitutions
– Swap lemon for lime if you want a slightly different citrus note; both lift the kiwi’s flavor.
– For a gluten-free version, use a nut-and-oat crust or a certified gluten-free flour blend—be mindful the texture will be a bit different.
– If you prefer less sugar, reduce the filling sugar slightly and rely on the fruit’s natural sweetness plus a squeeze of citrus to keep it balanced.
– Adding a thin layer of cream cheese between crust and filling gives a richer bar but loses the pure kiwi clarity.

Frequently Asked Questions
Easy Kiwi Bars Recipe
Ingredients
Main Ingredients
- 1.5 cup all-purpose flour
- 0.5 cup granulated sugar
- 0.5 cup unsalted butter melted
- 1 cup kiwi puree freshly made from ripe kiwis
- 2 large eggs lightly beaten
- 0.5 tsp vanilla extract
- 1 tsp baking powder
- 0.5 tsp salt
Instructions
Preparation Steps
- Start by preheating your oven to 350°F (175°C). Prepare an 8x8 inch baking dish by greasing it lightly. In a mixing bowl, combine the melted butter, sugar, and eggs, stirring until well mixed. Gradually add in the flour, baking powder, and salt, mixing until combined but taking care not to overmix.
- Next, fold in the kiwi puree gently into the mixture until evenly distributed. Pour this delightful mixture into your prepared baking dish, smoothing it out evenly.
- Bake in the preheated oven for about 30 minutes, or until the bars are set in the center and lightly golden on the edges. Allow them to cool completely before slicing into squares.