
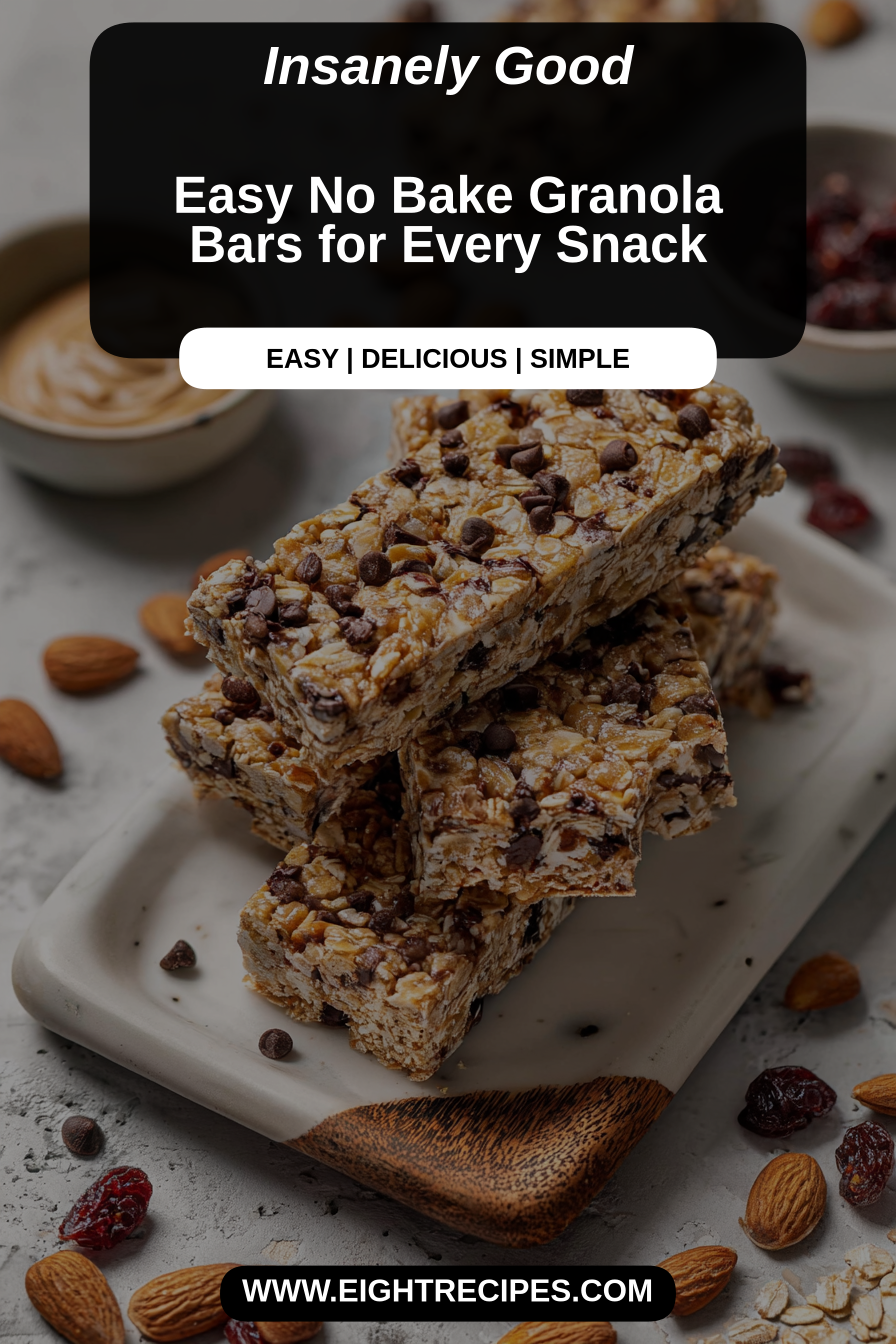
Easy No Bake Granola Bars for Every Snack
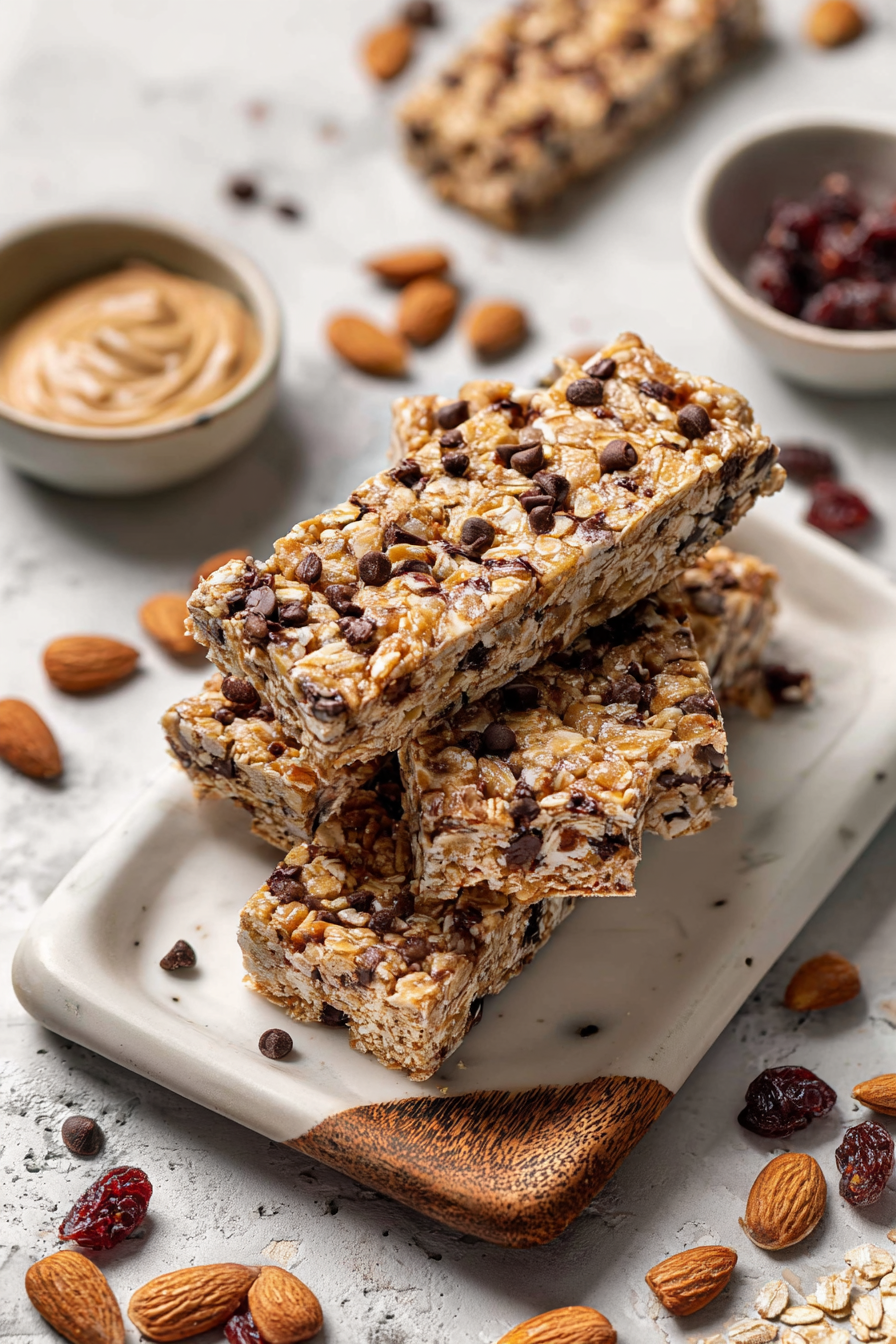
These no-bake granola bars are my weeknight — and weekend — snack MVP: chewy, just-sweet-enough, and endlessly adaptable depending on what’s in the pantry. They come together in one bowl with no oven time, so they’re perfect for lunchboxes, afternoon pick-me-ups, or a low-effort homemade gift when a neighbor drops by.
My husband declared these “dangerously good” after the first batch and now guards the cookie sheet like it’s treasure. Our kiddo insists on helping press the mixture into the pan (and stealing a corner piece before it sets), so making them has become one of our little family rituals. I love that they feel homemade but are forgiving — a recipe we can riff on while still getting reliably tasty results.
Why You’ll Love This Easy No Bake Granola Bars for Every Snack
– They come together in minutes with pantry staples and require no baking, which means fast cleanup and no babysitting an oven.
– The texture hits a great balance: chewy centers with crunchy mix-ins, so they satisfy both cookie and granola cravings.
– Flexible mix-ins let you tailor them to dietary needs or what’s on hand — swap nuts, seeds, dried fruit, or chocolate without losing structure.
– They hold up well in lunches and backpacks, and they freeze beautifully so you can make a big batch and pull them out a few at a time.
Behind the Recipe
I developed this version after testing a dozen combos to find one that stays together without a binder that tastes gluey. The trick is the right ratio of sticky sweetener to dry ingredients and gentle, even pressing so the bars set firmly. People often overheat the syrup or under-press the mixture — either makes for crumbly bars — and a short rest in the fridge helps everything bond. Little touches like toasting seeds briefly or swapping in a pinch of flaky salt on top make a big difference in flavor.
Shopping Tips
– Baking Basics: Pick old-fashioned rolled oats (not instant) for the best chew and structure; quick oats make the bars too soft and crumbly.
– Nuts & Seeds: Use a mix you love — almonds, pecans, pumpkin seeds — and toast them lightly for more flavor; chopped is easier to bite into than whole nuts.
– Sweeteners: Choose a thick sweetener like honey or brown rice syrup that will bind the ingredients; runny syrups can lead to looser bars.
– Fats & Oils: A small amount of neutral oil or nut butter helps cohesion and mouthfeel — pick unsalted or low-salt options so you control the seasoning.
– Crunch Extras: If including puffed rice, pretzels, or crisped cereal, opt for plain varieties so they don’t overwhelm the bar with extra sweetness or salt.
Prep Ahead Ideas
– Toast and chop nuts/seeds up to 3 days ahead and store in an airtight container at room temperature to save time on assembly day.
– Measure and mix the dry ingredients the night before and keep them covered; the only fresh part you’ll need in the morning is melting the binder and combining.
– Press the bars into the pan and refrigerate for up to 24 hours before cutting; this makes clean, uniform slices when you’re short on time.
Time-Saving Tricks
– Use a microwave or small saucepan to melt the sweetener and nut butter together quickly; warm gently to avoid scorching.
– Line your pan with parchment and use another piece on top to press the mixture firmly — this speeds assembly and gives a smooth surface without sticky hands.
– Pre-measure mix-ins into small bowls (mise en place) so assembly is a single, stress-free step.
Common Mistakes
– Not pressing firmly enough: you’ll get crumbly bars. Fix it by pressing with the bottom of a measuring cup or a flat spatula and refrigerating until very firm.
– Overheating the sweetener: it can become hard or burn, changing texture and flavor. Warm just until fluid and combined.
– Adding too many wet mix-ins (like overly plump dried fruit): drain or pat them dry first, or reduce the liquid binder slightly to compensate.
What to Serve It With
Tips & Mistakes
Serve these bars alongside fresh fruit and plain yogurt for a balanced snack, or pack one with a small handful of nuts for a travel-friendly mini-meal. If you find bars too sweet, pair them with unsweetened tea or black coffee to balance the sweetness.
Storage Tips
Store in airtight containers in the fridge. It reheats beautifully, but if you sneak a bite cold straight from the container, it still works.
Variations and Substitutions
– Swap honey for maple syrup or brown rice syrup for a vegan option; note that maple is thinner, so you may need slightly less.
– Replace part of the oats with puffed rice or cereal for extra crunch, but don’t exceed about one-third of the total dry volume or the bars may lose structure.
– Nut butters can be swapped freely — almond, cashew, or sunflower seed butter work well; keep in mind sunflower butter tastes stronger and pairs nicely with chocolate chips.
Write me the frequently asked questions and answers Easy No Bake Granola Bars for Every Snack in the same way as the example below.
Frequently Asked Questions
Easy No Bake Granola Bars for Every Snack
Ingredients
Main Ingredients
- 2.5 cups old-fashioned oats Use certified gluten-free oats if necessary.
- 0.75 cup peanut butter Smooth peanut butter works best.
- 0.5 cup honey You can substitute with maple syrup for a vegan option.
- 0.25 cup brown sugar Ensure it's packed well.
- 0.5 cup chocolate chips Use dark, semi-sweet, or any preferred variety.
Instructions
Preparation Steps
- In a large bowl, mix together the oats, peanut butter, honey, and brown sugar until well blended. You might need to use your hands to really incorporate everything.
- Fold in the chocolate chips gently, ensuring they're evenly distributed throughout the mixture.
- Press the mixture firmly into a lined baking dish. The tighter you pack it, the better the bars will hold together once set.
- Let the bars chill in the refrigerator for at least an hour before cutting them into squares or rectangles.